If you've ever forgotten a bill payment or felt surprised by a credit card due date, you're not alone. BillWise is built for people like you—folks who want a single, simple place to see what's coming, when it's due, and what they'll owe next month. This guide walks you through the app in your first week, from adding your first bill to understanding how the gamification actually helps you stay on top of things.
What BillWise Does (In Plain English)
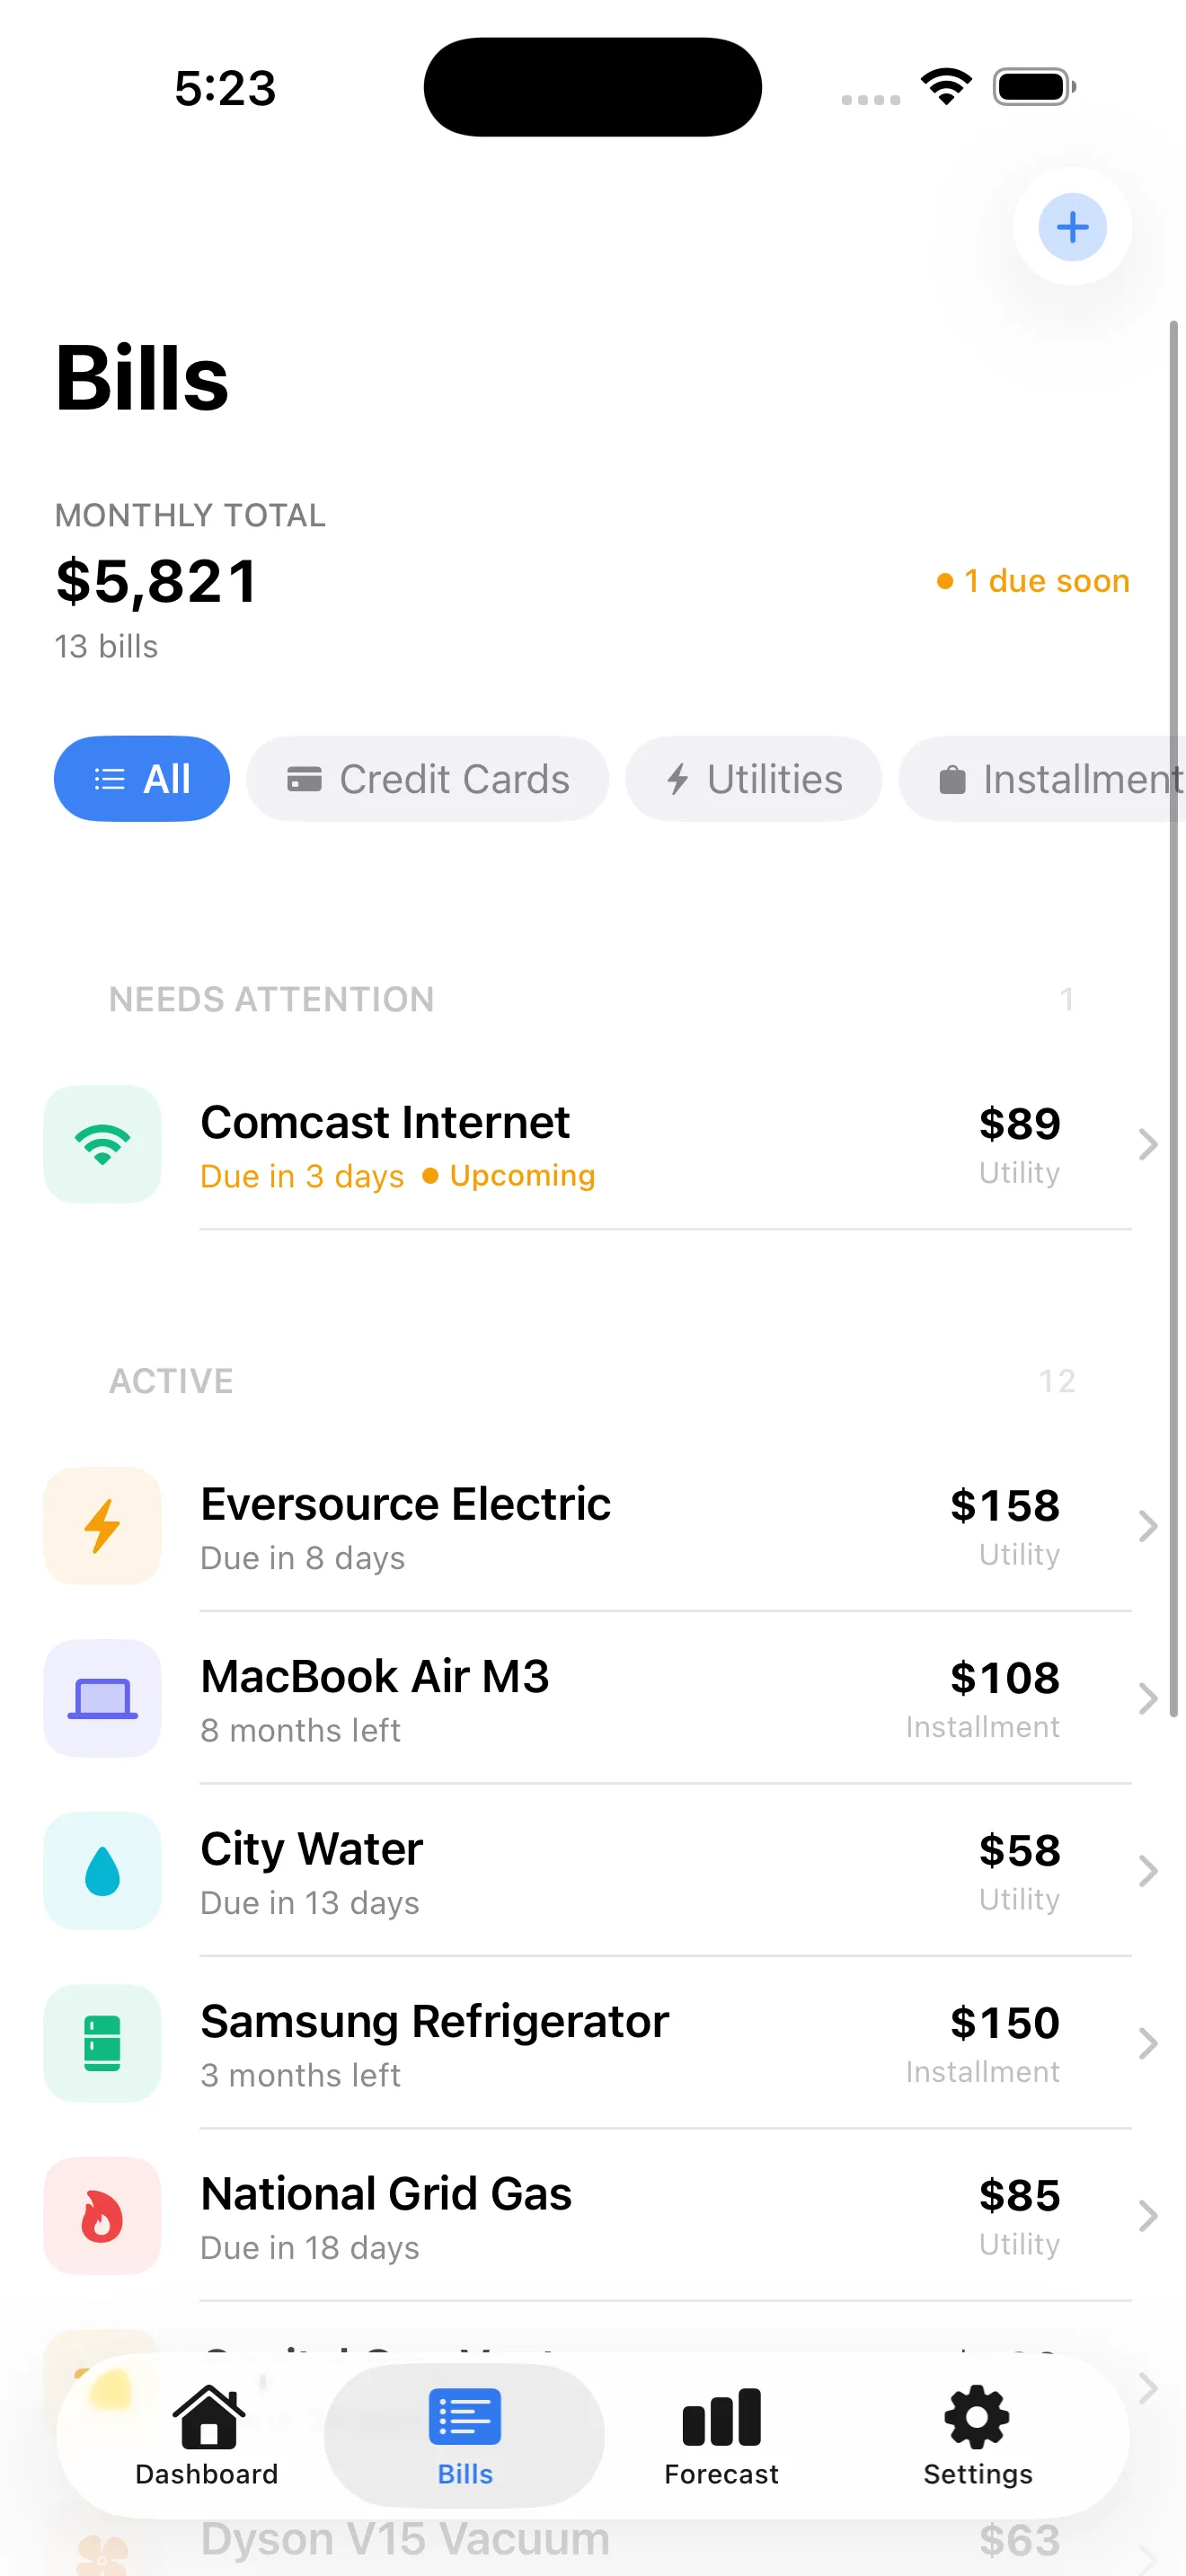
BillWise is a bill and payment tracker for your iPhone. Think of it as a calendar crossed with a forecast tool—it shows you what bills are due this month, which ones are coming next month, and how much you'll need in total. It covers three main payment types: credit cards (with special attention to cutoff dates, not just due dates), utilities like electric and water, and installments like loans or subscriptions. The app also rewards you with XP and levels when you pay on time, which sounds gimmicky until you realize it actually works as motivation.
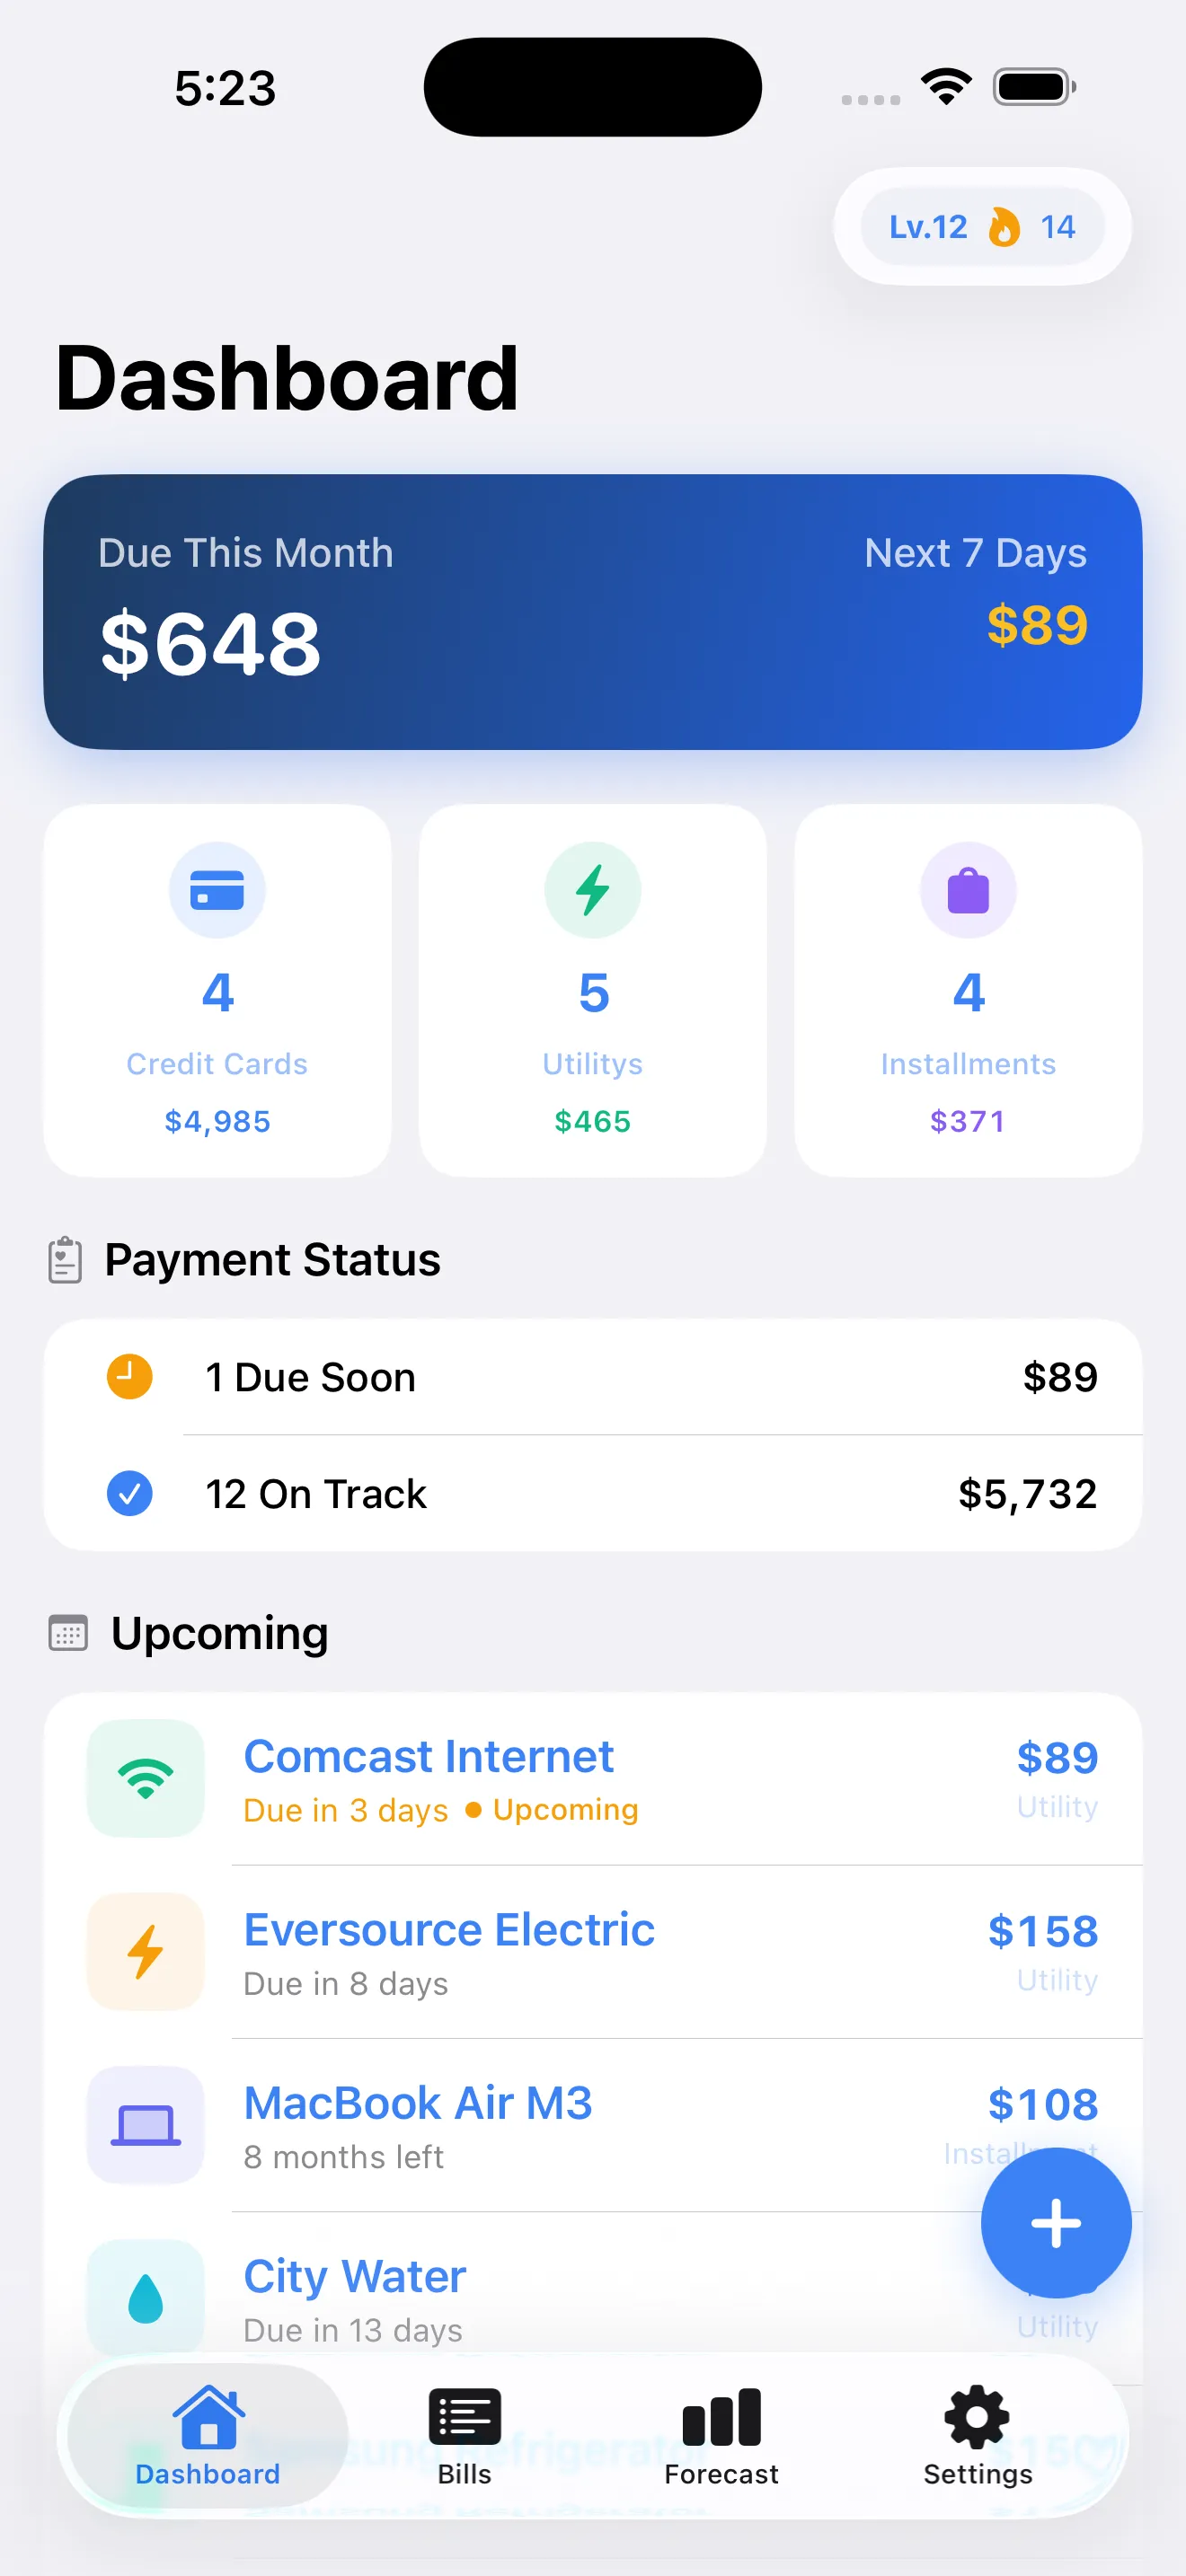
Your First Week: What to Expect
Days 1–2: Setup and Your First Bills
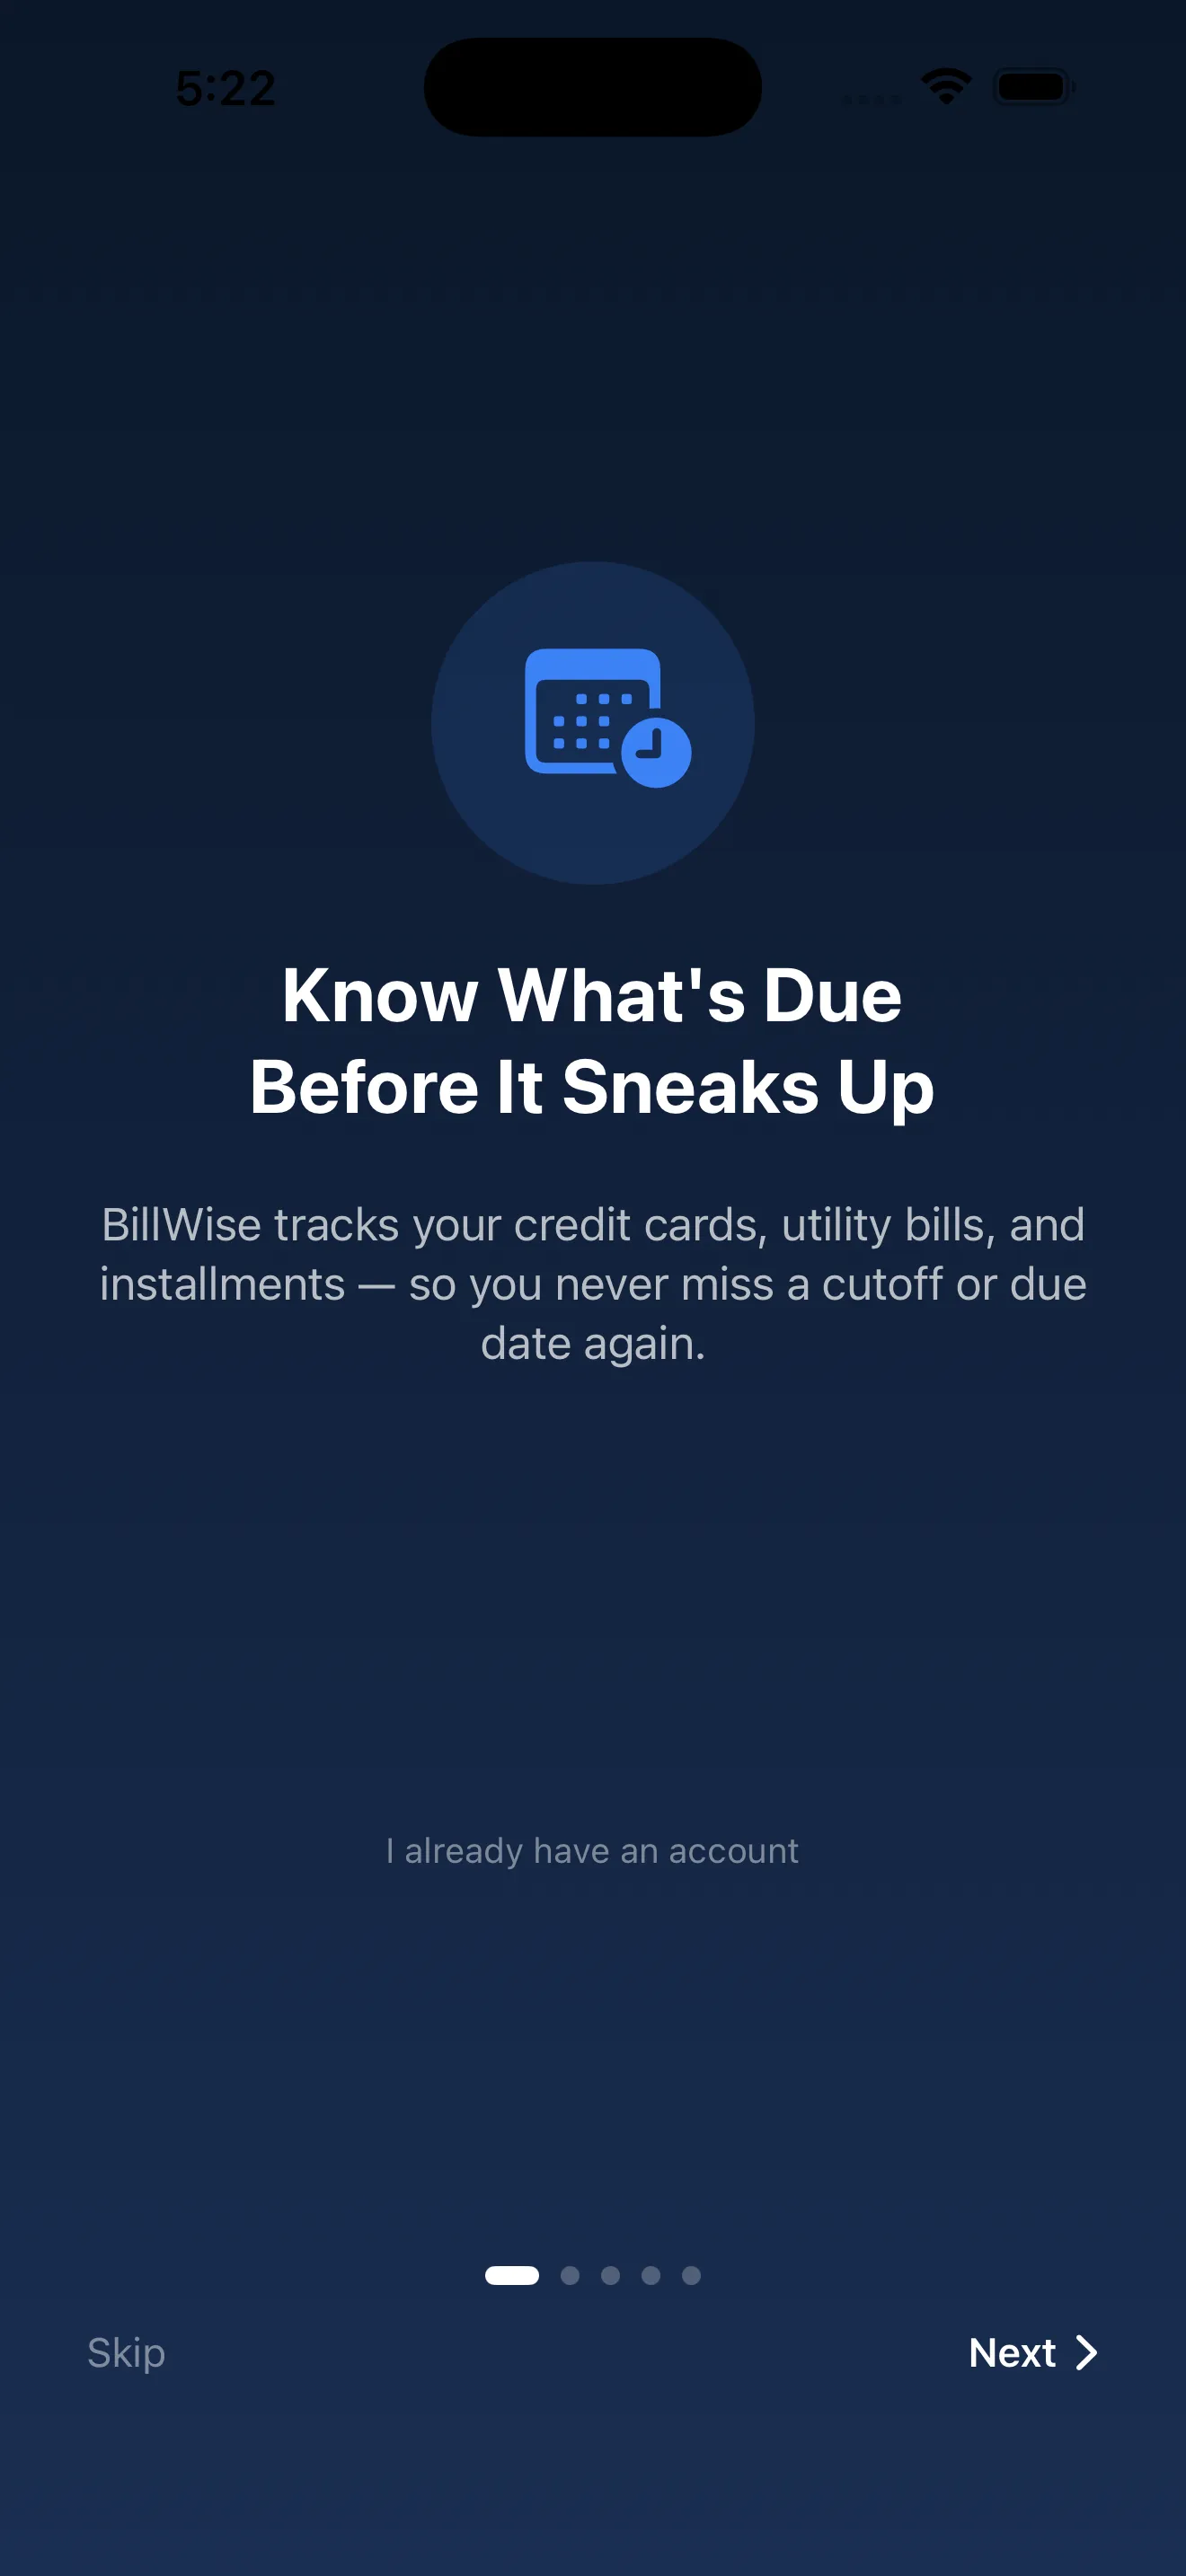
Install the app and open it. You'll see the onboarding flow, which introduces the core concepts: bills, due dates, and cutoff dates (more on that in a moment). The app will ask for notification permission—enable it. Then add your first 3–5 bills. You can start with your most urgent ones: a credit card you actively use, your phone or internet bill, and maybe a loan or subscription. Don't worry about getting everything right. You'll be able to edit anytime.
Days 3–4: Understanding Cutoff Dates
Here's the part that makes BillWise different: cutoff dates on credit cards. Most bill apps ignore them. BillWise doesn't. A cutoff date is when your credit card statement closes. Charges after the cutoff won't appear on this month's bill—they'll hit next month's instead. That matters for forecasting. If your card's cutoff is the 20th and due date is the 10th of the next month, you're only responsible for charges up to the 20th. BillWise shows you both dates so you never confuse them again.
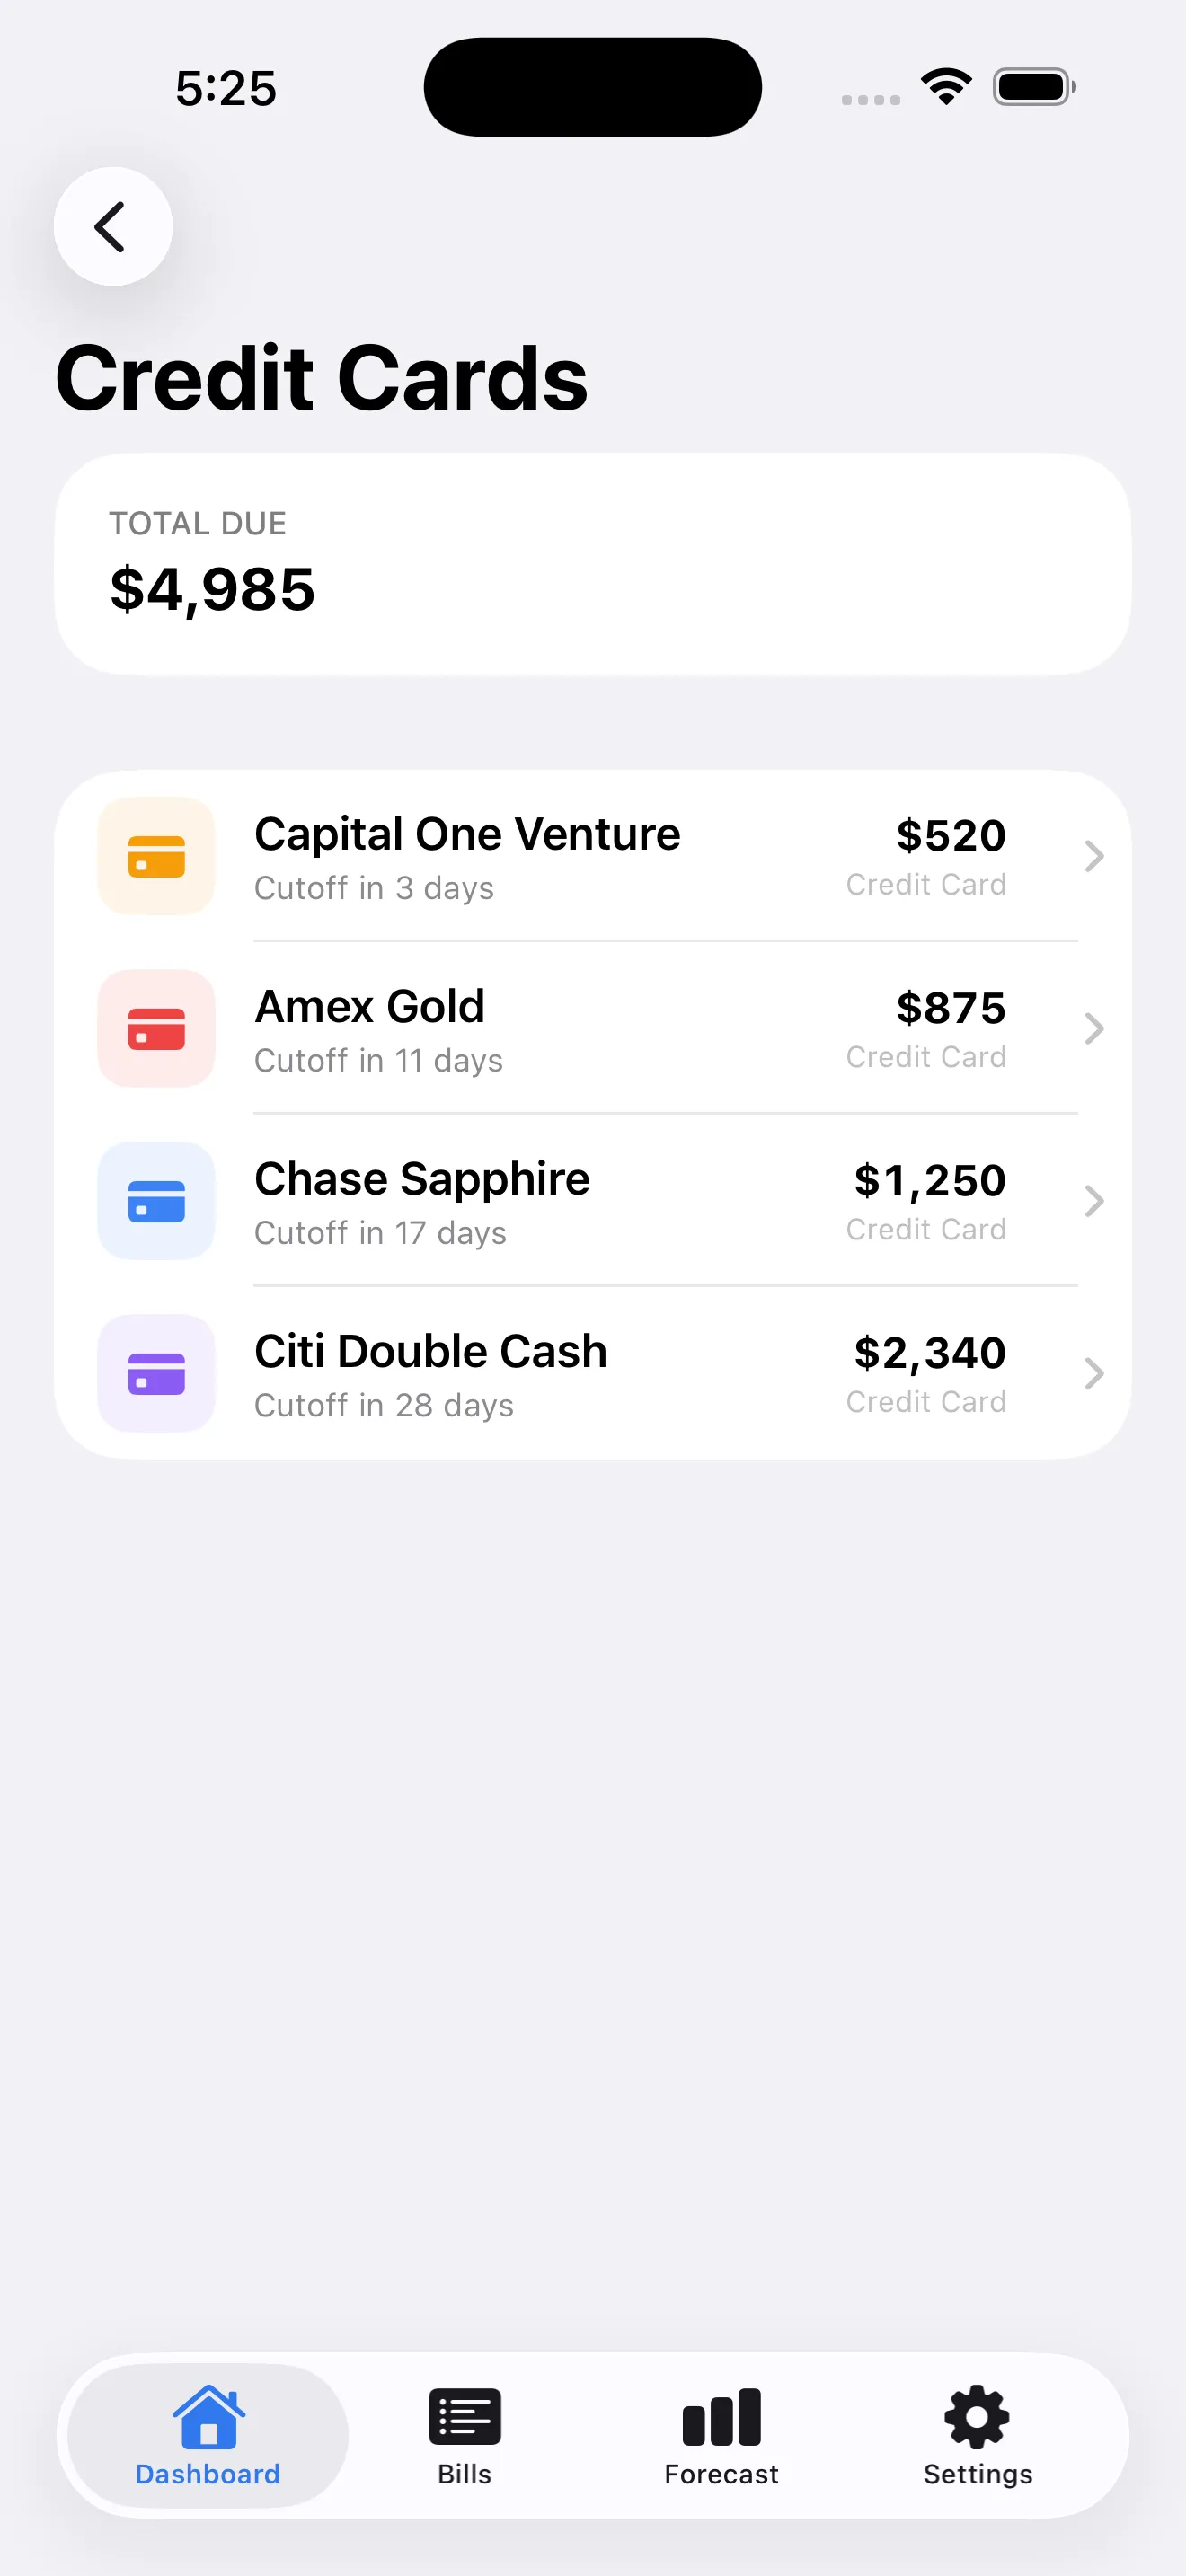
A cutoff date is when your statement closes. A due date is when you must pay. Most apps ignore the difference. BillWise doesn't.
Days 5–7: Forecast and Gamification
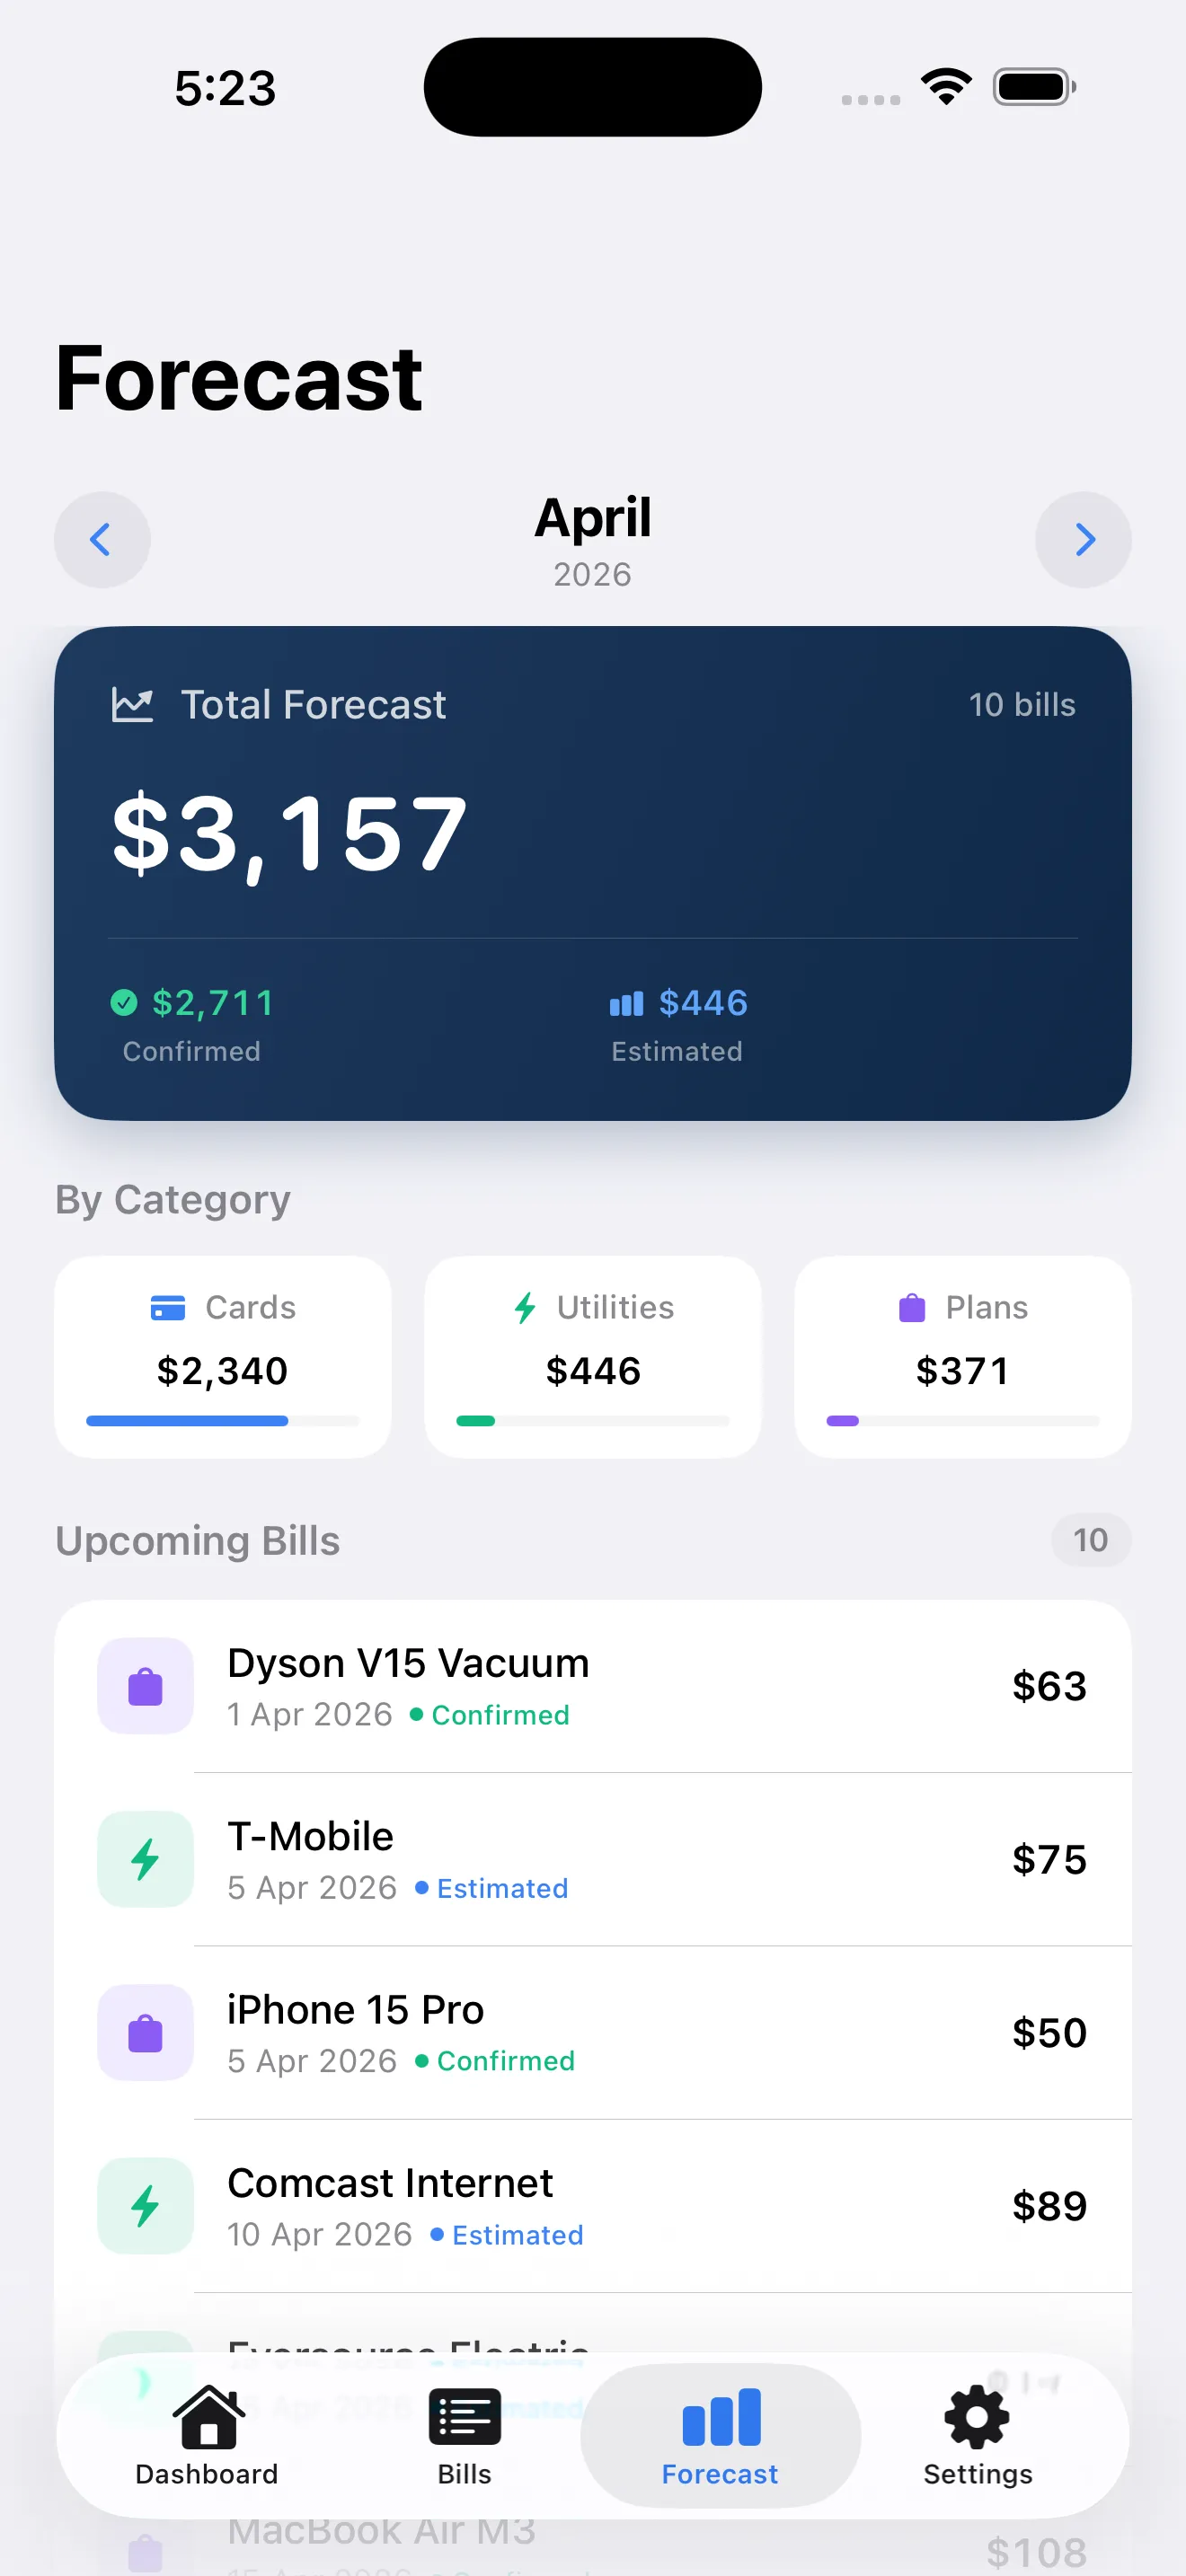
By the end of the week, open the Forecast view. This is where BillWise shows you a month-by-month projection of what you'll owe. It's not a budget—it's a prediction based on the bills you've entered. Seeing "$2,400 due in March" is way more useful than discovering it when you're checking your balance. You'll also start earning XP when you mark a bill as paid on time. Each payment pushes you toward the next level. It's not essential to the app's core job, but it works: people actually do log in to mark payments because they want the XP.
Common Beginner Questions
Do I have to use the XP system?
No. The gamification is optional. You can turn off notifications, ignore your level, and just use BillWise as a straightforward tracker. But most people find the light reward structure genuinely helpful—it's not aggressive, just enough to make paying on time feel like a small win.
How many bills can I track?
The free version supports up to 5 bills with full features: dashboard, forecasting, and notifications. If you need more, the Premium tier unlocks unlimited bills, iCloud sync, widgets, and extra XP multipliers. Most beginners start with 5 and upgrade only if they hit the limit.
Will this app pay my bills for me?
No. BillWise tracks and forecasts. You still pay through your bank or credit card provider as usual. The app is a reminder and prediction layer, not a payments processor. That keeps your financial data safer and your workflow simpler.
Where BillWise Fits In Your Life
If you're thinking about whether bill tracking is worth your time, read our piece on how BillWise turns bill paying into a game you actually want to win. For a deeper look at your options, our bill tracking approaches guide shows where BillWise fits against other strategies. And if you prefer video walkthroughs, our first bill to level up guide gives you step-by-step visuals.
Your First Steps
- Download BillWise from the App Store.
- Enable notifications when prompted.
- Add your 3–5 most important bills (start with cards and utilities you pay monthly).
- For each credit card, make sure you note the cutoff date if you know it—found on your statement.
- Open Forecast once all bills are in, and see what next month looks like.
- Mark a payment as paid when you actually pay it. Watch the XP appear.
This article was drafted with AI assistance and reviewed by a human editor before publishing.