The first few minutes with BillWise matter. You'll move from a blank screen to a working bill tracker faster than you'd expect, and by the time you've added your first bill, you'll already understand how the app rewards you for staying on top of payments. This walkthrough takes you through each step so nothing feels unfamiliar.
Launch and Onboarding
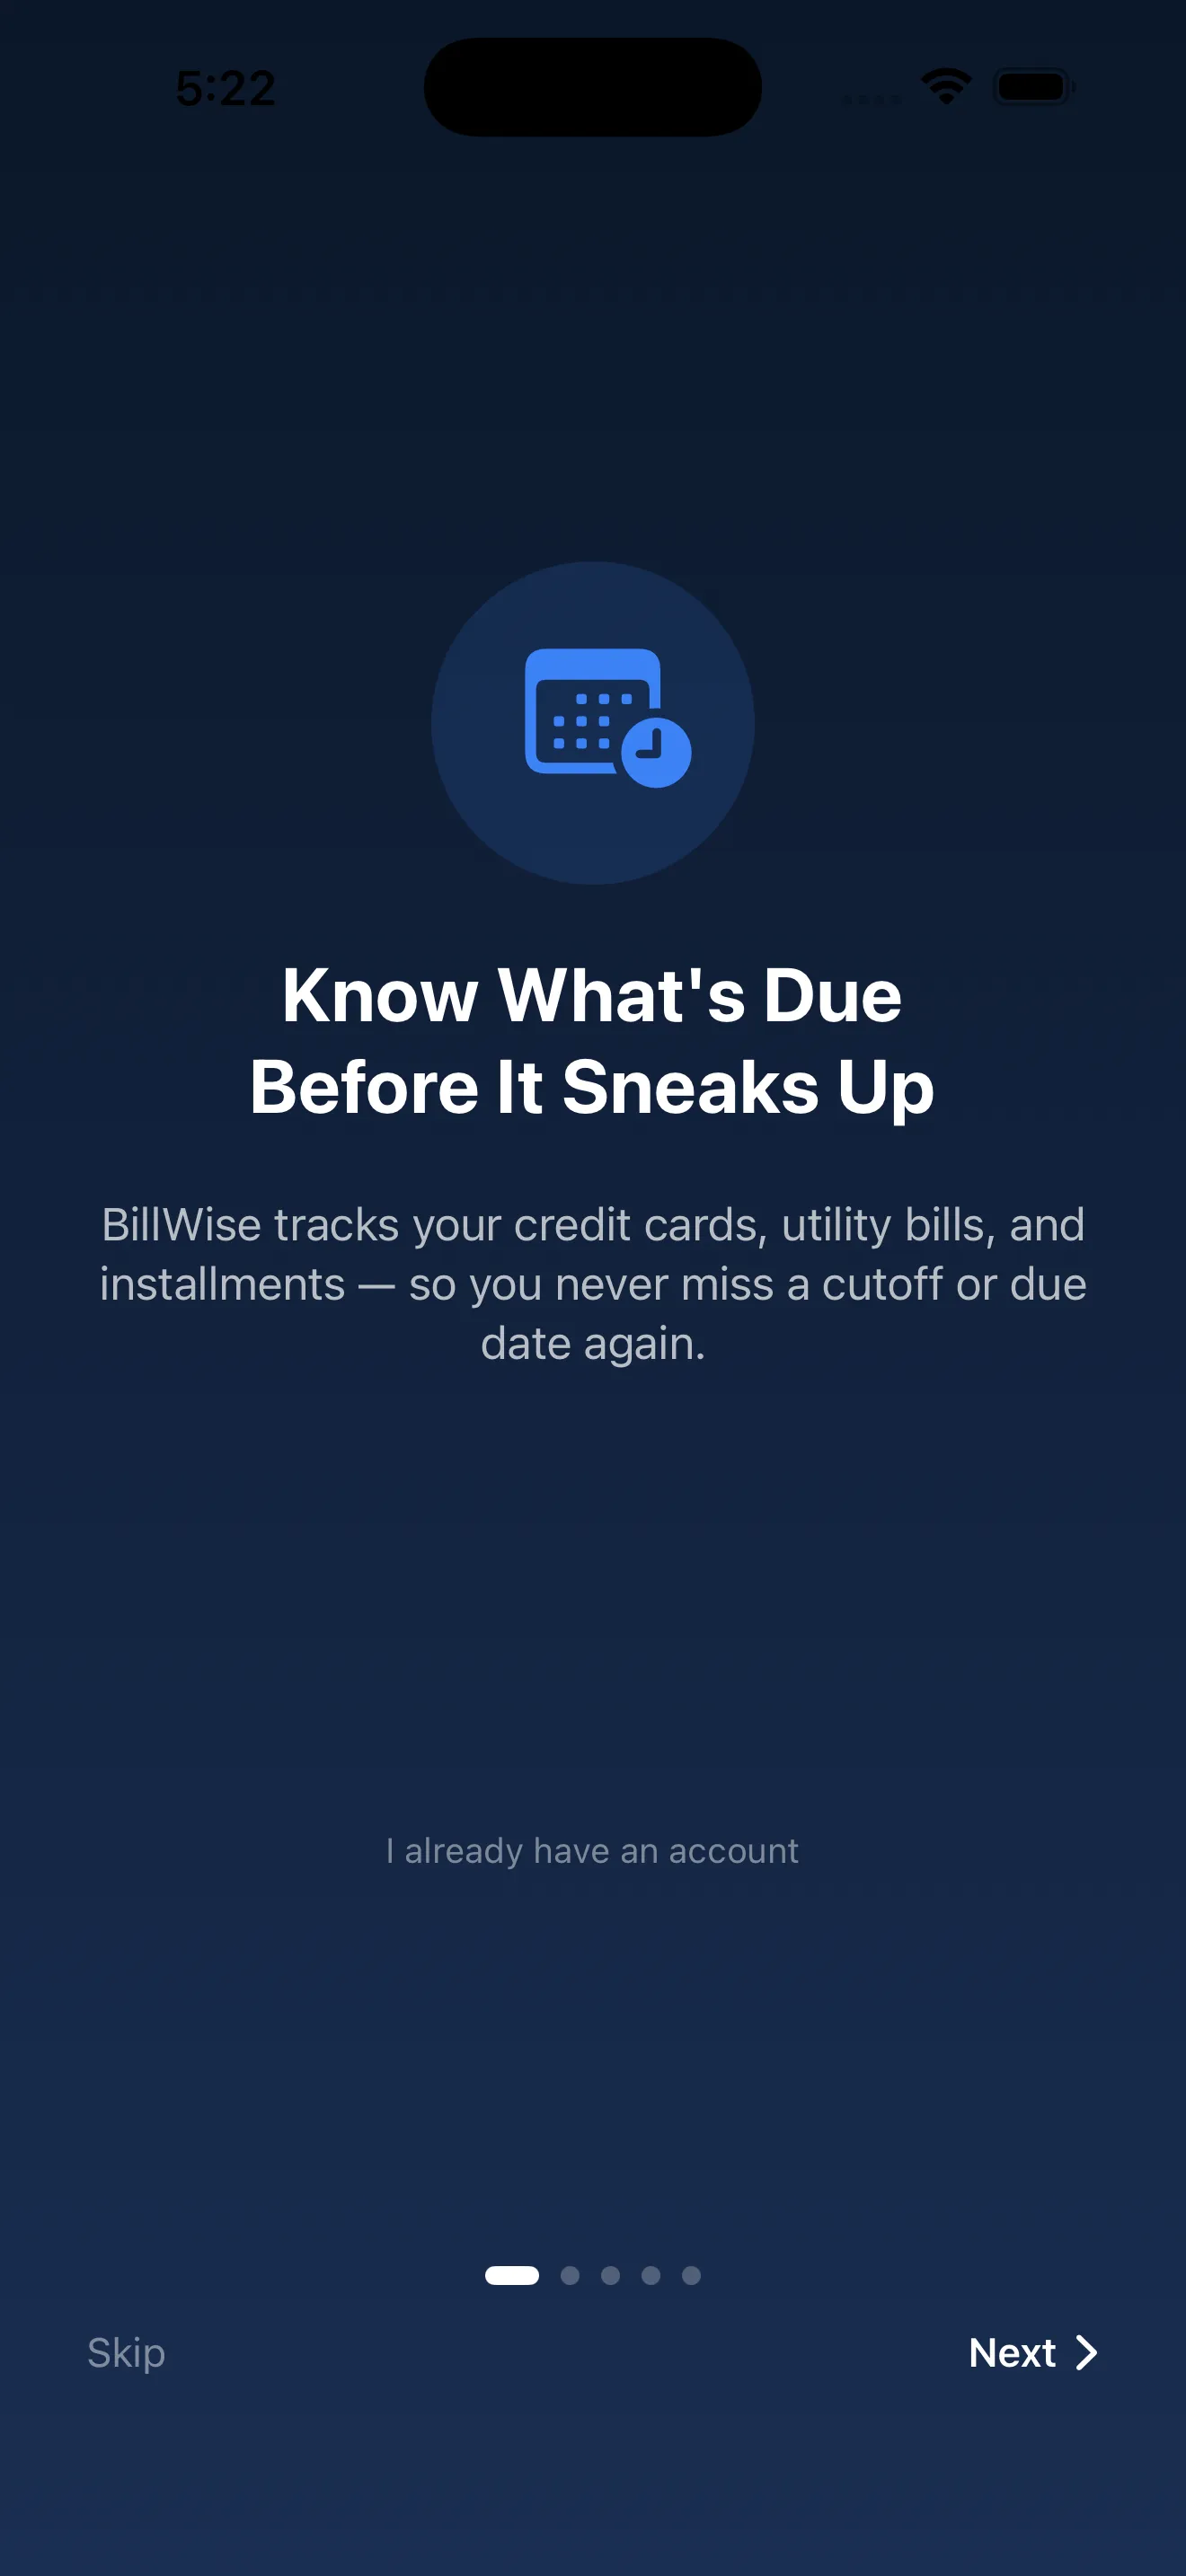
When you open BillWise for the first time, you'll see a clean onboarding screen that explains what the app does: track every bill in one place and help you never miss a payment. This first screen isn't trying to sell you—it's trying to orient you. Tap through and you'll land on a request for notification permissions.
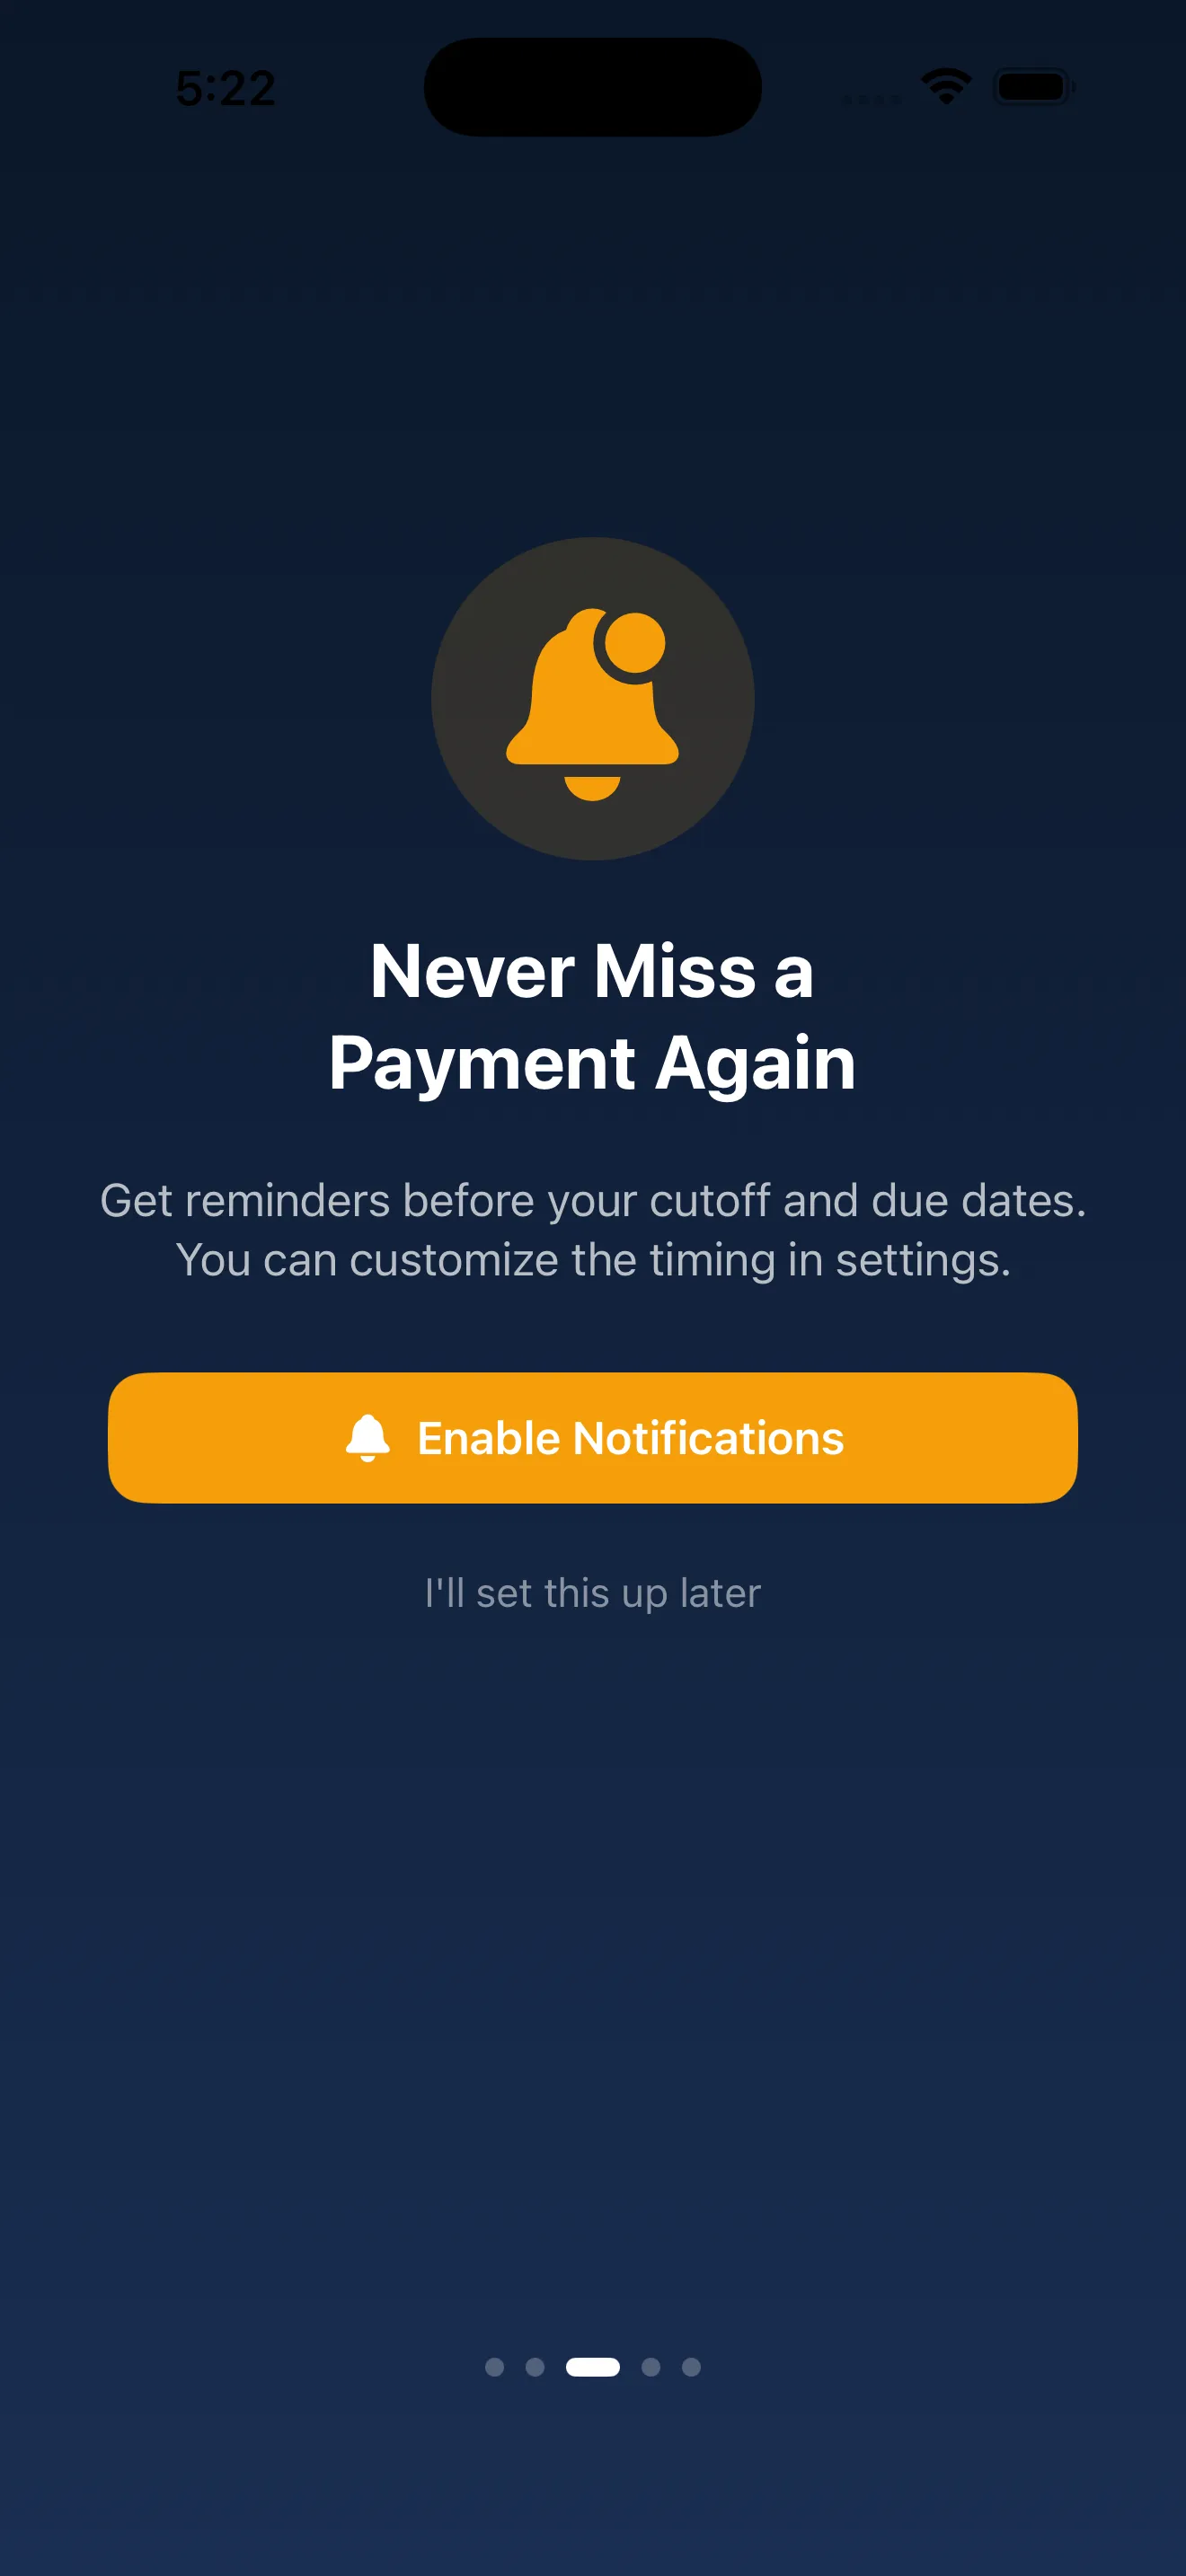
Allow notifications here. BillWise uses them to remind you before bills are due, and that reminder is what keeps you from accidentally missing a payment. Once you grant permissions, you're taken directly to your dashboard—which will be mostly empty until you add your first bill.
Your Empty Dashboard and Monthly View
The dashboard is your home screen. You'll see a big monthly total at the top (currently $0), a list of upcoming bills beneath it, and a few empty sections waiting for your data. The design is intentional: it's uncluttered enough that you can quickly scan what's due this month without any noise.
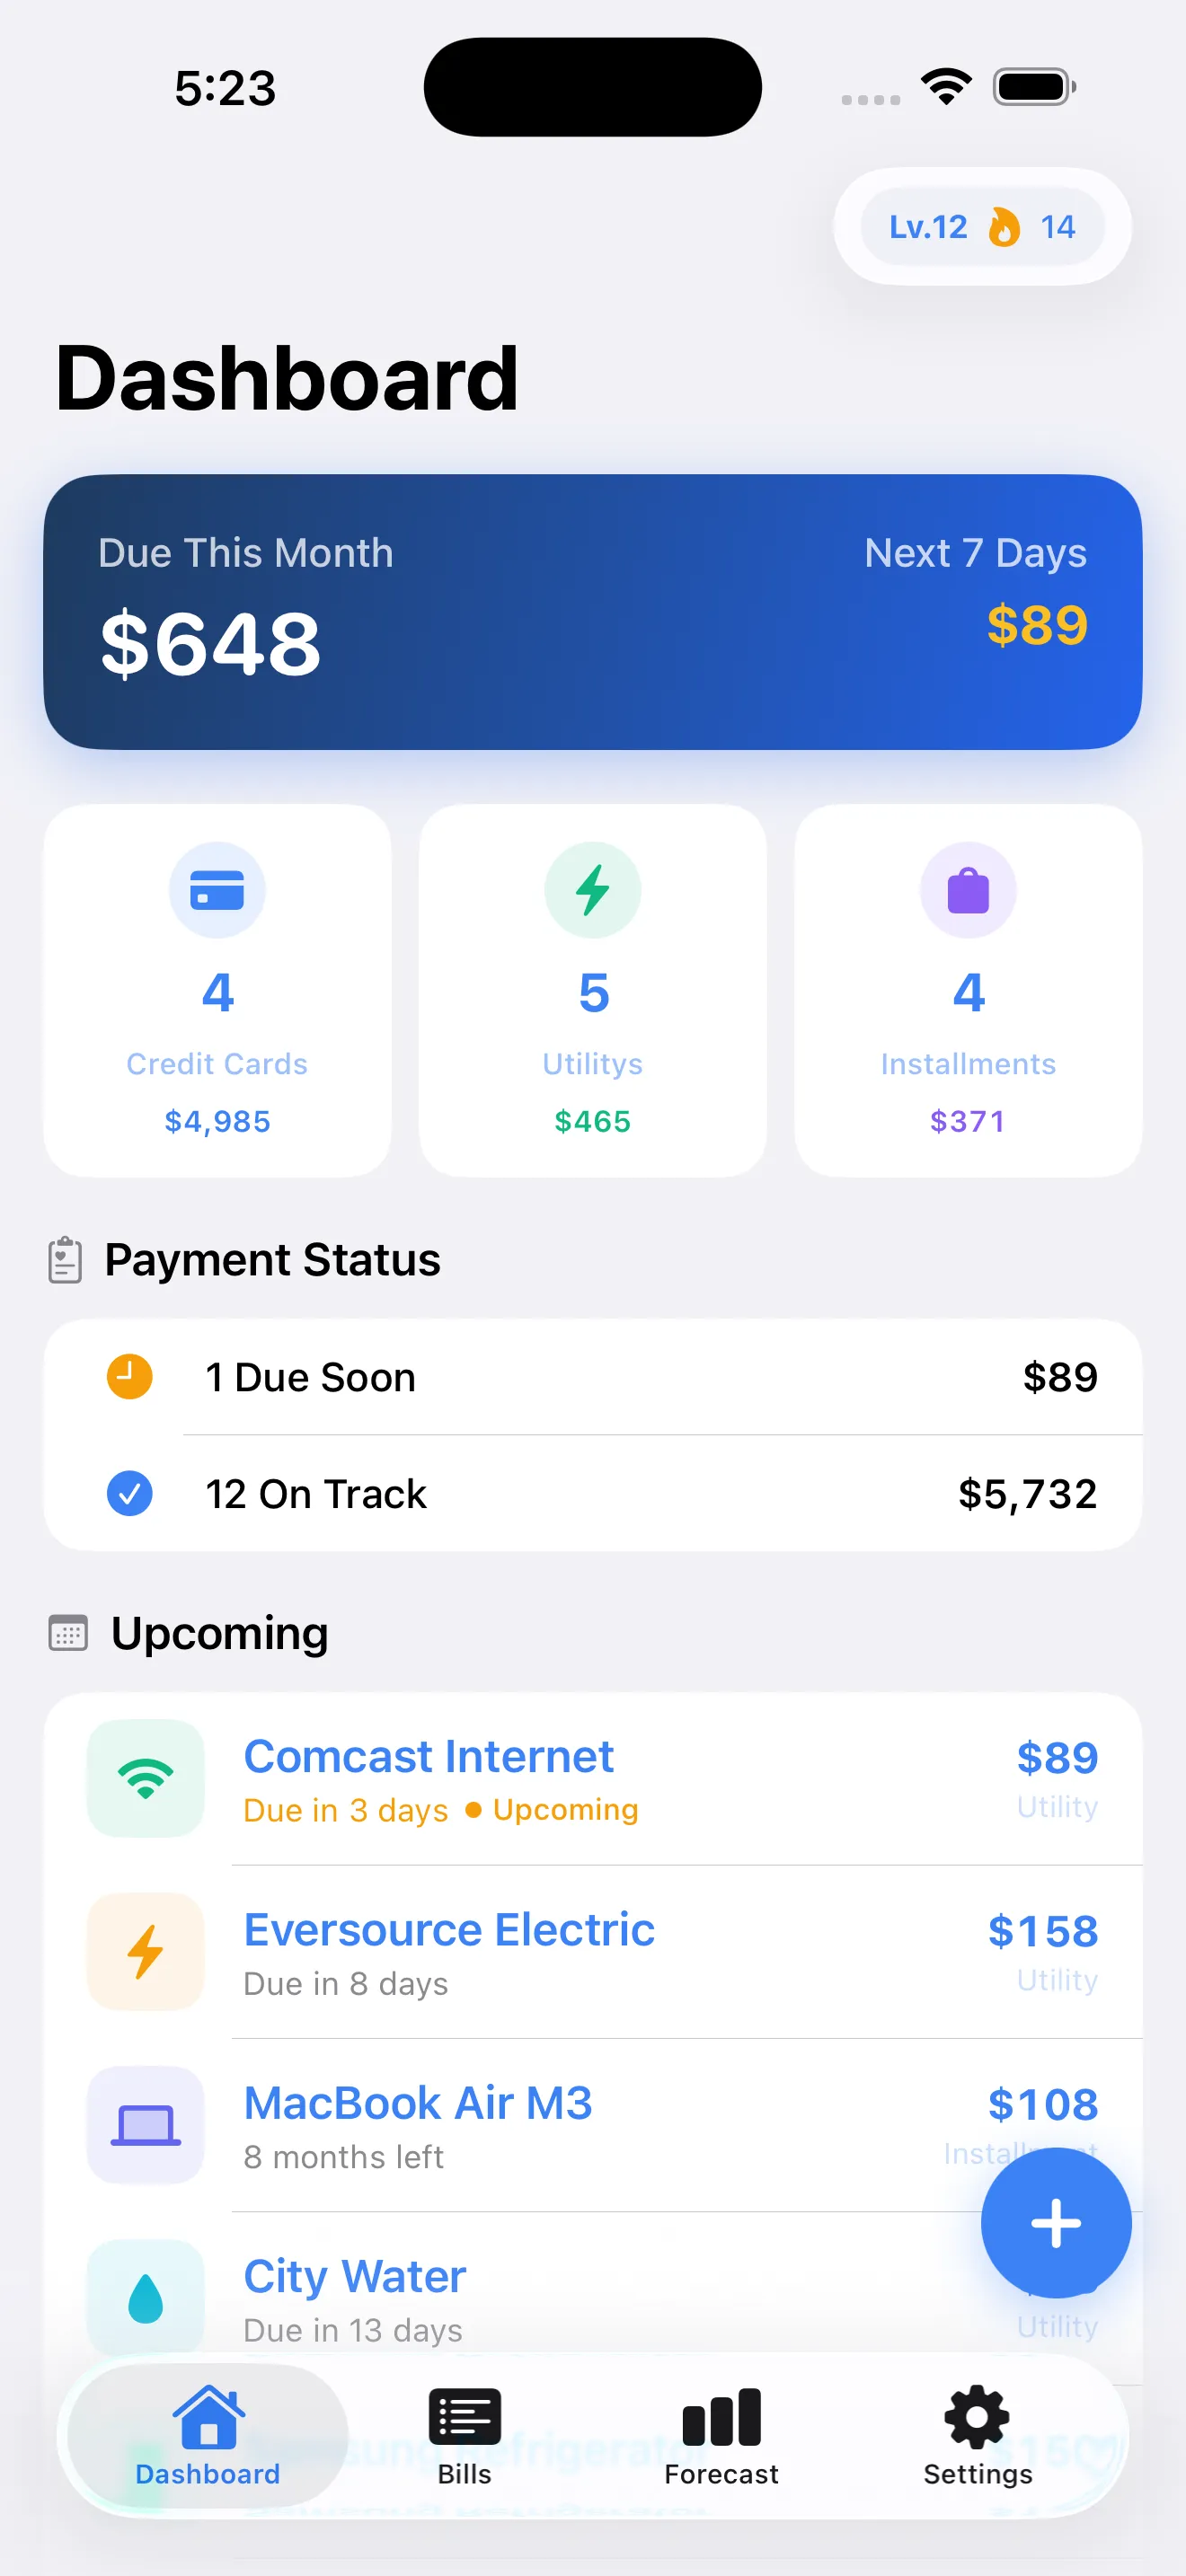
The dashboard shows you exactly what's due this month at a glance—no hunting through notifications or searching through tabs.
Adding Your First Bill
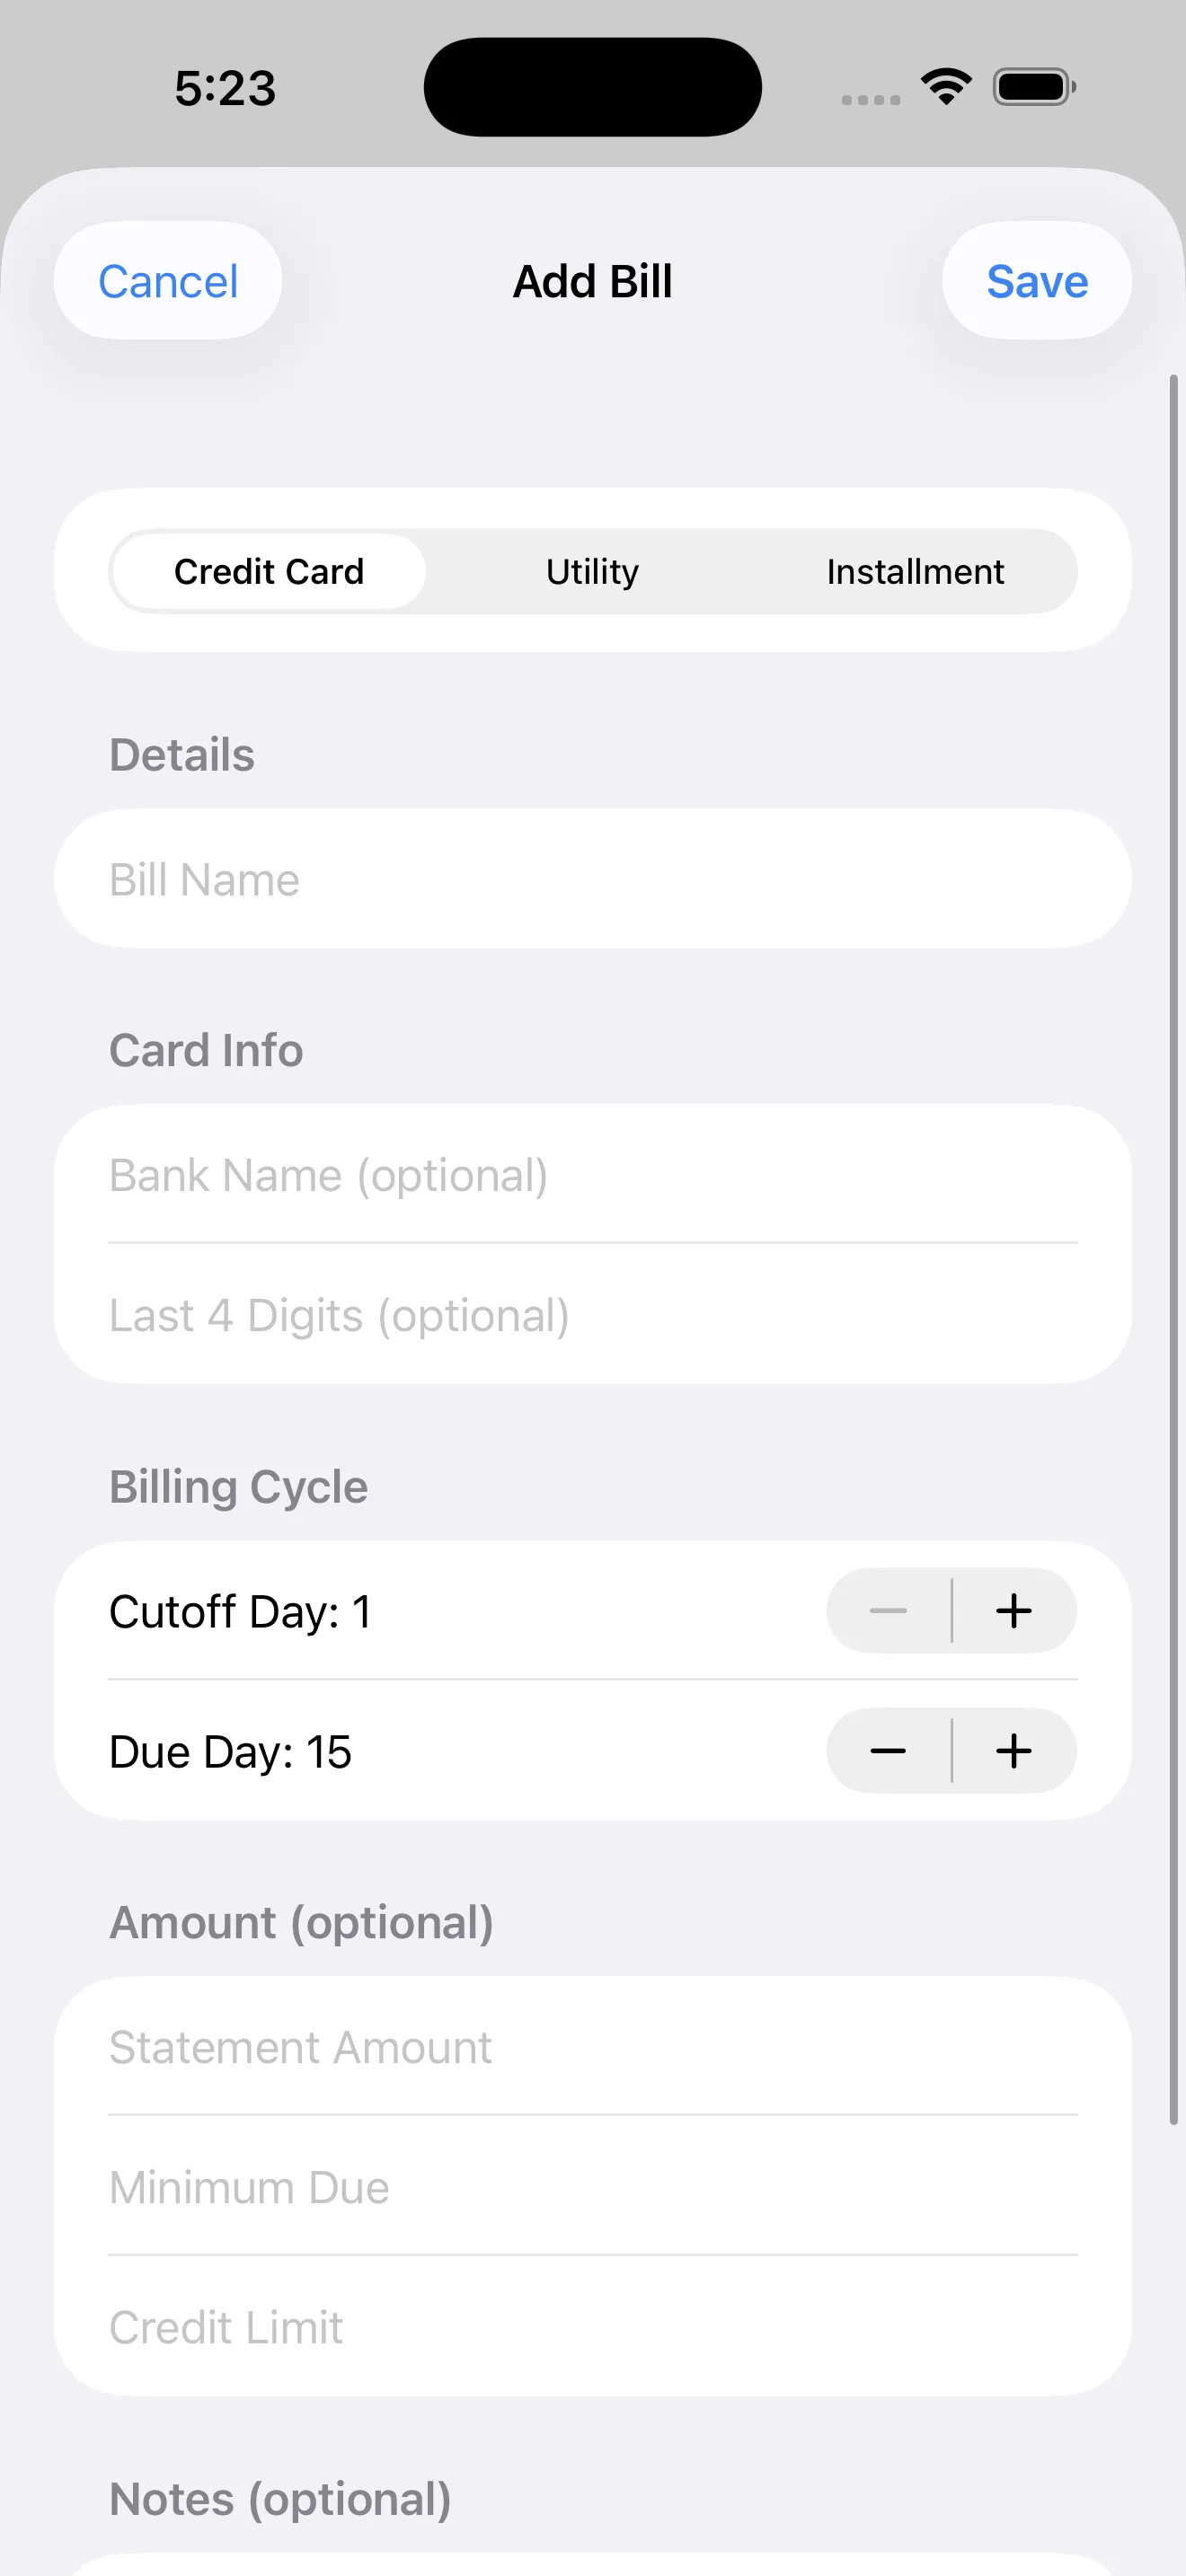
Look for the plus button or "Add Bill" button near the top or bottom of the dashboard. Tap it and you'll see three bill types to choose from: credit cards, utilities, and installments. Each type asks slightly different questions because they work differently—a credit card has a cutoff date and a due date, while a utility bill just has a monthly billing cycle.
If You're Adding a Credit Card
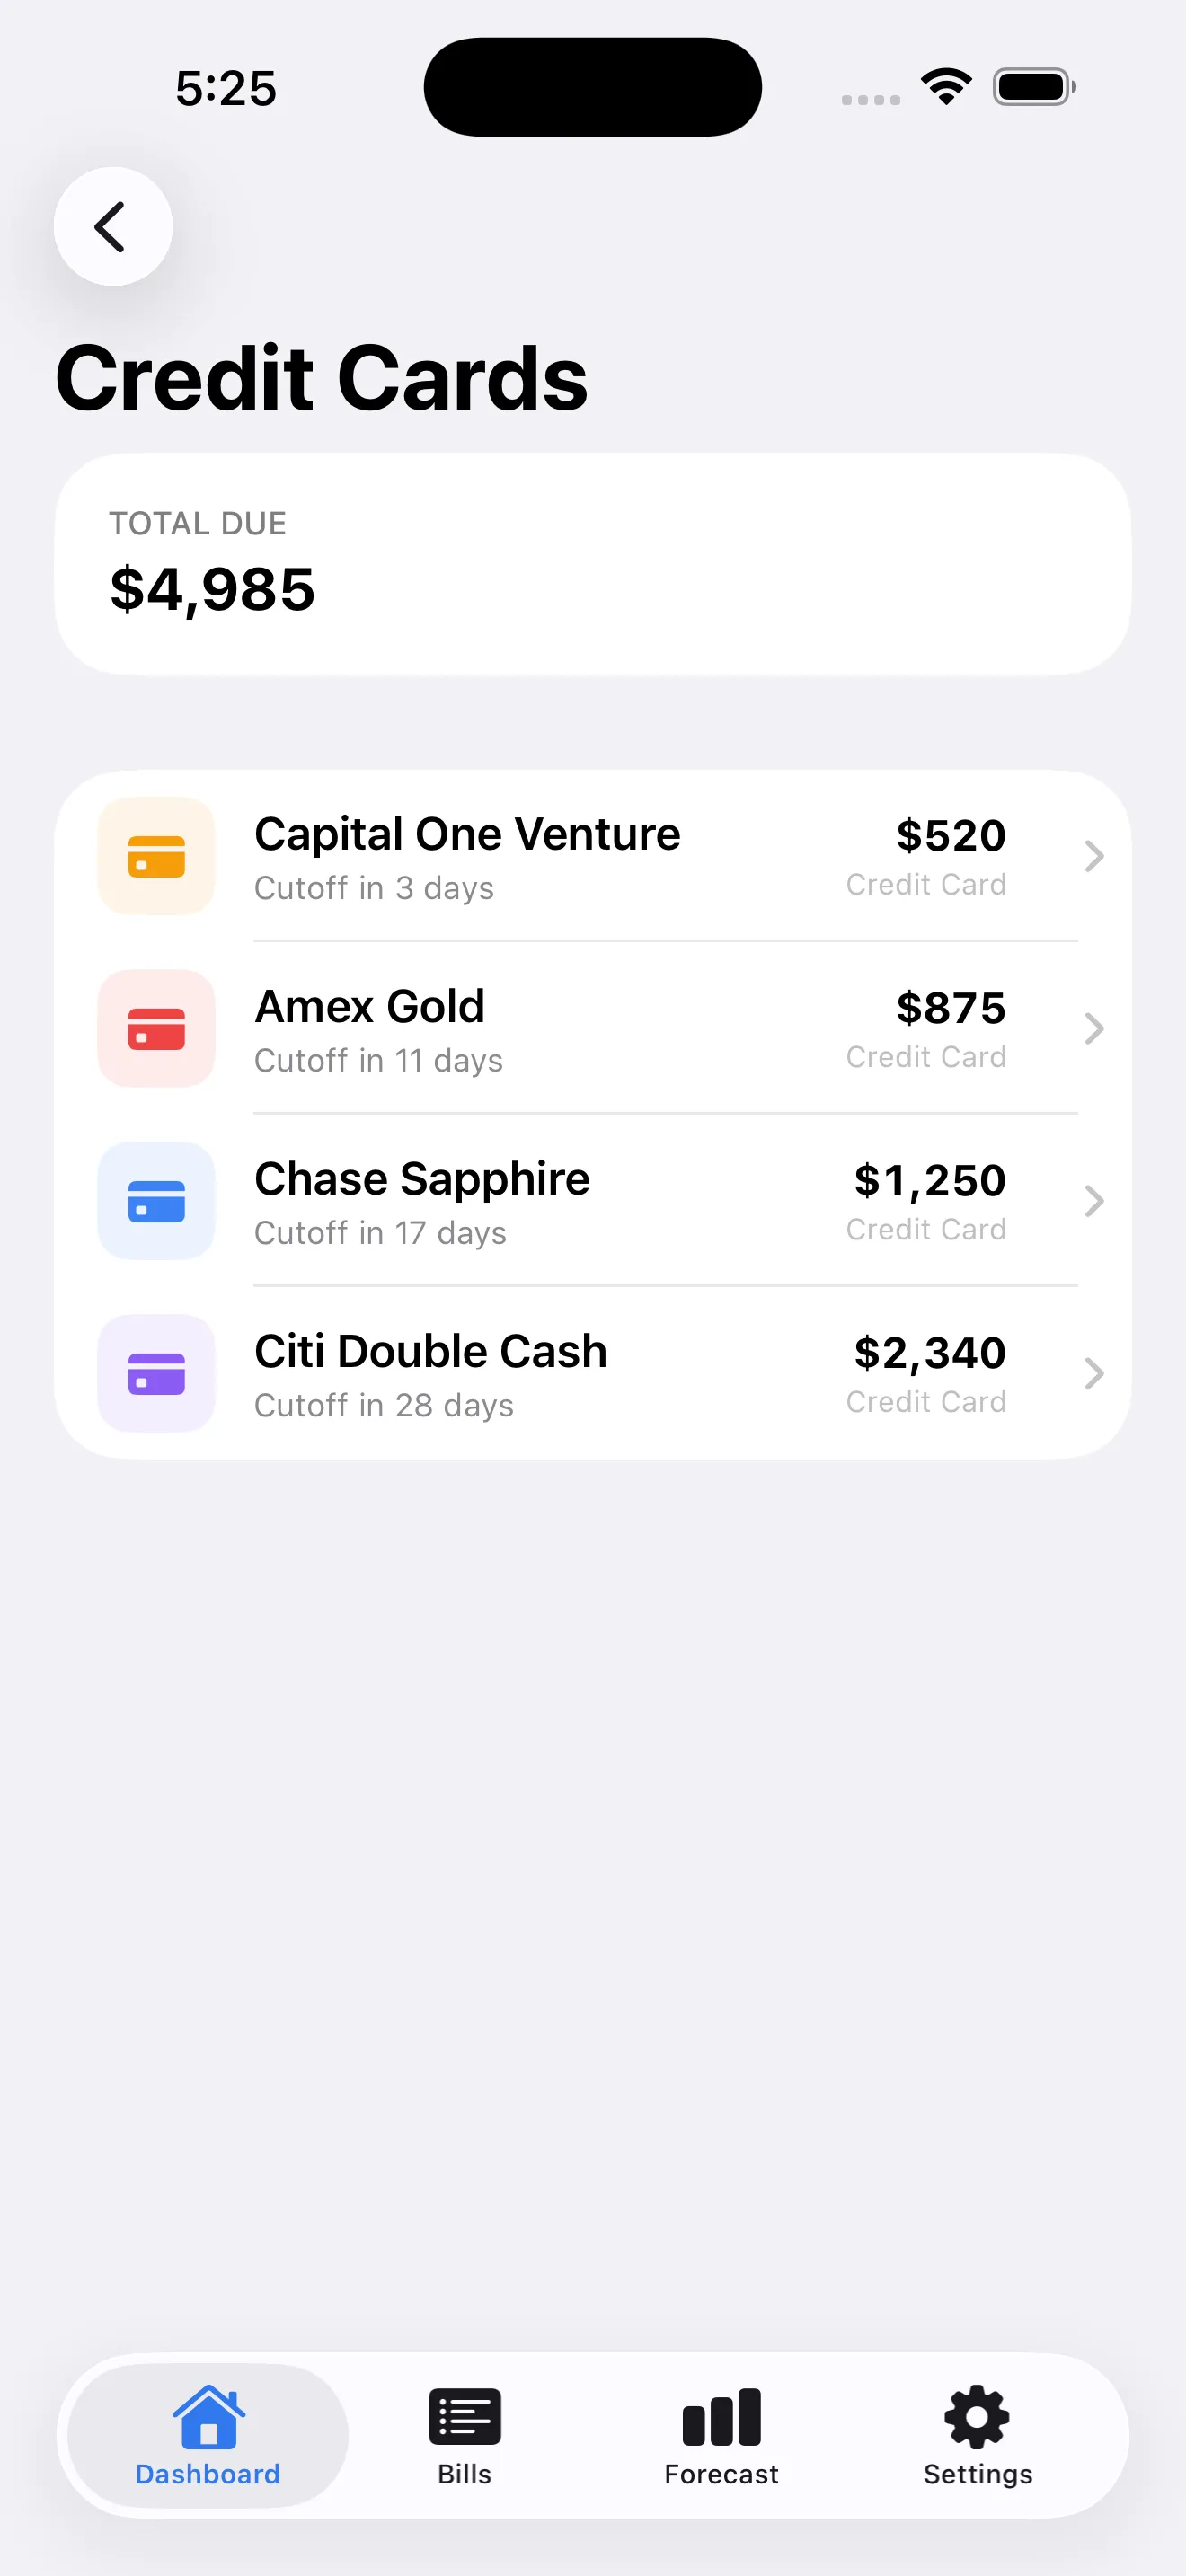
Fill in the card name (Visa, Amex, etc.), the cutoff date (when new purchases stop being counted toward this month's balance), and the due date (when payment is actually due). BillWise uses both dates to show you an accurate picture of when money needs to leave your account. This is the detail that most bill trackers miss, and it's why credit card tracking in BillWise feels more real.
If You're Adding a Utility Bill
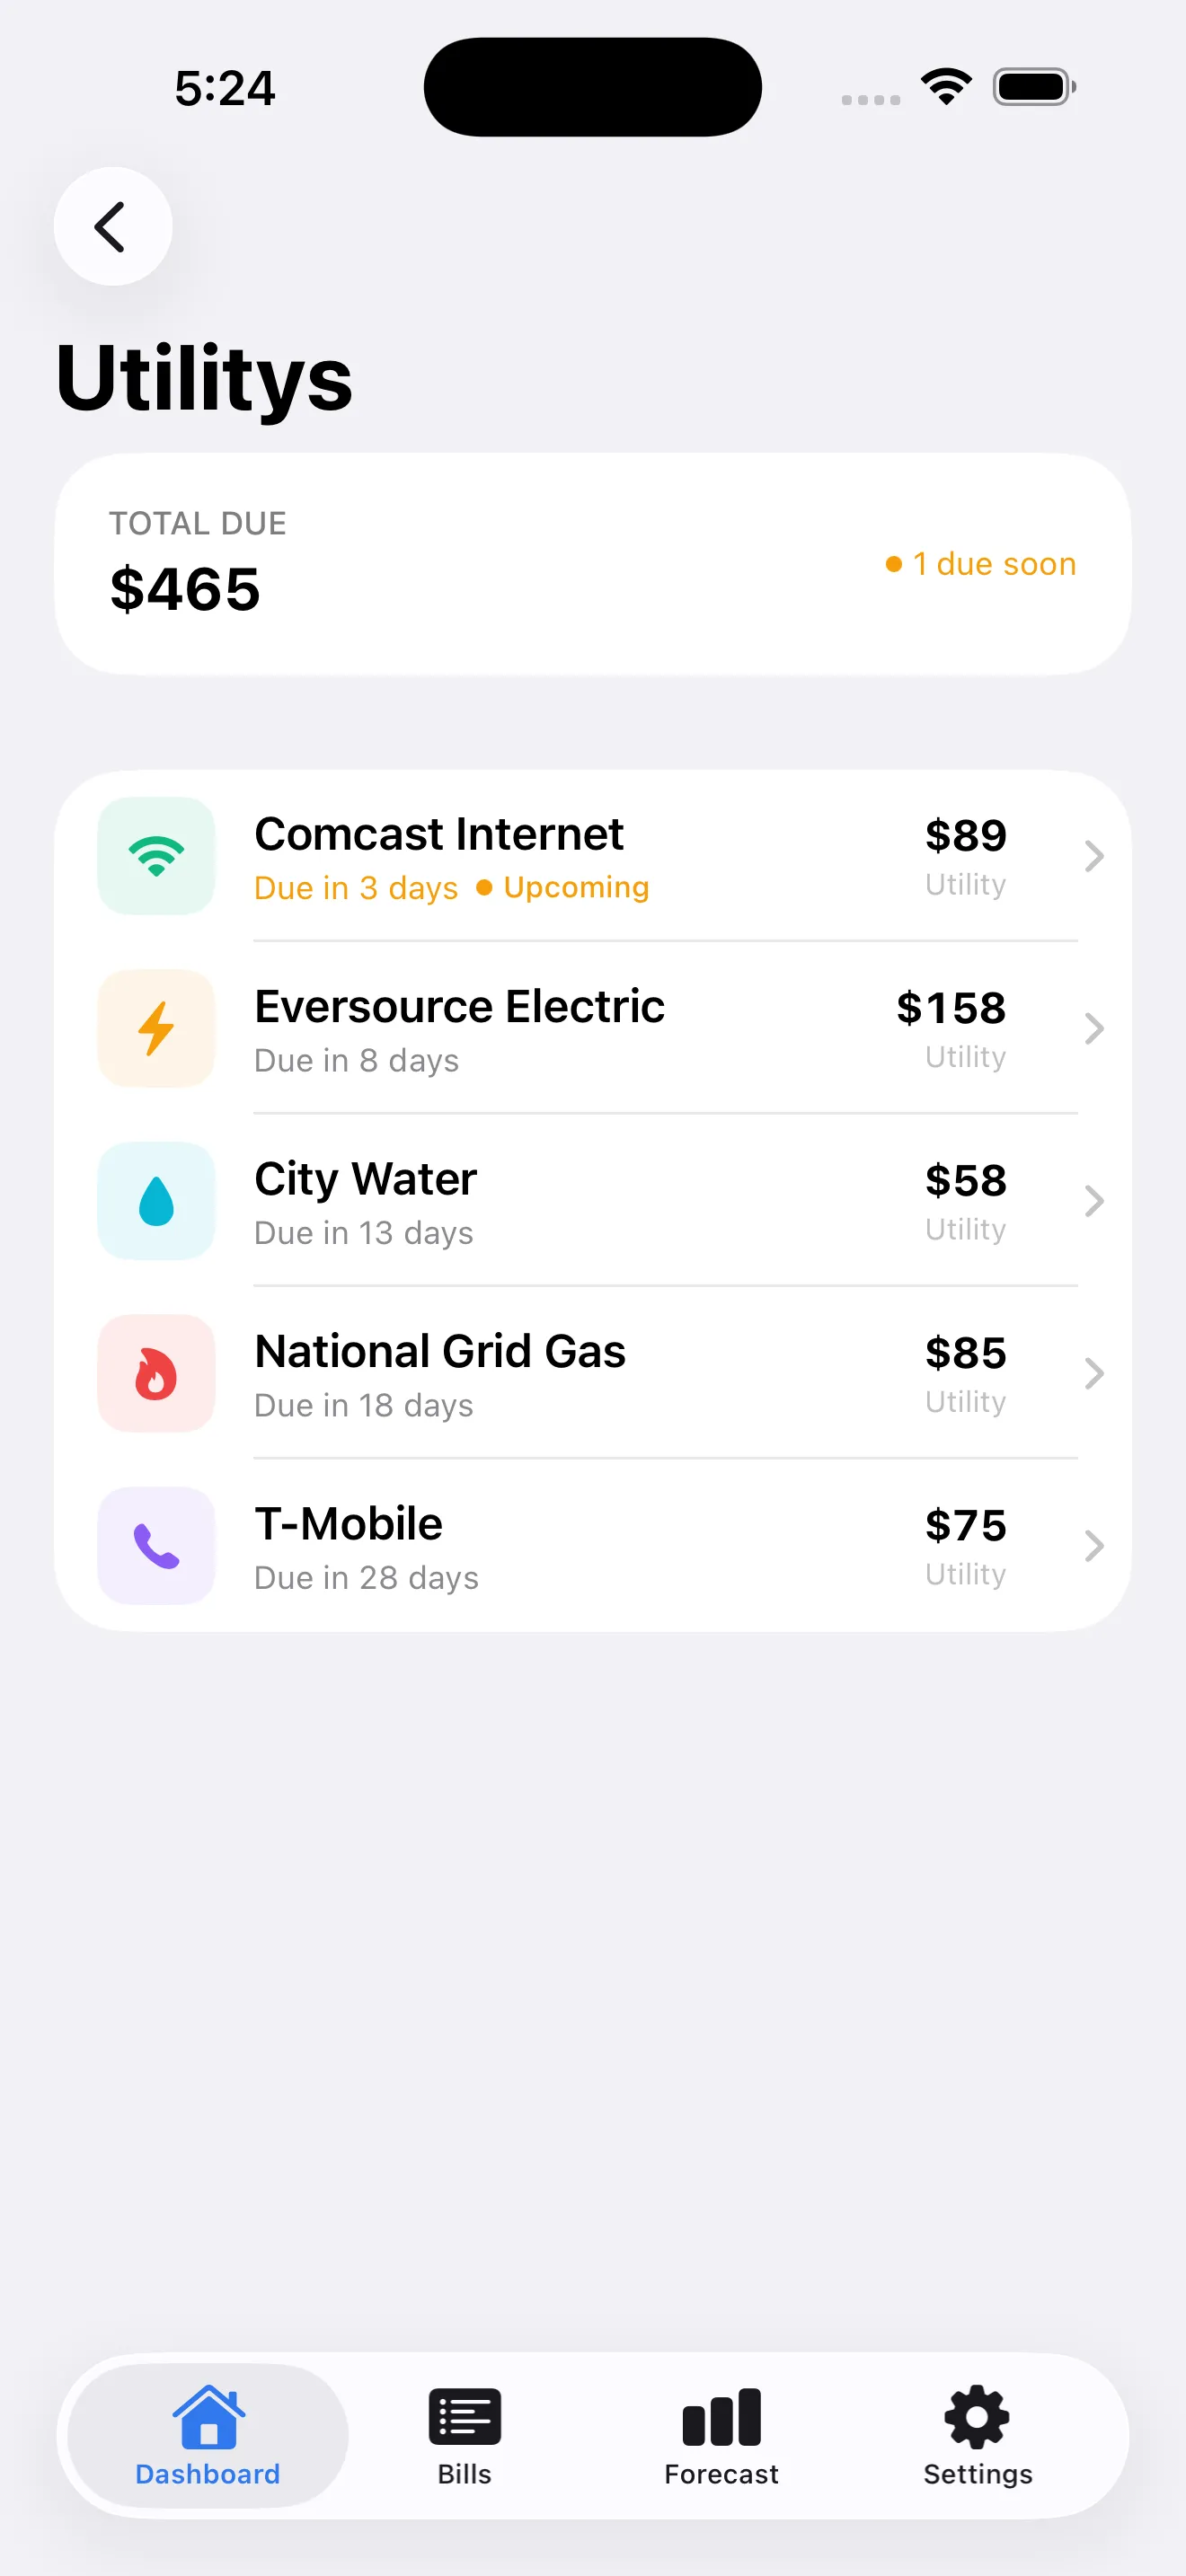
Enter the utility type (electric, water, internet, etc.), the monthly amount, and the billing cycle date—usually the day your bill resets each month. You can also mark whether it's for a single month or a fixed amount you pay every month.
If You're Adding an Installment
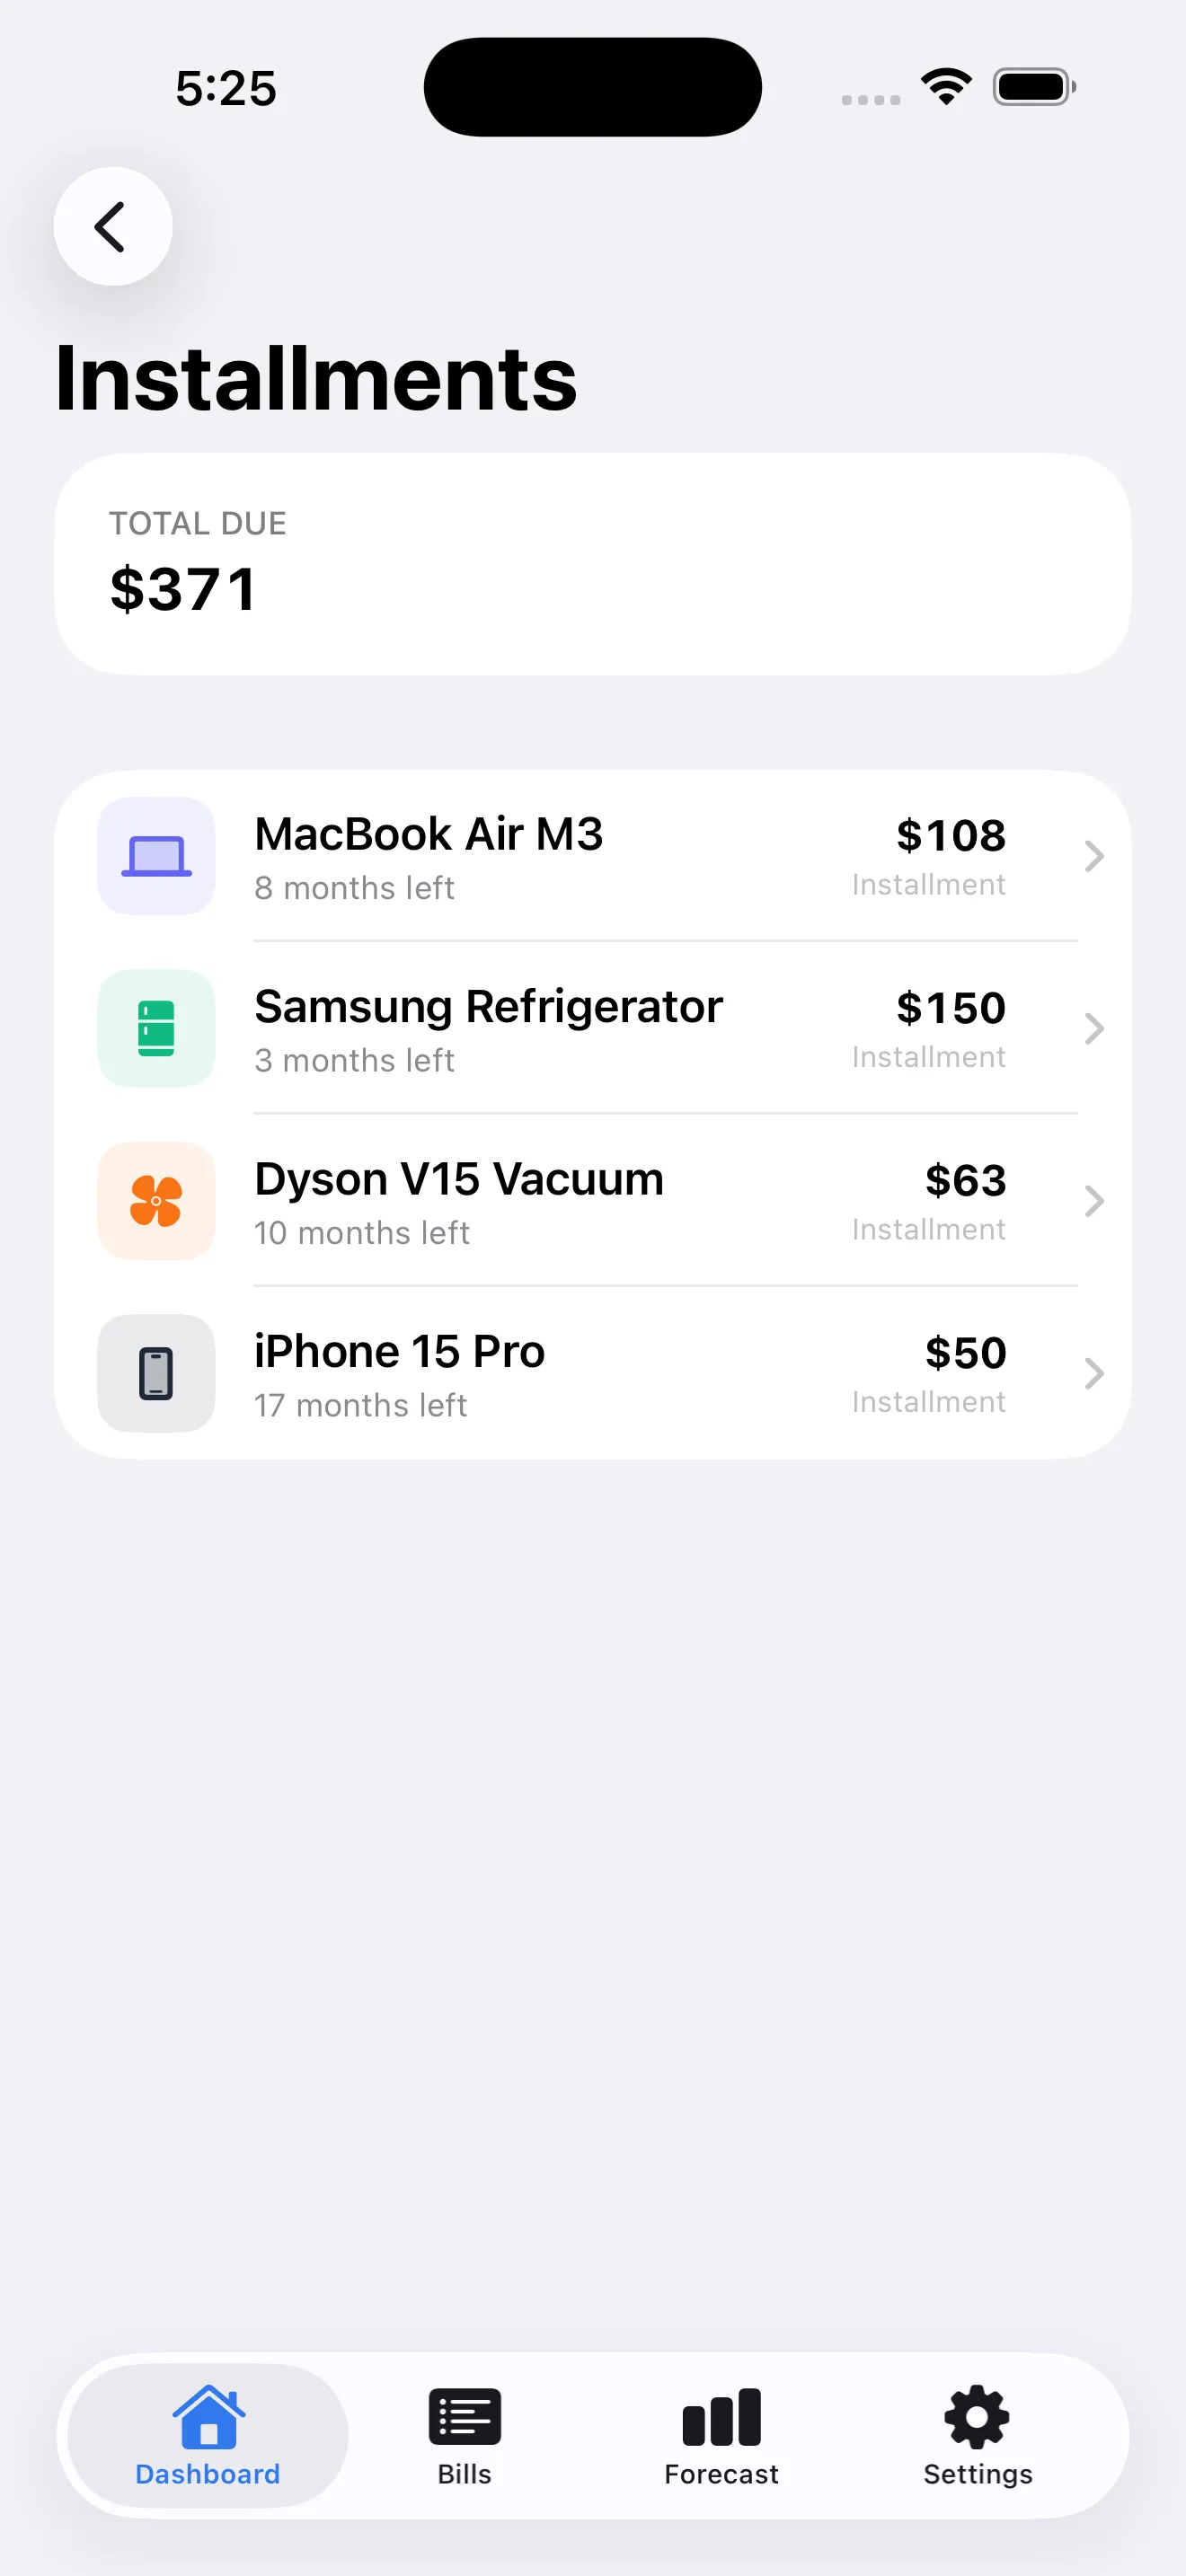
Installments are payments spread over time—like a phone plan or a payment plan from a retailer. You'll enter the total amount, how many payments are left, and when each one is due. BillWise tracks your progress as you pay down the balance.
After You Add Your First Bill
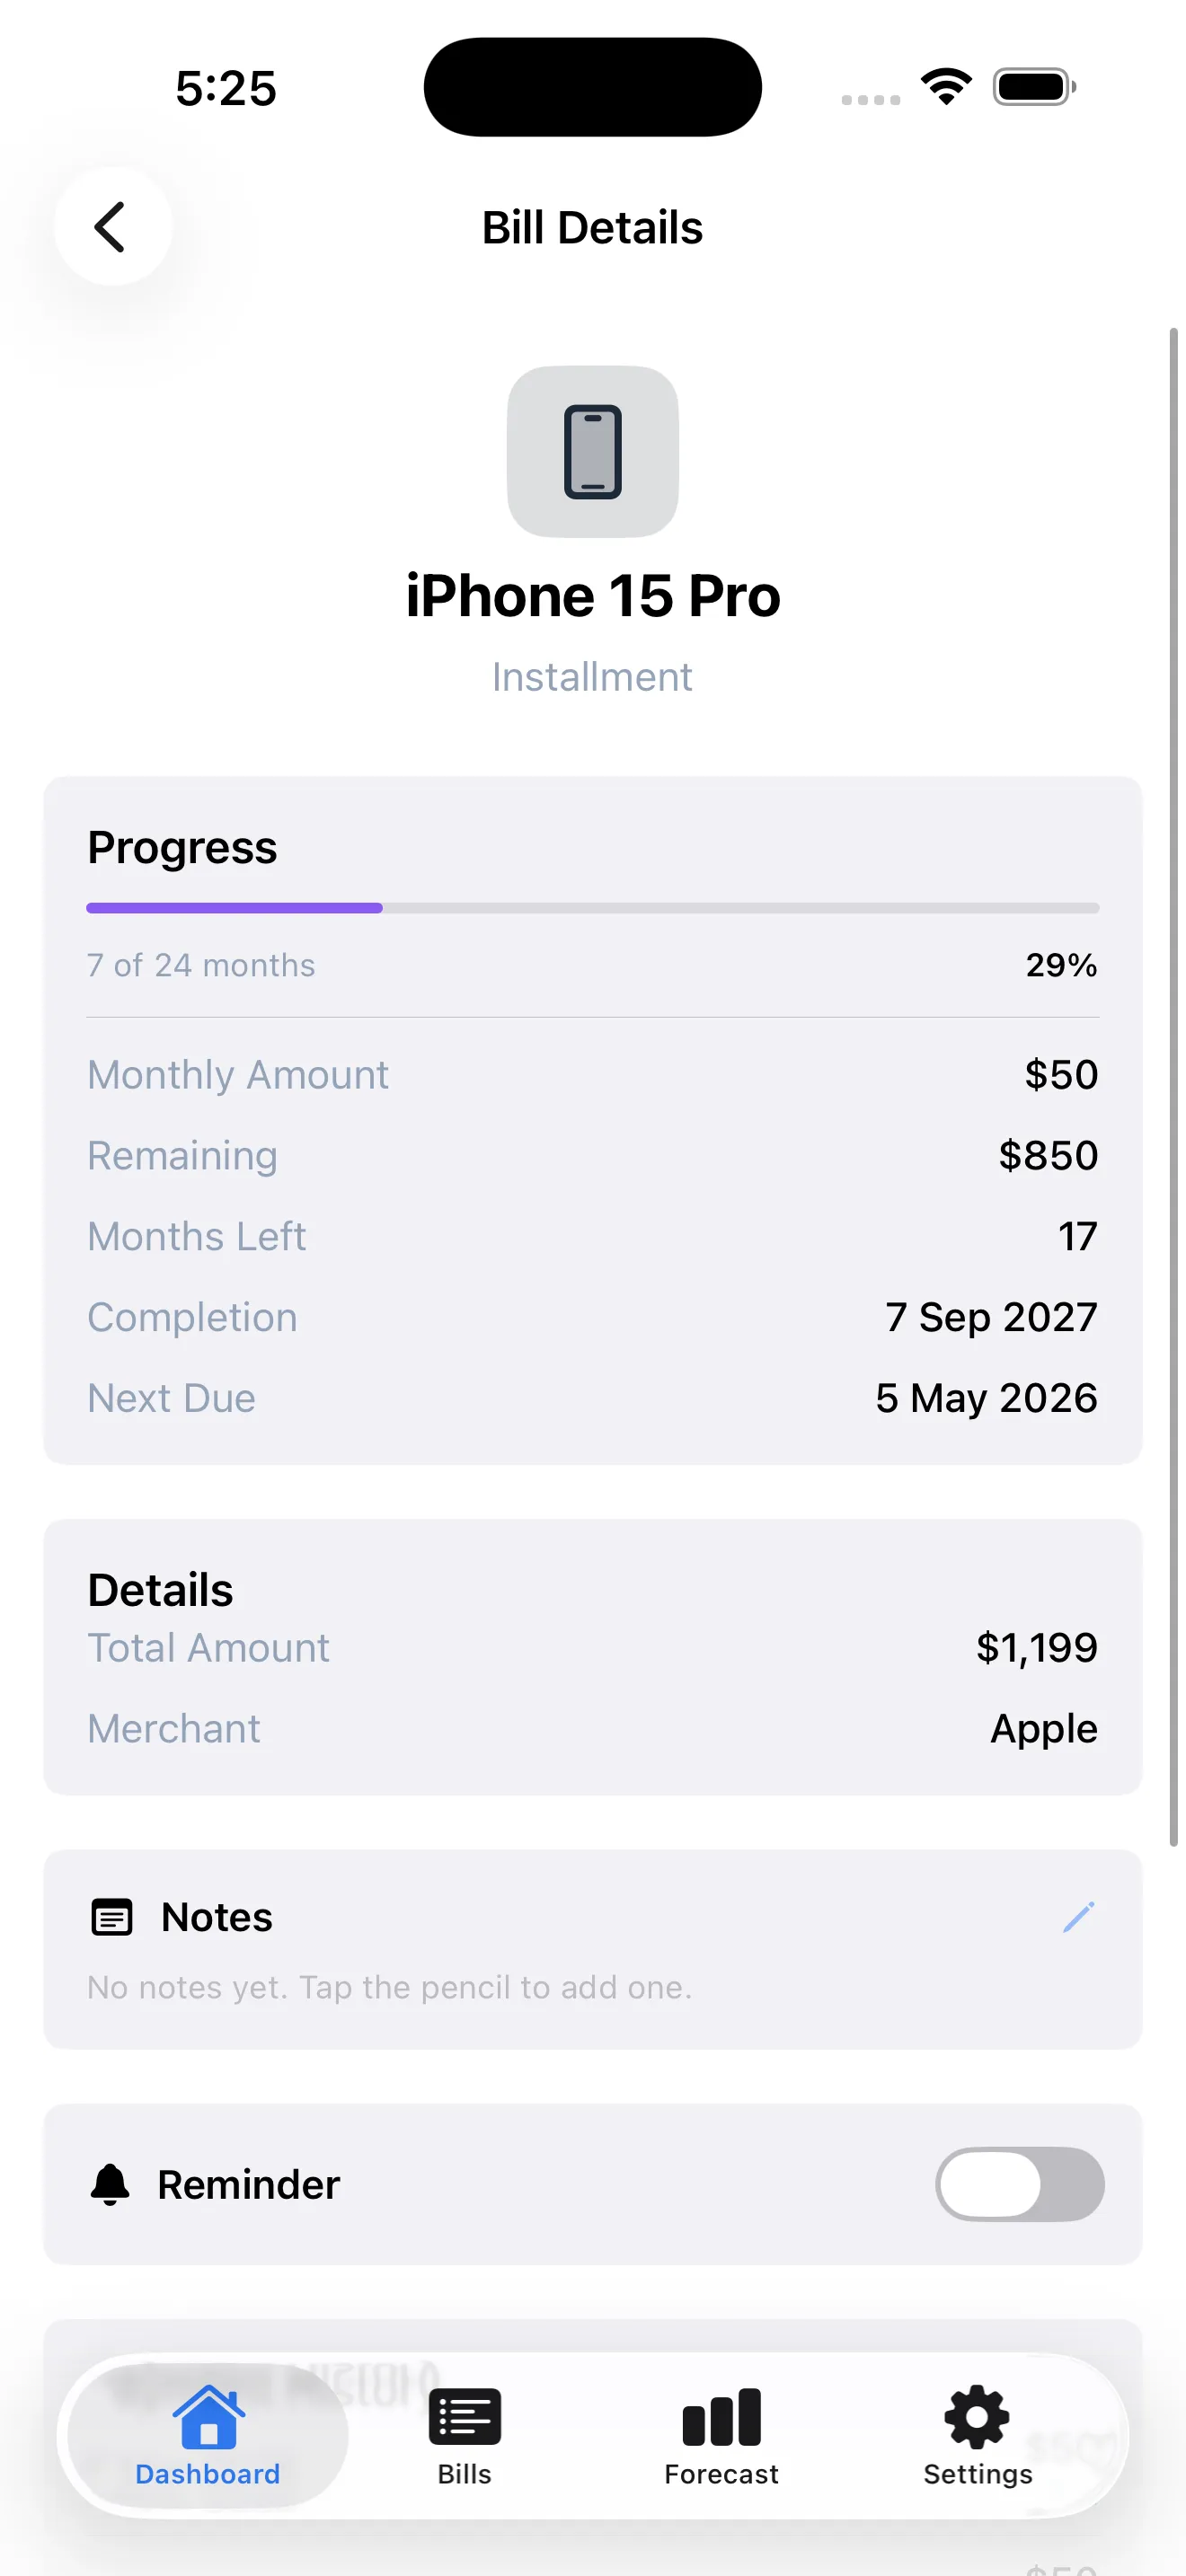
Once you've entered a bill, you'll return to the dashboard and see your monthly total update. That first bill is now visible in your upcoming list. BillWise will also send you a notification a few days before the due date (or on the date itself, depending on your settings). Tap into the bill's detail page to add a note, set a custom reminder, or just confirm the payment details.
Understanding Payment Forecasting
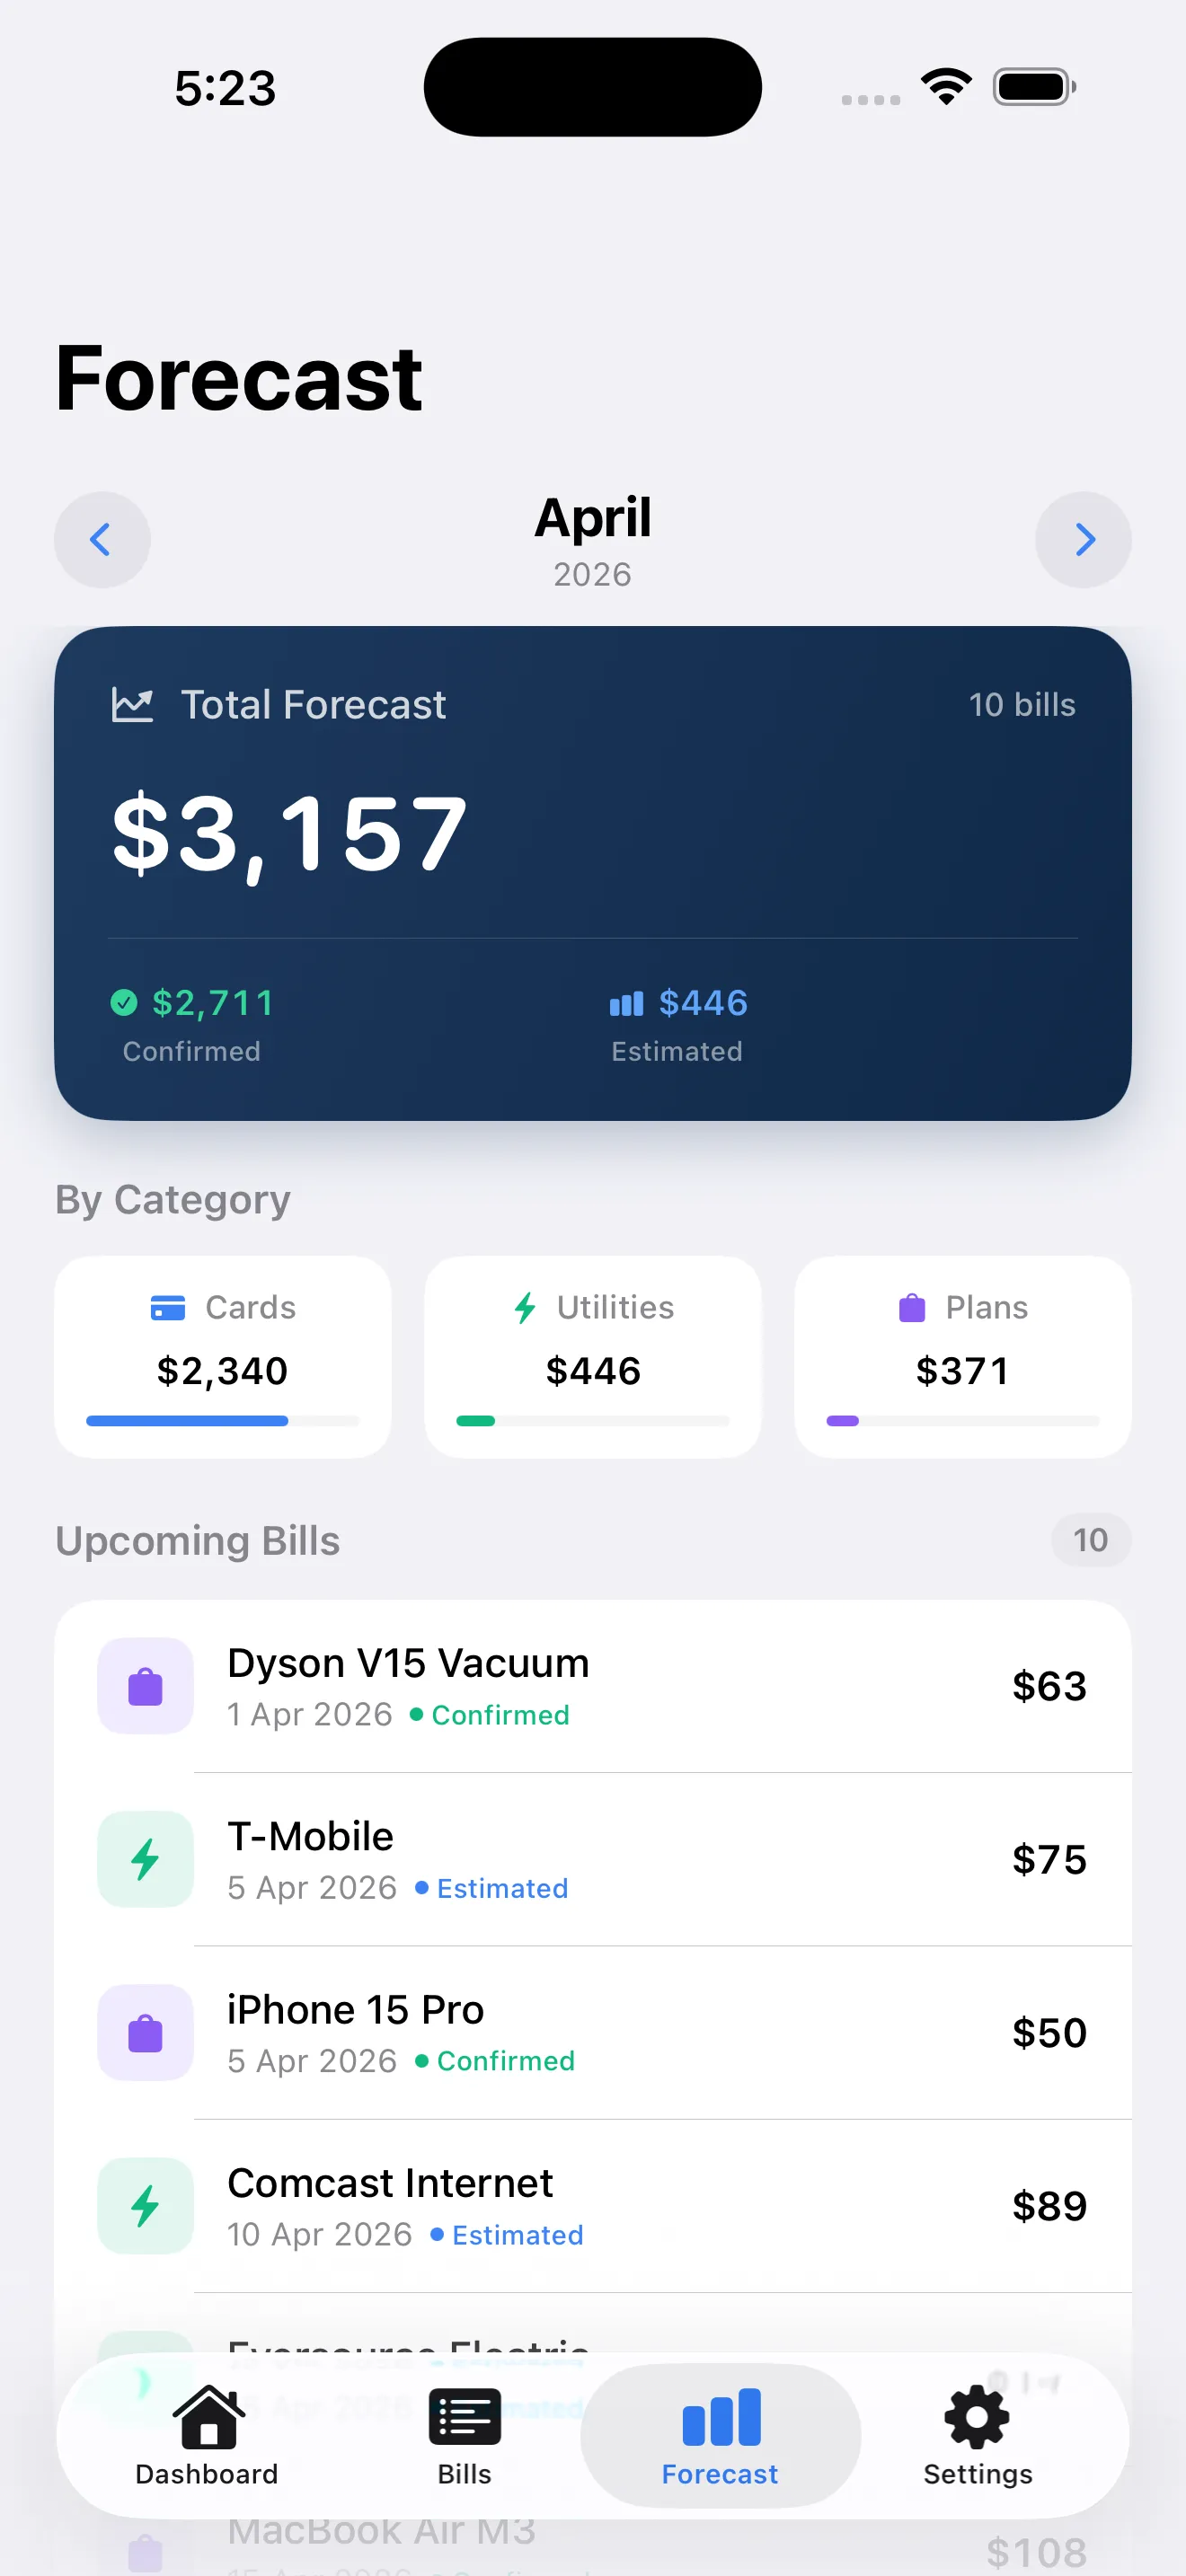
Once you have a few bills entered, open the Forecast view. This is where BillWise shows you what's coming—not just this month, but the next few months too. You'll see a projected total for each month so you can plan ahead. If you have highly variable bills (a credit card that changes month to month), forecasting helps you spot expensive months before they arrive.
Earning Your First XP
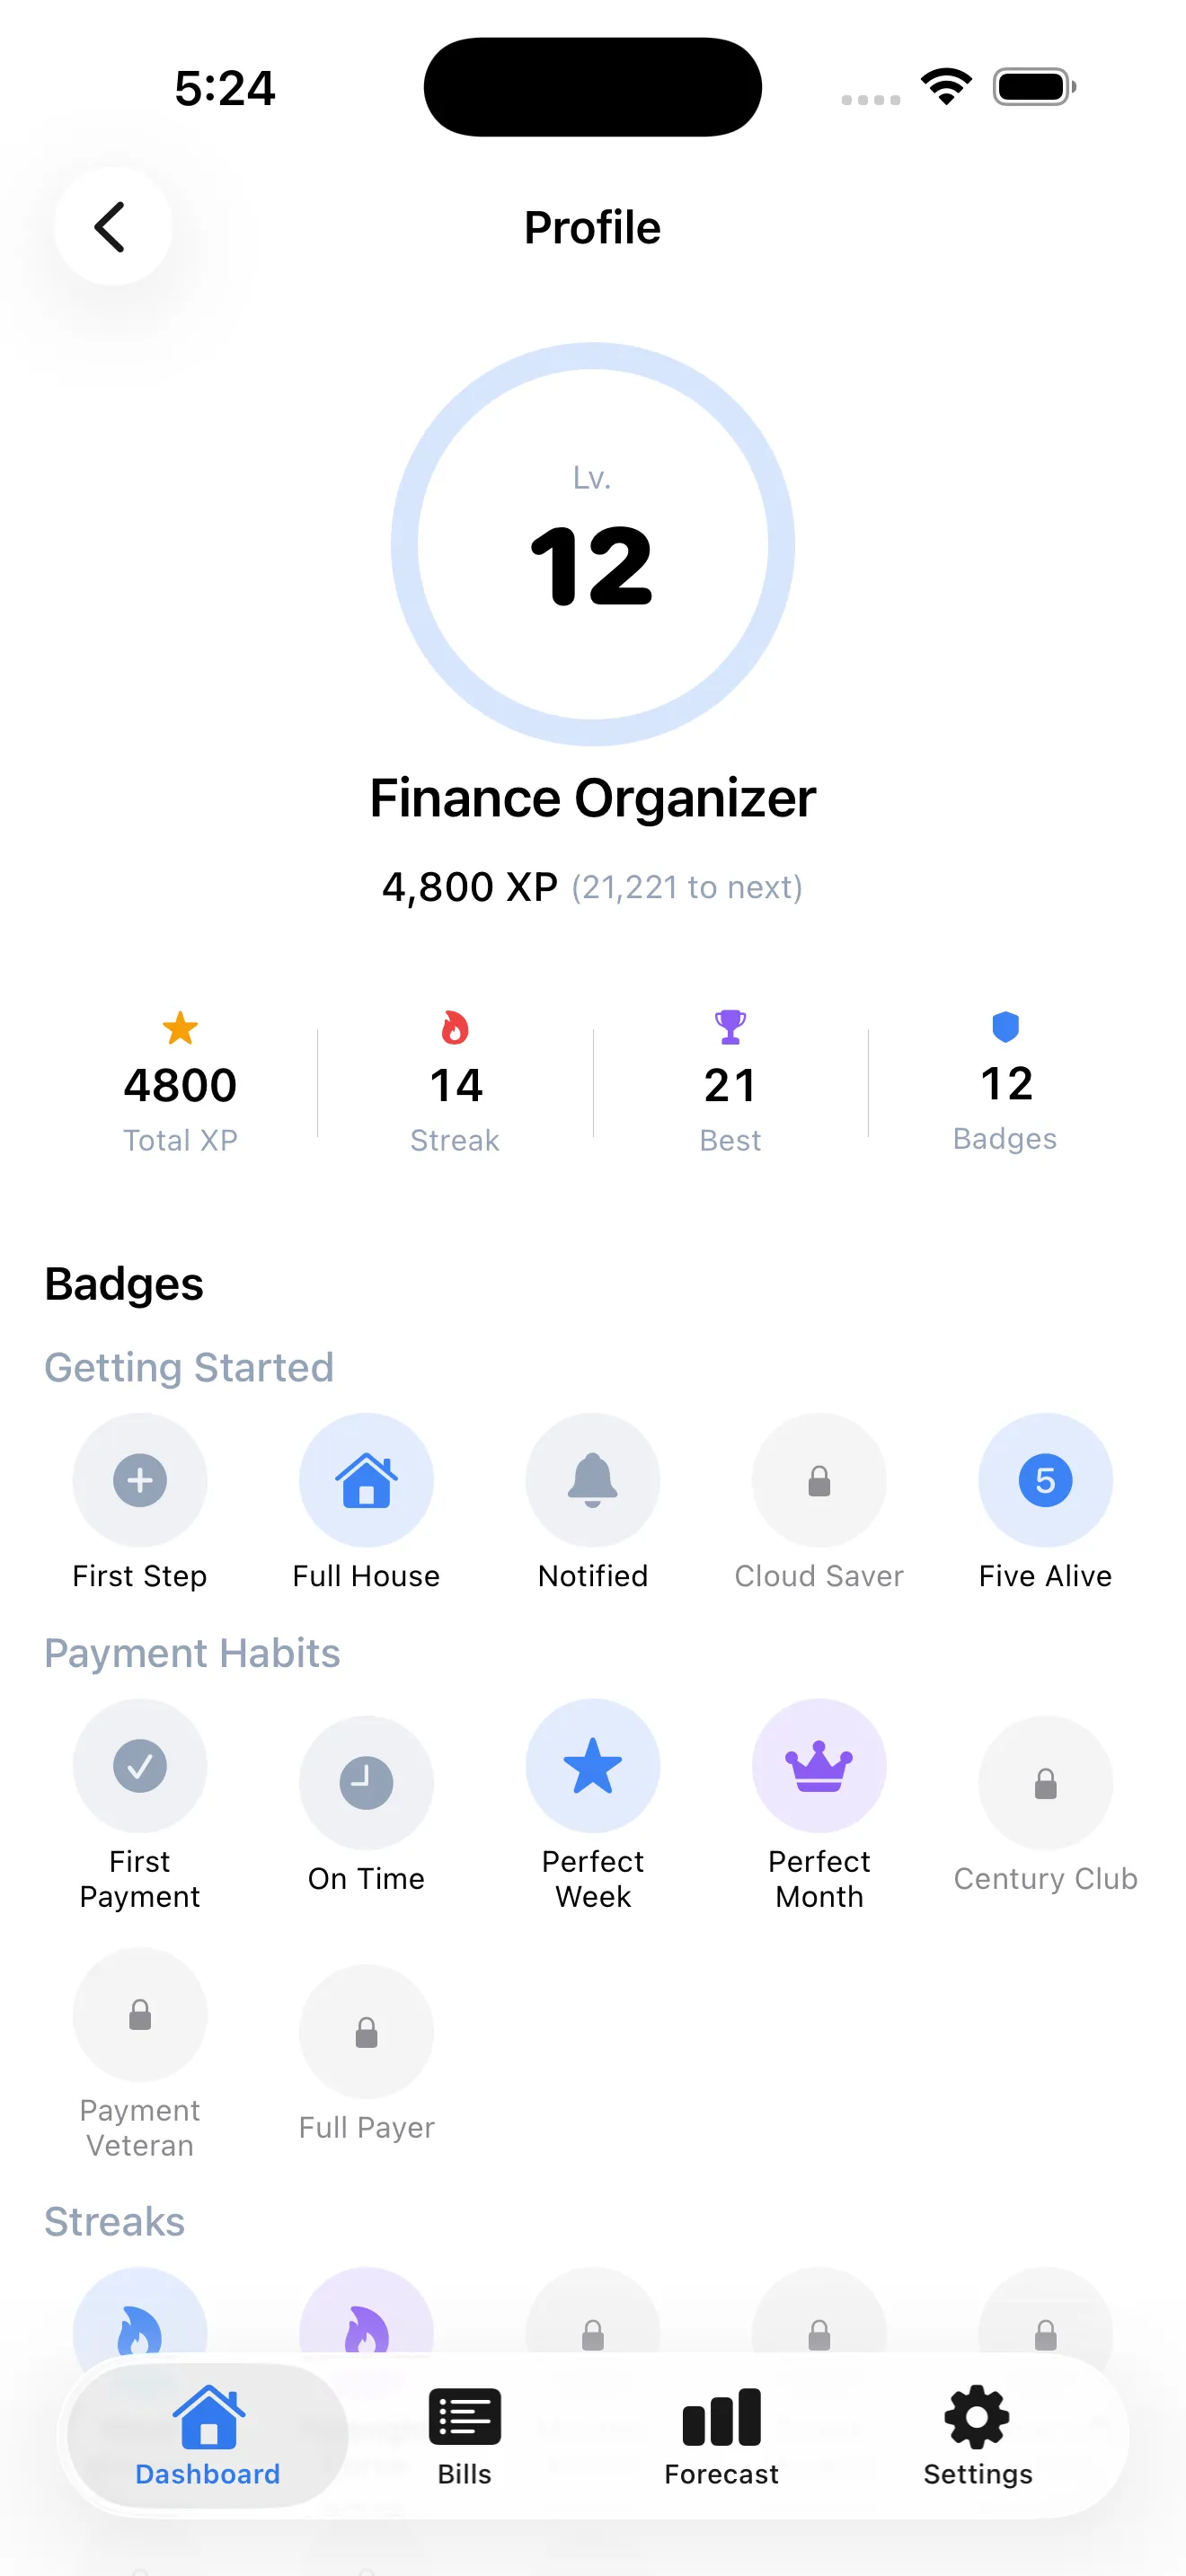
Once a bill is due and you pay it on time, BillWise gives you XP points. You'll see your level and current XP on your profile screen. As you level up, you unlock small badges and streaks that recognize your consistency. It sounds small, but seeing that XP tick up after a successful on-time payment is actually motivating—it turns "I paid my bill" into a small win. If you want to dig deeper into how this works, check out how BillWise turns bill paying into a game you actually want to win.
Checking Your Settings
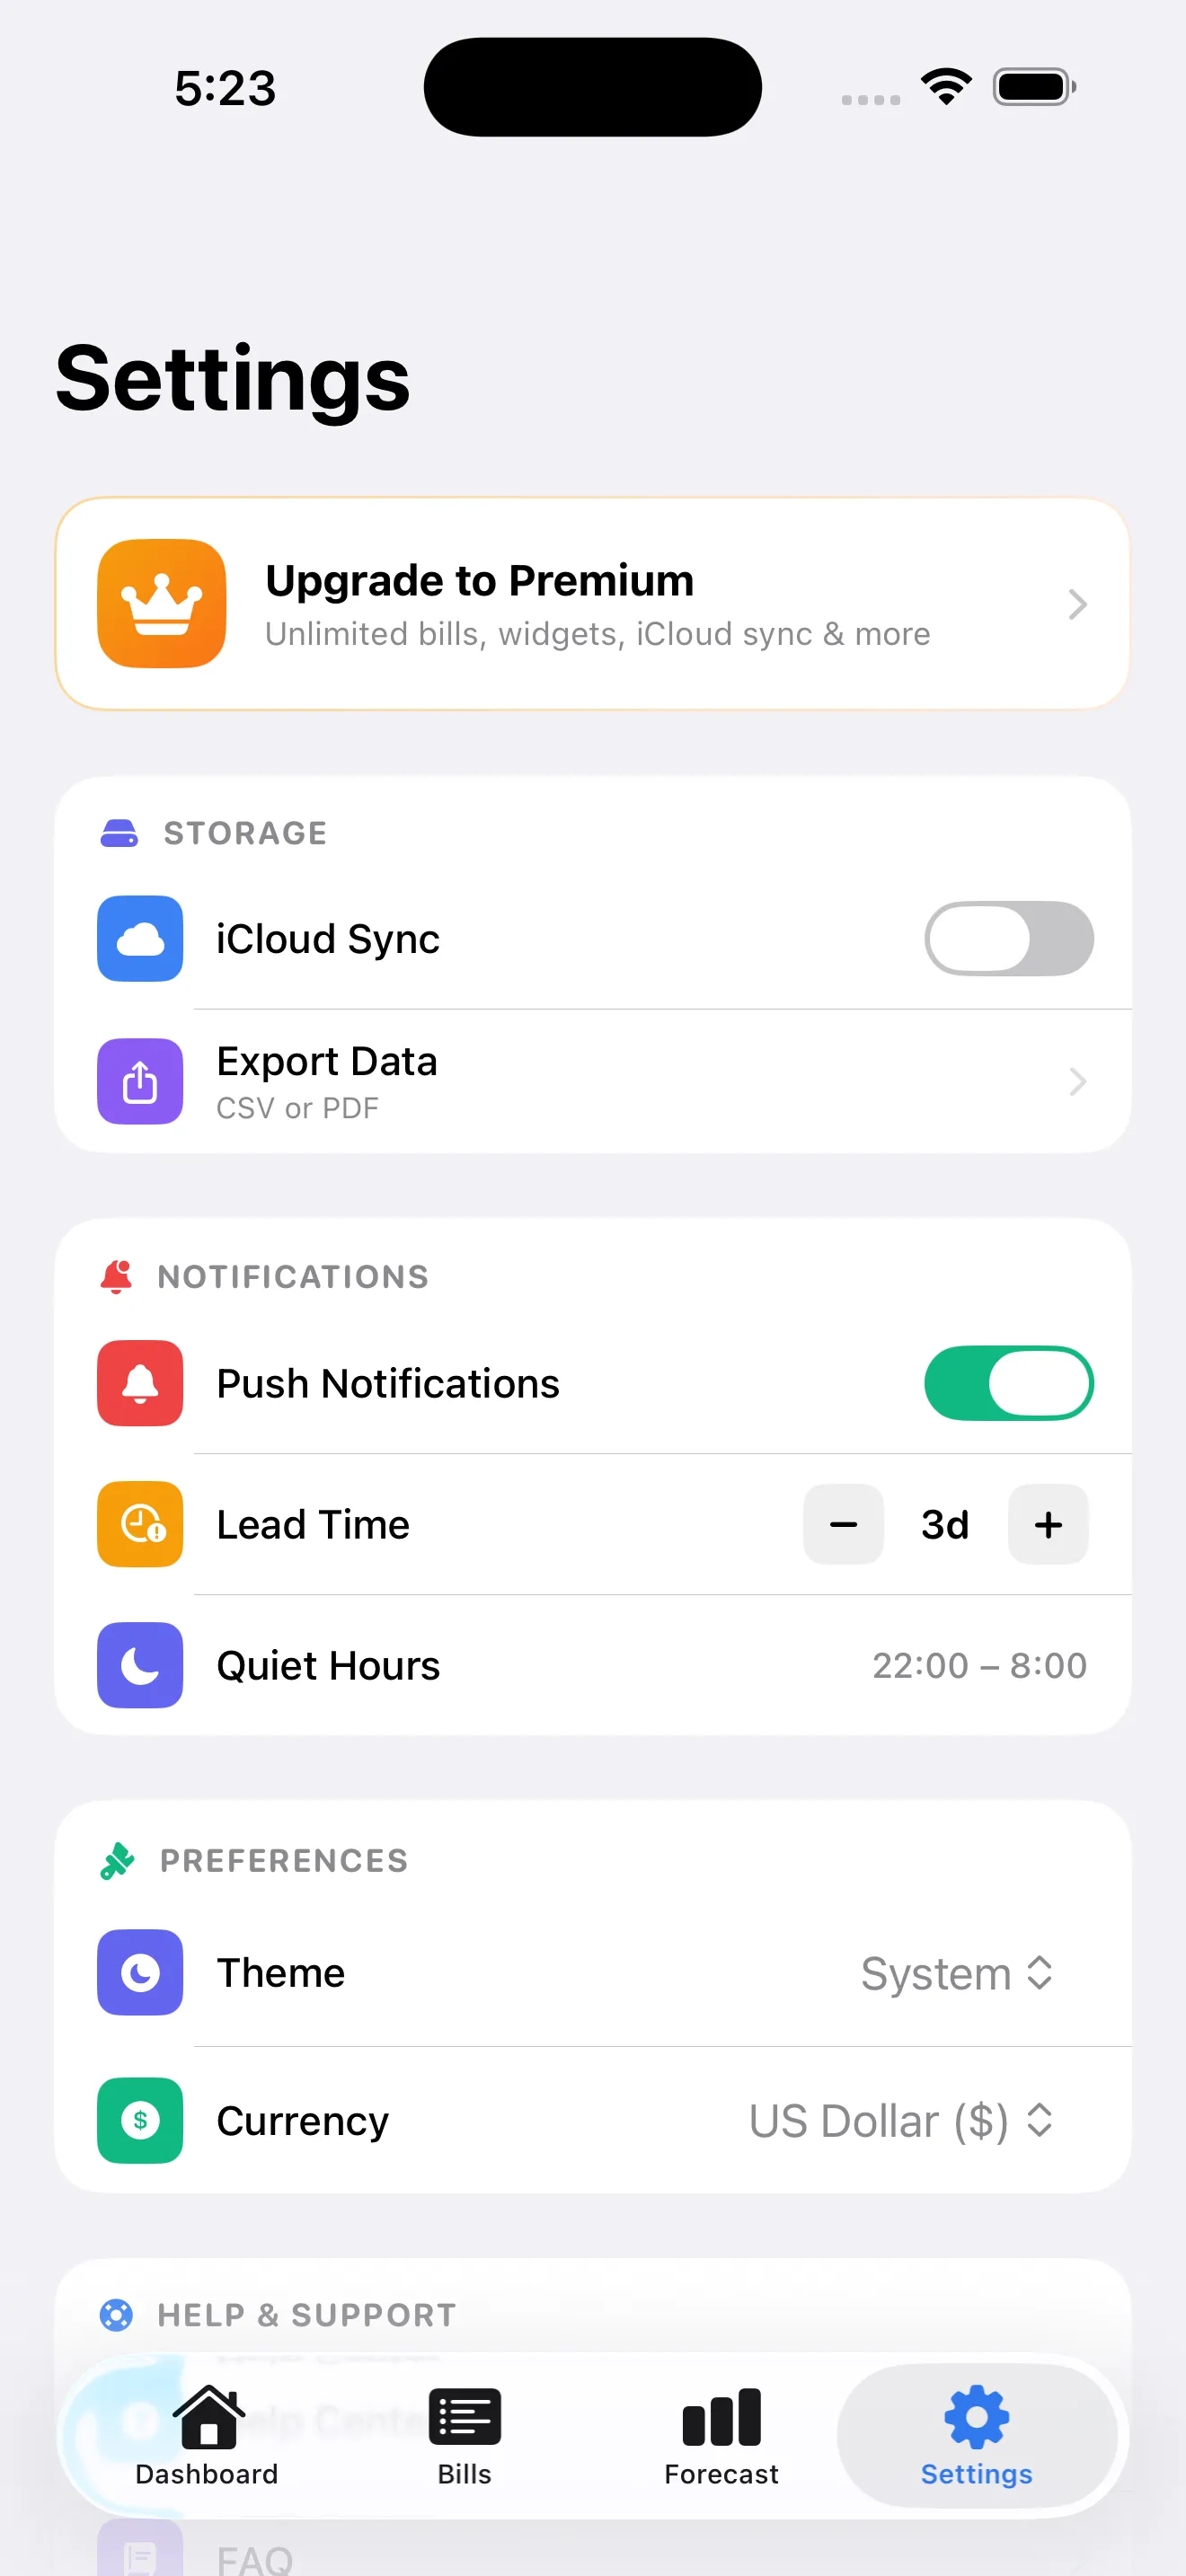
Before you add your second and third bills, take a quick look at Settings. You can enable iCloud sync here (so your bills stay in sync across your devices), adjust notification timing, and explore the free vs. Premium tiers. The free version lets you track up to 5 bills with full features. Premium unlocks unlimited bills, widgets, and 2x XP—but you can test drive the app without it. For more on what Premium offers, see the BillWise FAQ.
What Happens Next
After your first week, you'll have added most of your bills. The dashboard will show you a realistic monthly total. Notifications will start arriving a few days before due dates. You'll earn XP when you pay on time. The app will shift from a novelty to a routine—you'll check it once or twice a week to confirm what's coming and make sure nothing slipped through the cracks.
The goal isn't to obsess over your bills every day. It's to know what's coming and never be surprised.
This article was drafted with AI assistance and reviewed by a human editor before publishing.