DayBox turns the chaos of your to-do list into a realistic daily plan. You're not just listing tasks—you're placing them on a timeline, setting focus blocks, and measuring what actually happens against what you planned. This walkthrough shows you exactly how to go from first open to running your first focused work session, all in one sitting.
Step 1: Set up and sign in
When you first open DayBox, you'll see a simple sign-in flow. Choose the account method that works for you—email, Apple ID, or guest mode if you want to try things out first.
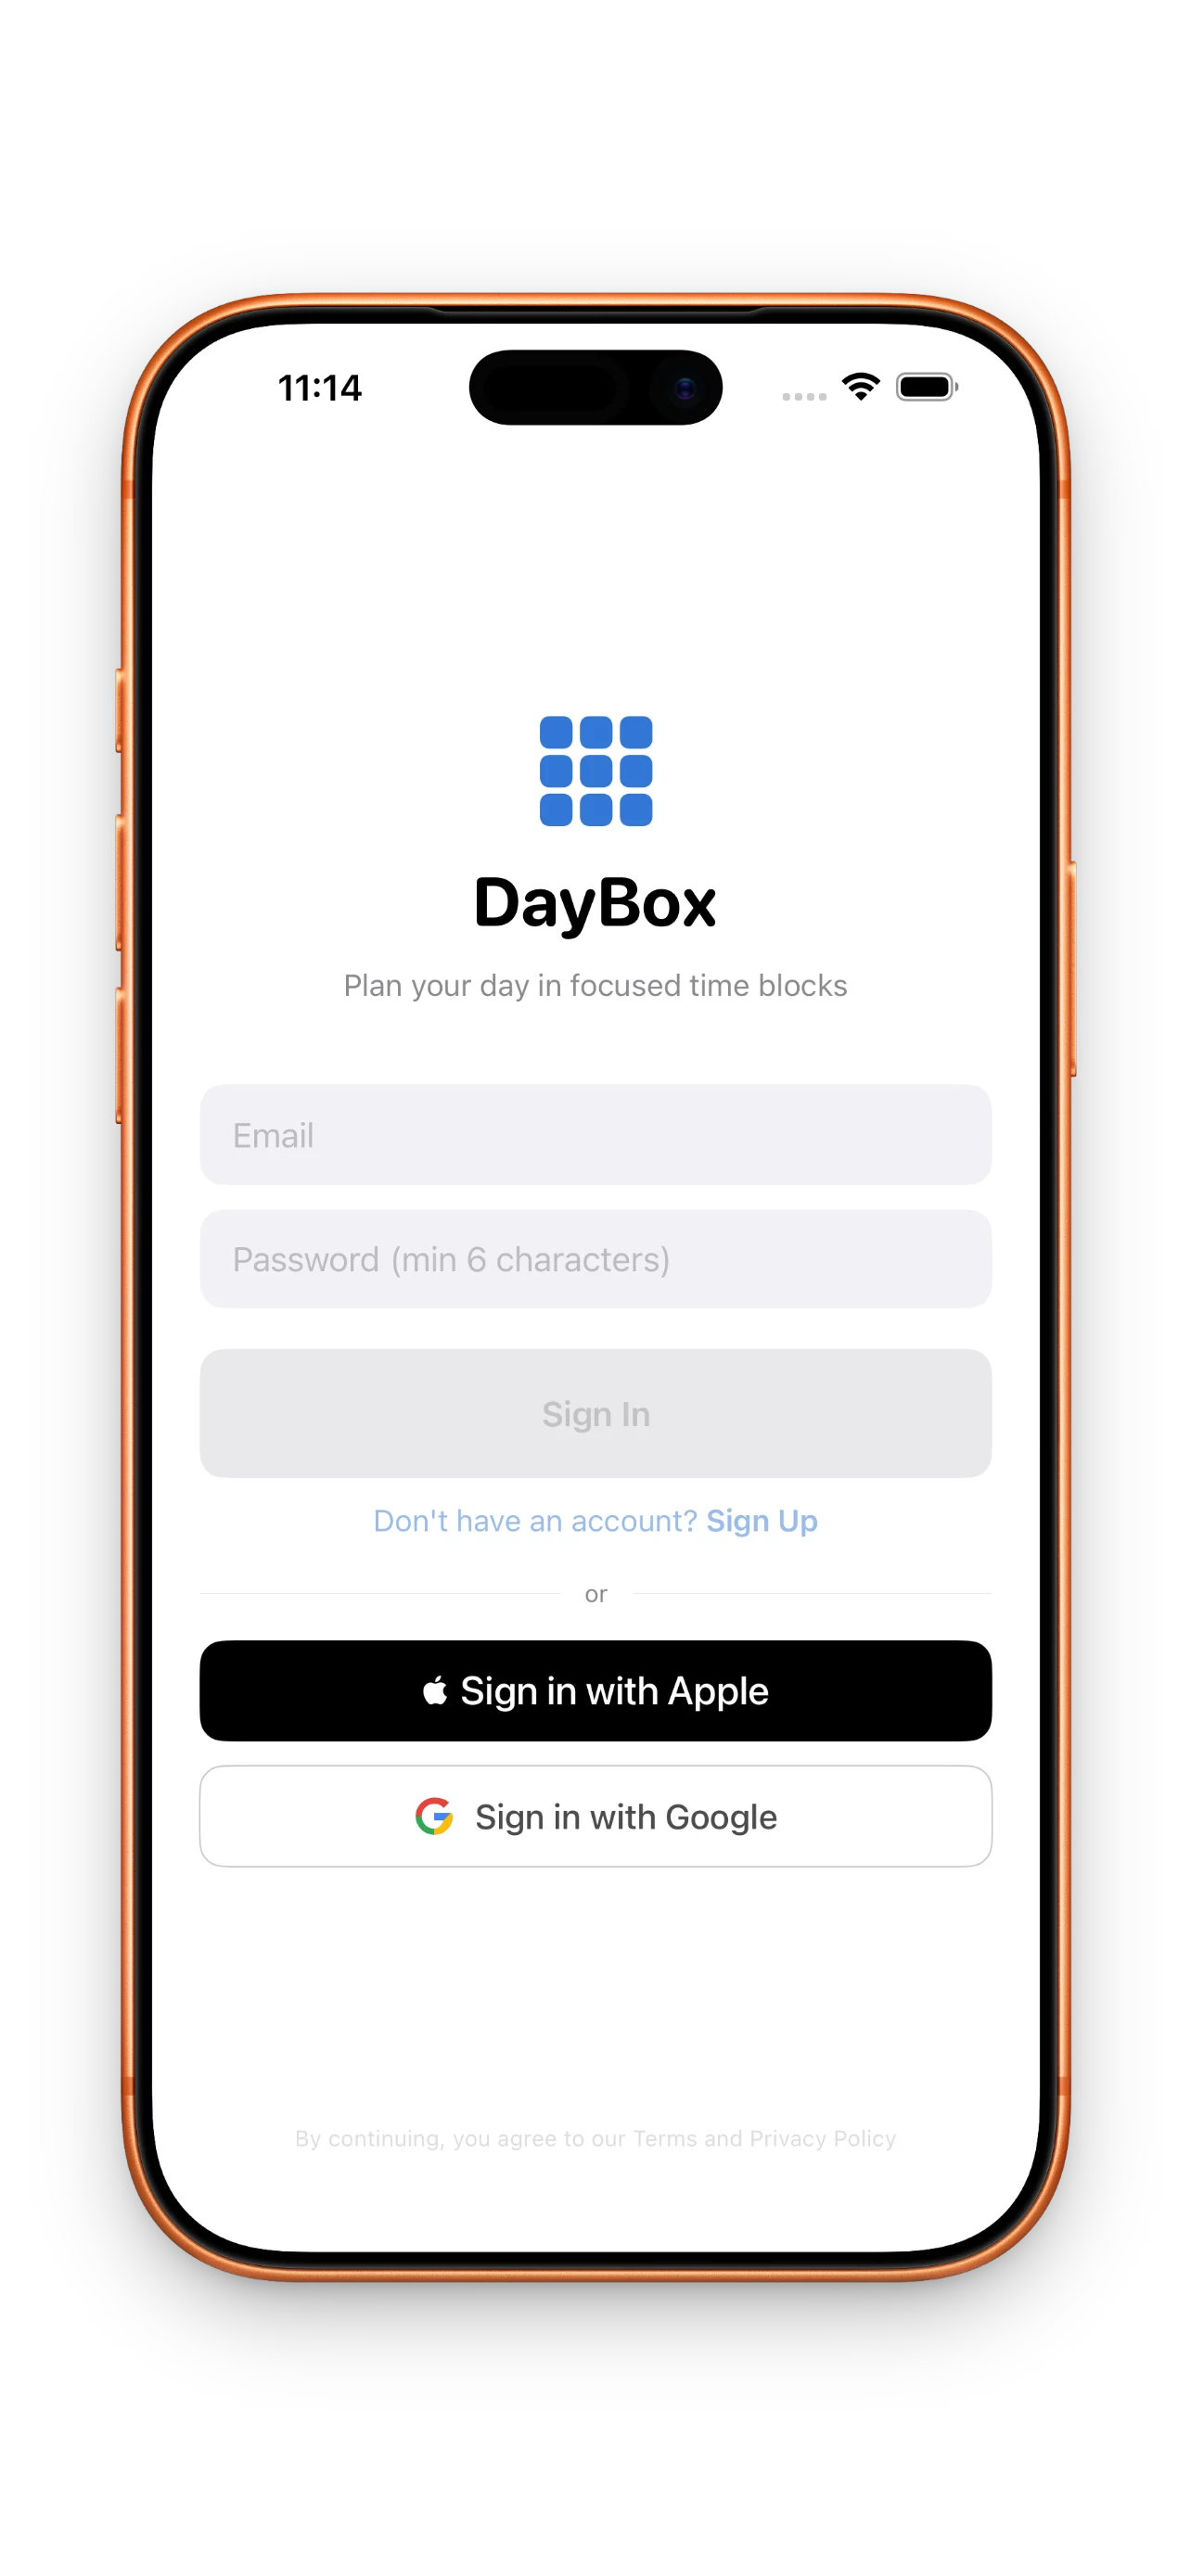
Don't overthink this step. You can always change settings later. The goal is to get inside and see your empty timeline.
Step 2: Capture what's on your plate
Your inbox is your landing zone. Open it and dump everything that's occupying your mental space—email replies you need to write, that client call, groceries, the report due Friday. Don't organize yet. Just get it out of your head and into DayBox.
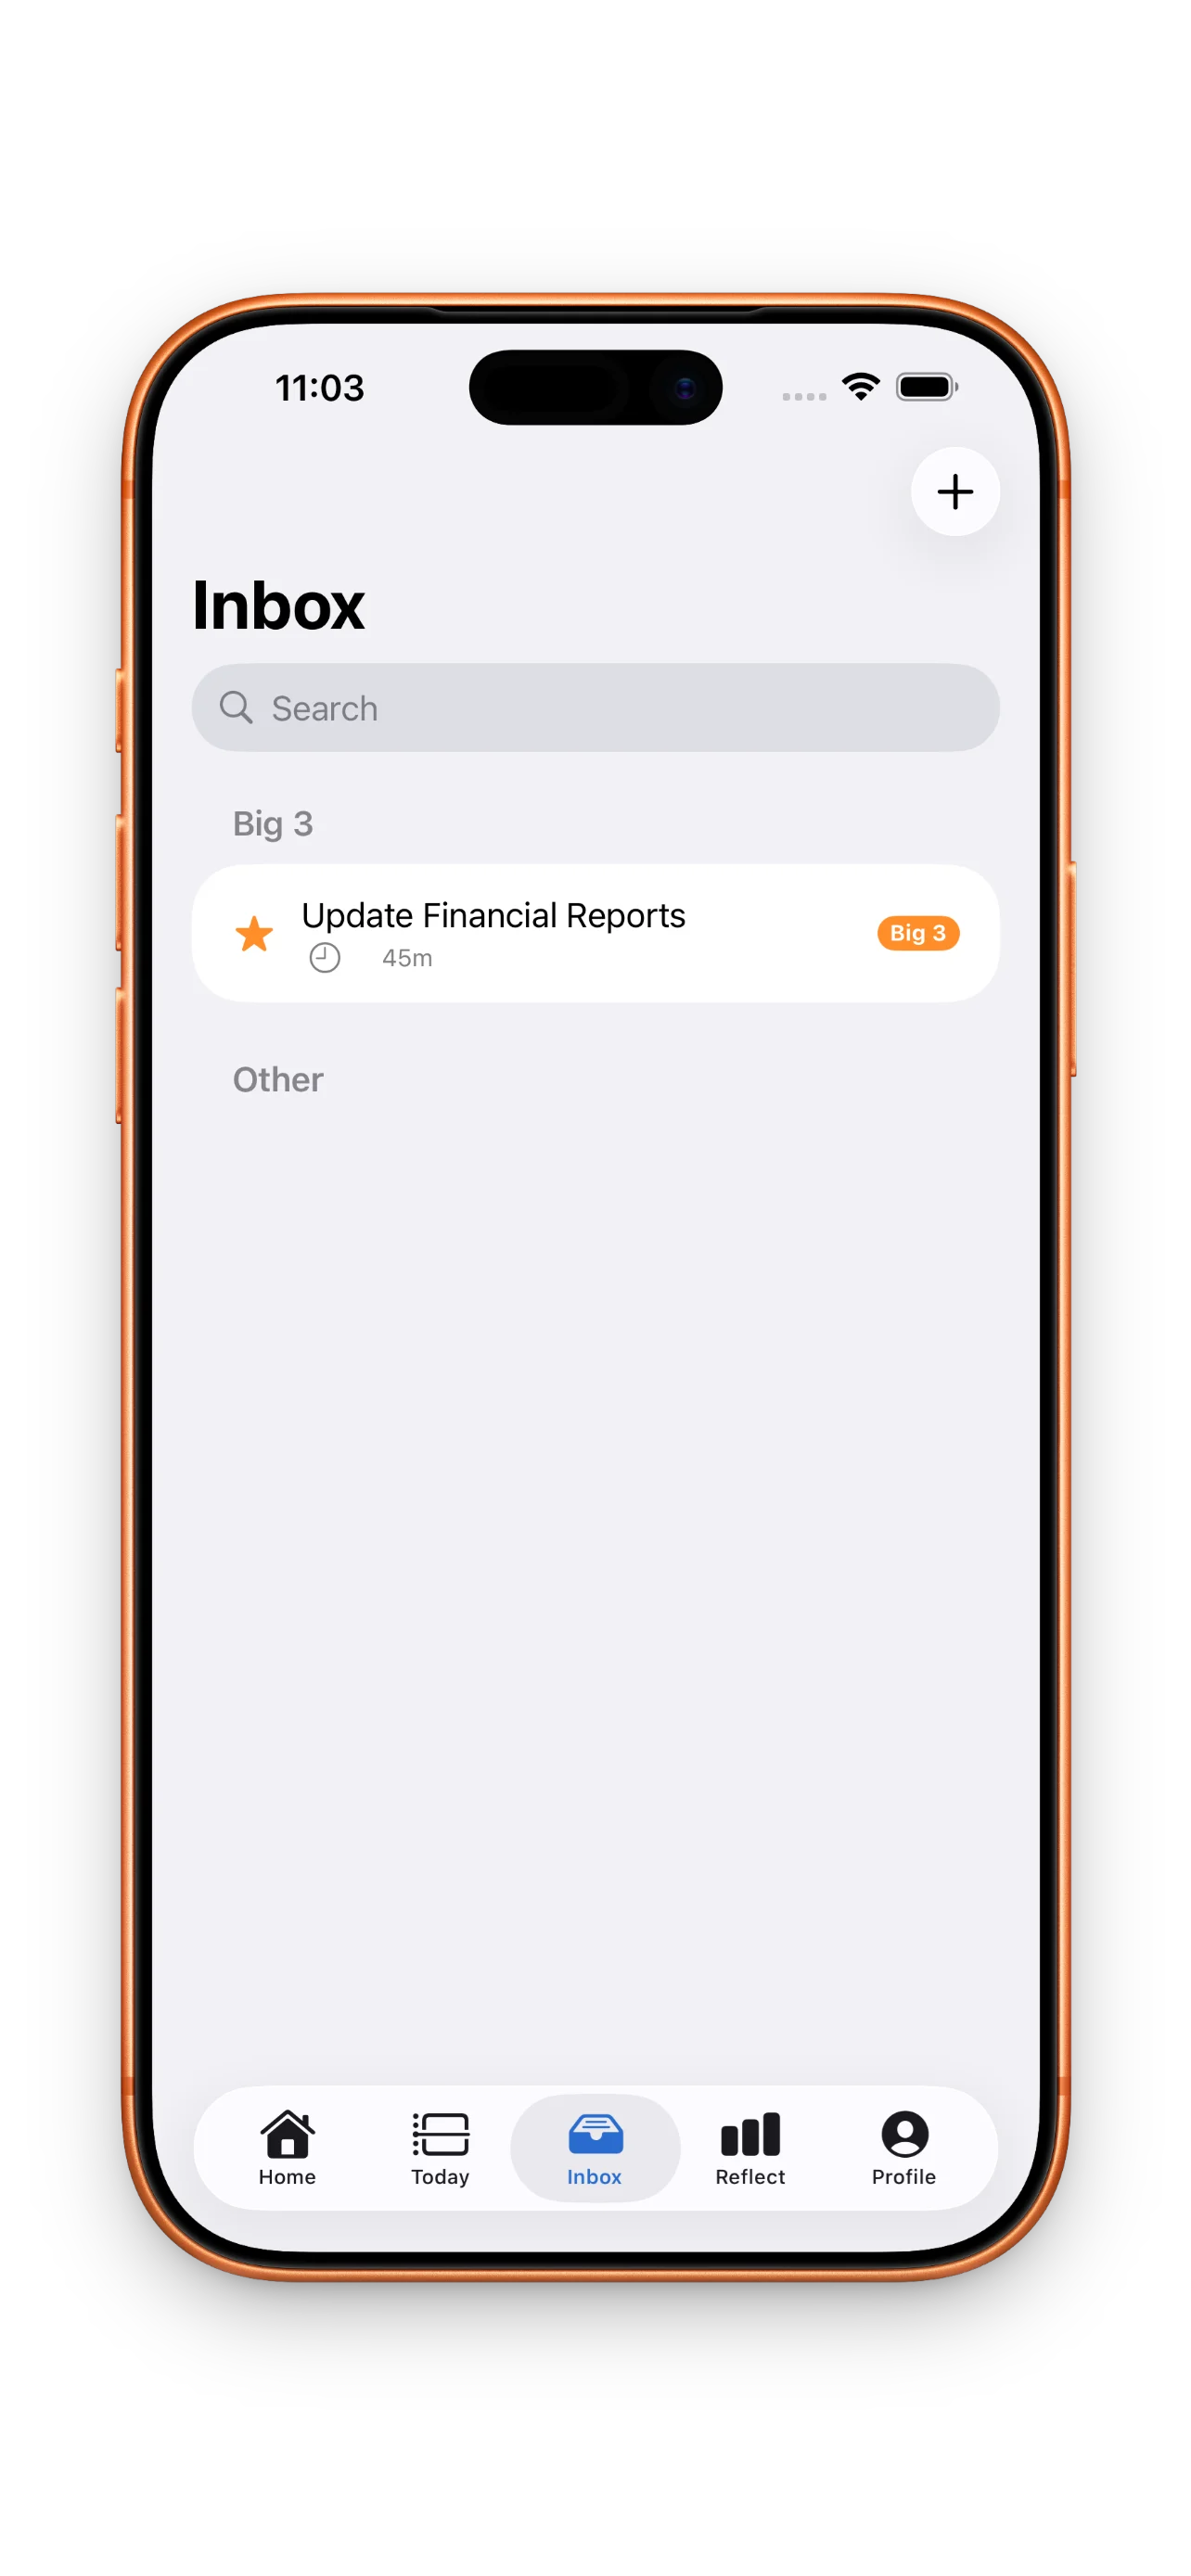
Capturing tasks in your inbox is the first breathing room you'll feel. You're not managing them yet—just acknowledging them.
Step 3: Identify your Big 3
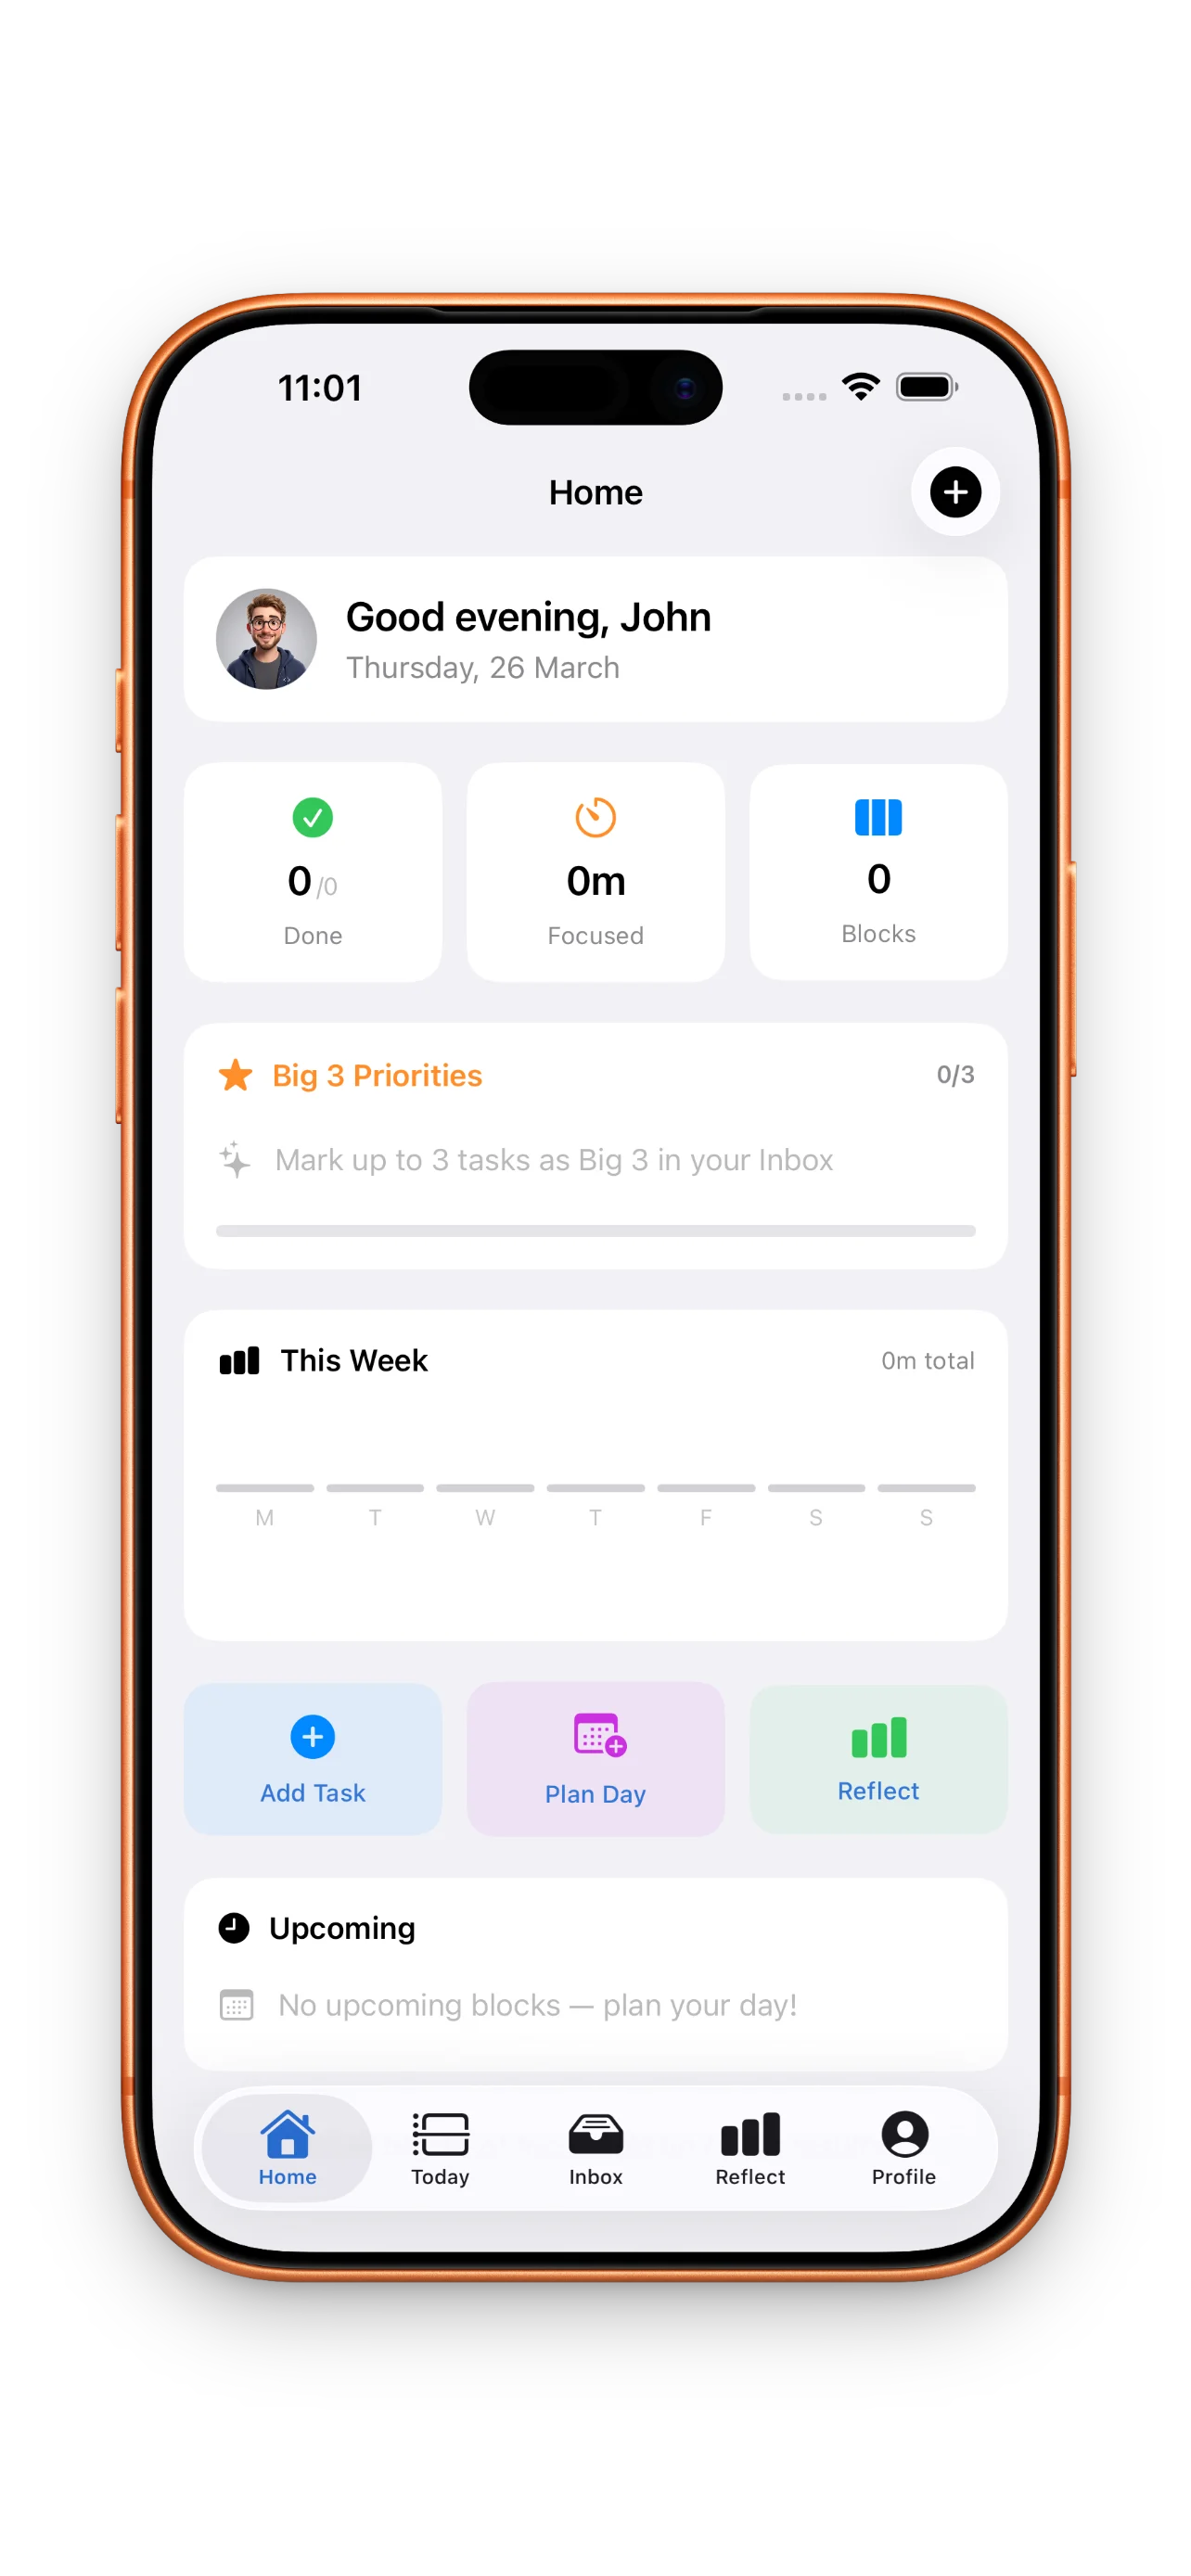
Not everything is equally important. Pick three tasks that, if you finished only those today, would make the day feel successful. These become your Big 3—your north star for the day. They stay visible in your timeline so you never lose sight of what matters most.
This is where timeboxing reveals its power over traditional to-do lists. Instead of a flat list of fifty items, you're making a deliberate bet about what's realistic.
Step 4: Build your timeline
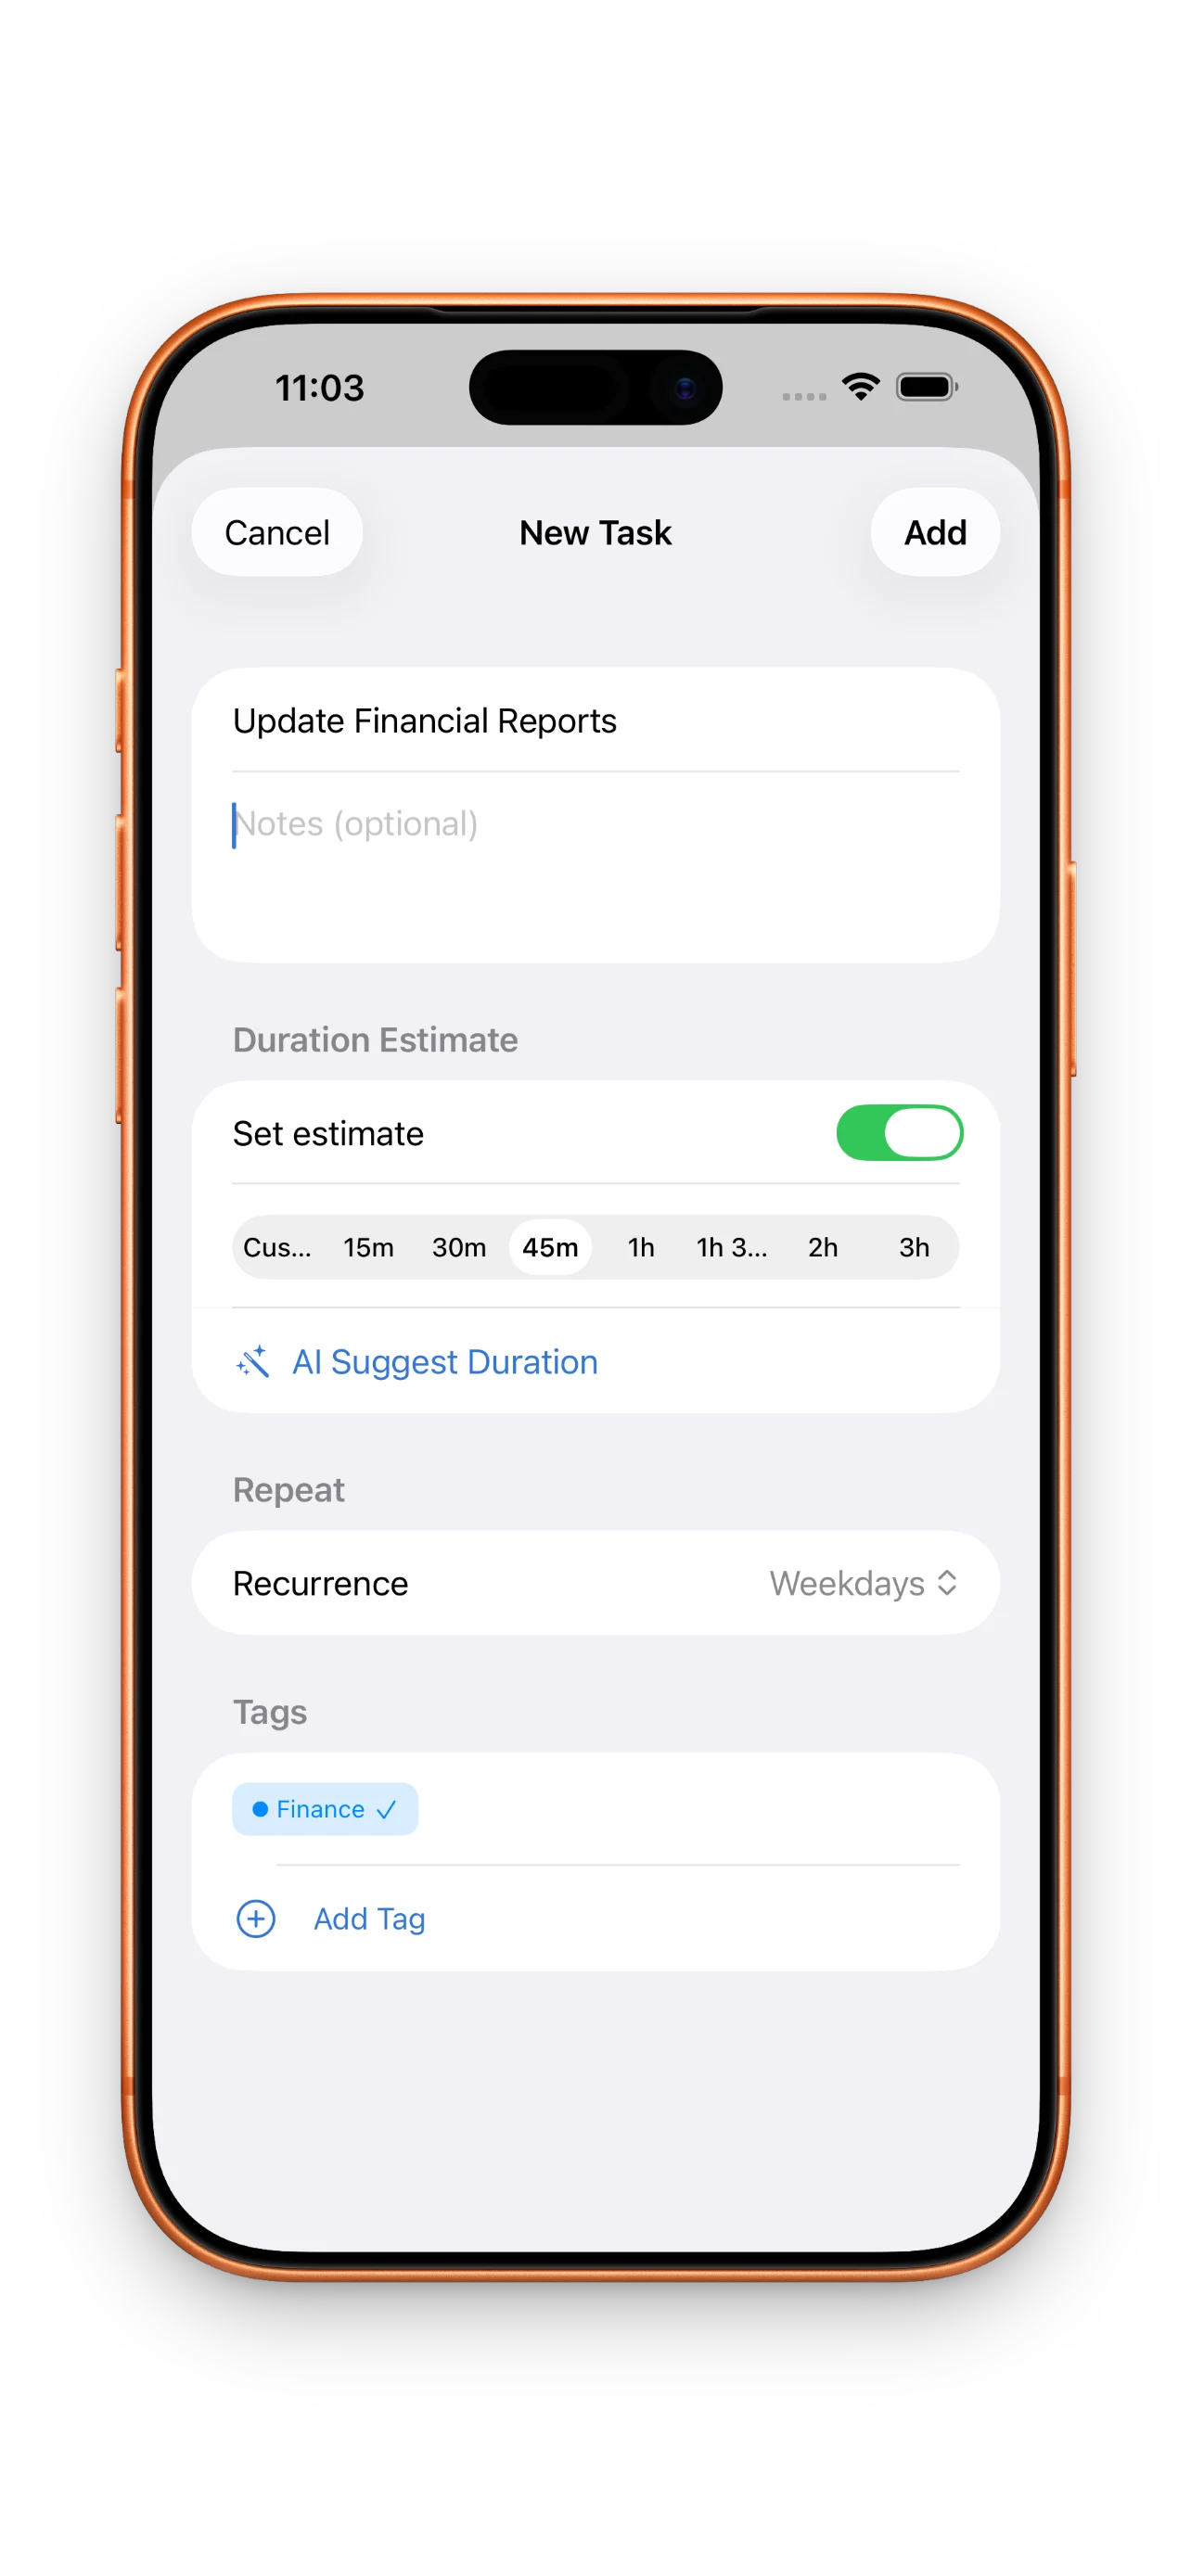
Now the core of DayBox opens up: your timeline. This is a visual calendar for today where you'll drag tasks into actual time blocks. Start by pulling your Big 3 onto the timeline at times when you can focus on them. Then add your meetings and other fixed commitments.

When you create a task, estimate how long it'll take. DayBox uses that estimate to show you if your day is overloaded. If you've crammed eleven hours of work into eight, you'll see it immediately. This is the realistic planning part most planners miss.
Step 5: Run your first focus timer
When the time comes for your first block, tap it on the timeline and hit start. DayBox runs a focus timer for exactly the duration you estimated. Your phone gets a Do Not Disturb shield. You work. That's it.
When the timer ends, DayBox asks you to mark the block complete and optionally log the actual time you spent. This is the reflection piece.
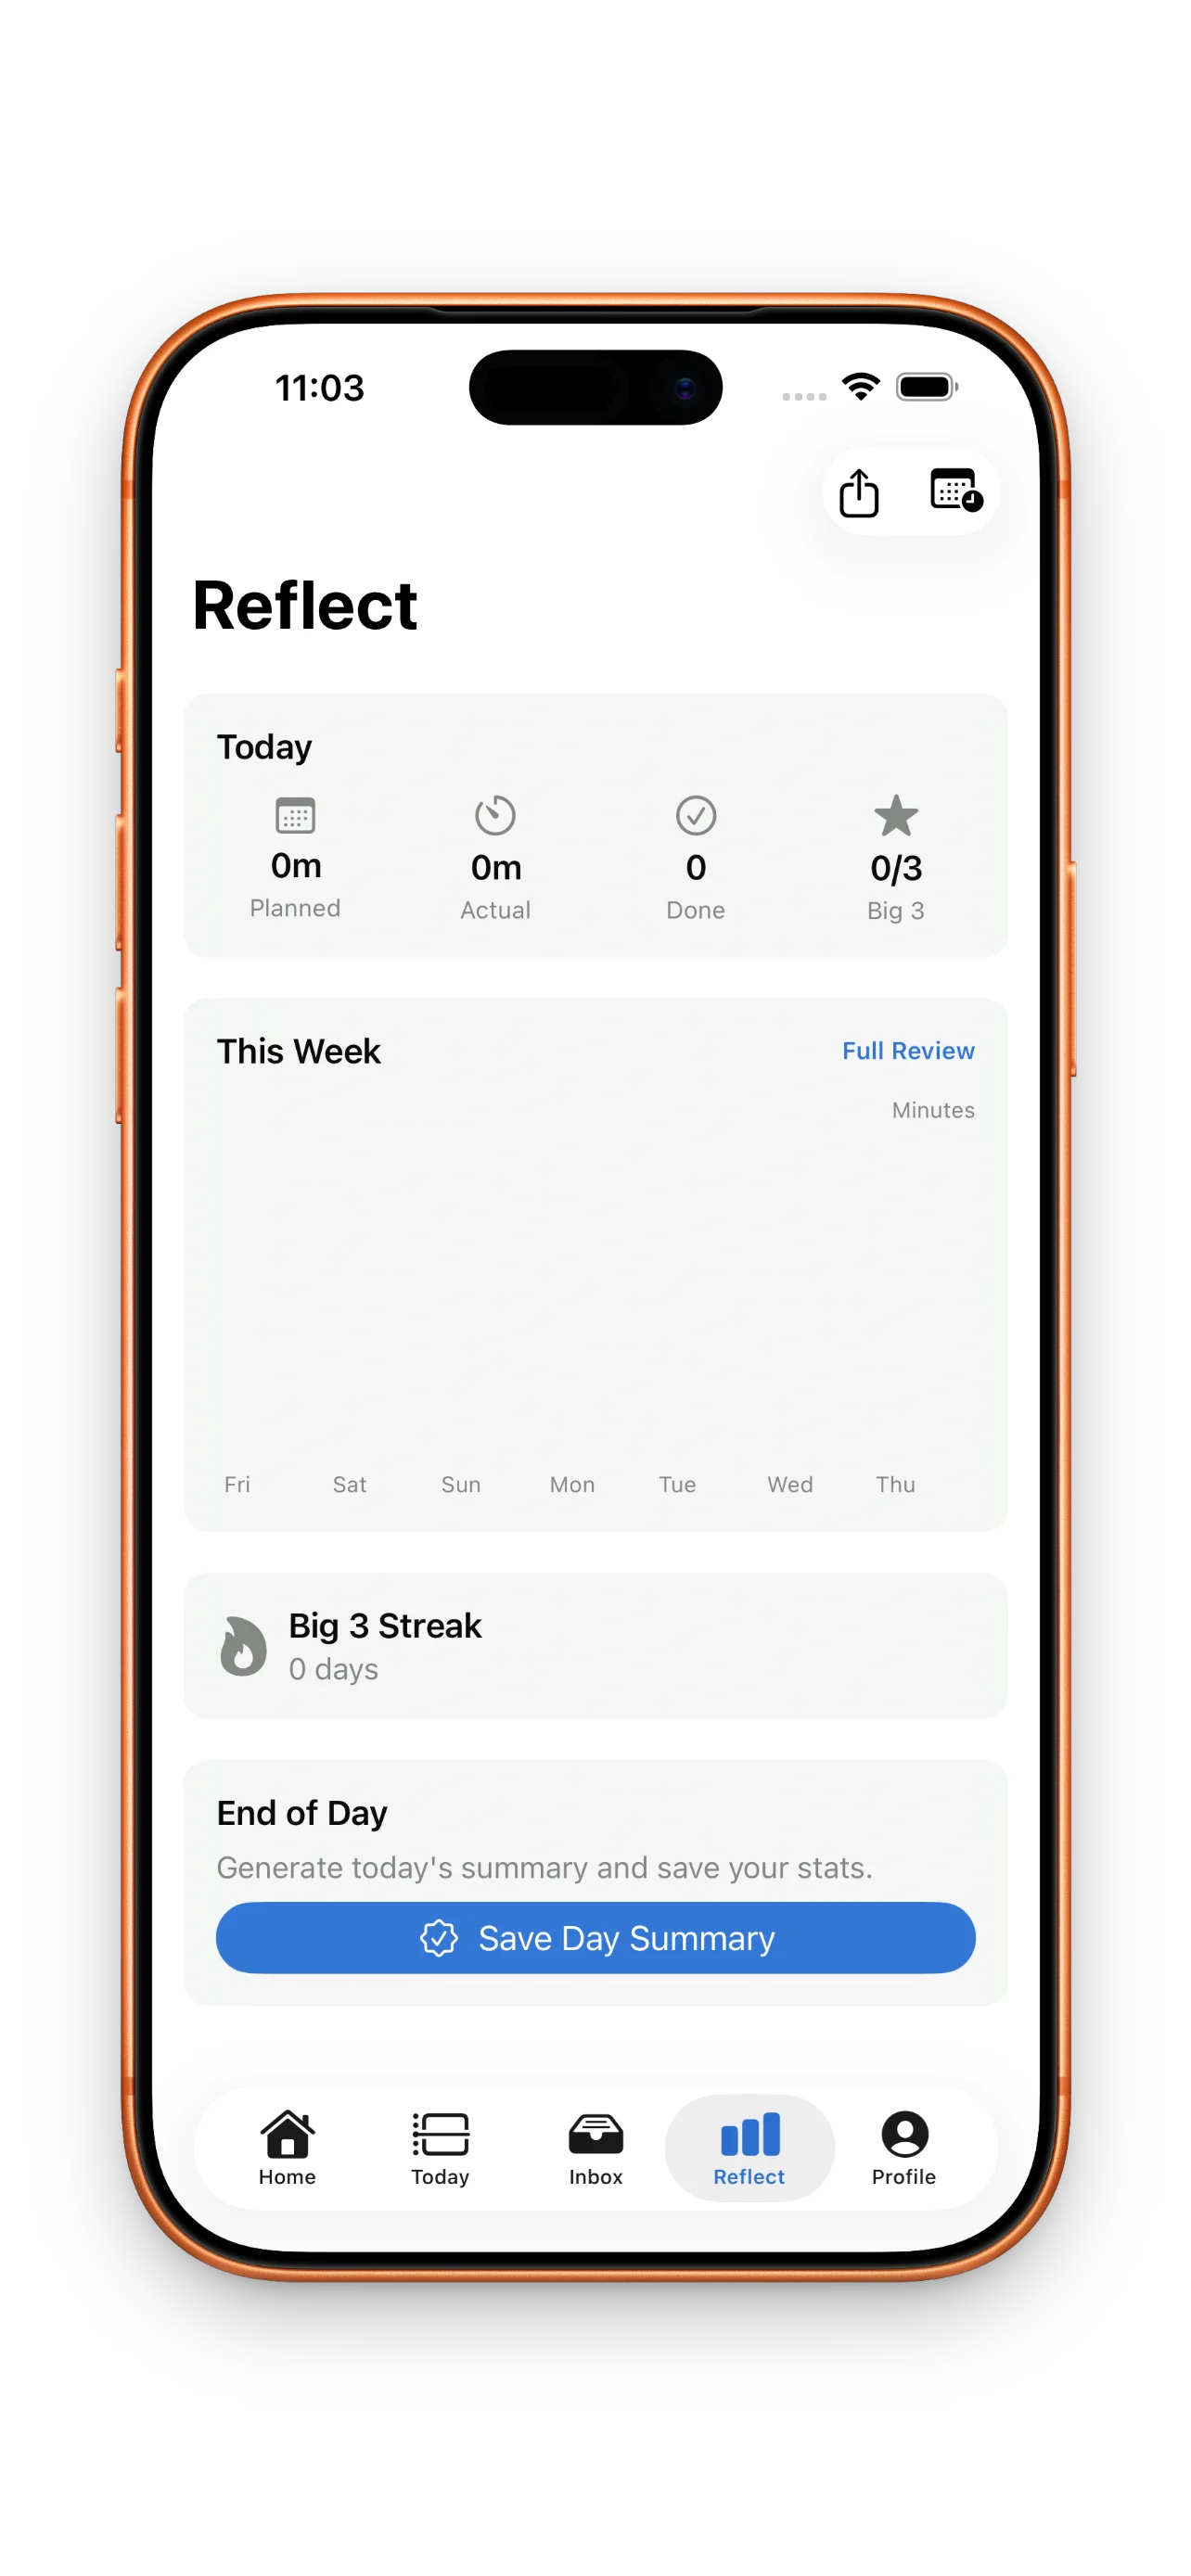
Step 6: Reflect on what actually happened
At the end of your day, you'll see a clear picture of planned versus actual. Did you estimate that email block at 30 minutes but spend 45? DayBox records it. Did you finish all three Big 3 tasks? You'll see that too. Over time, this data makes your estimates sharper and your planning more trustworthy.
Learn more about how to master your day with DayBox timeboxing techniques and build momentum over weeks.
The five-step rhythm—capture, prioritize, schedule, focus, reflect—is what keeps planning lightweight but consistent.
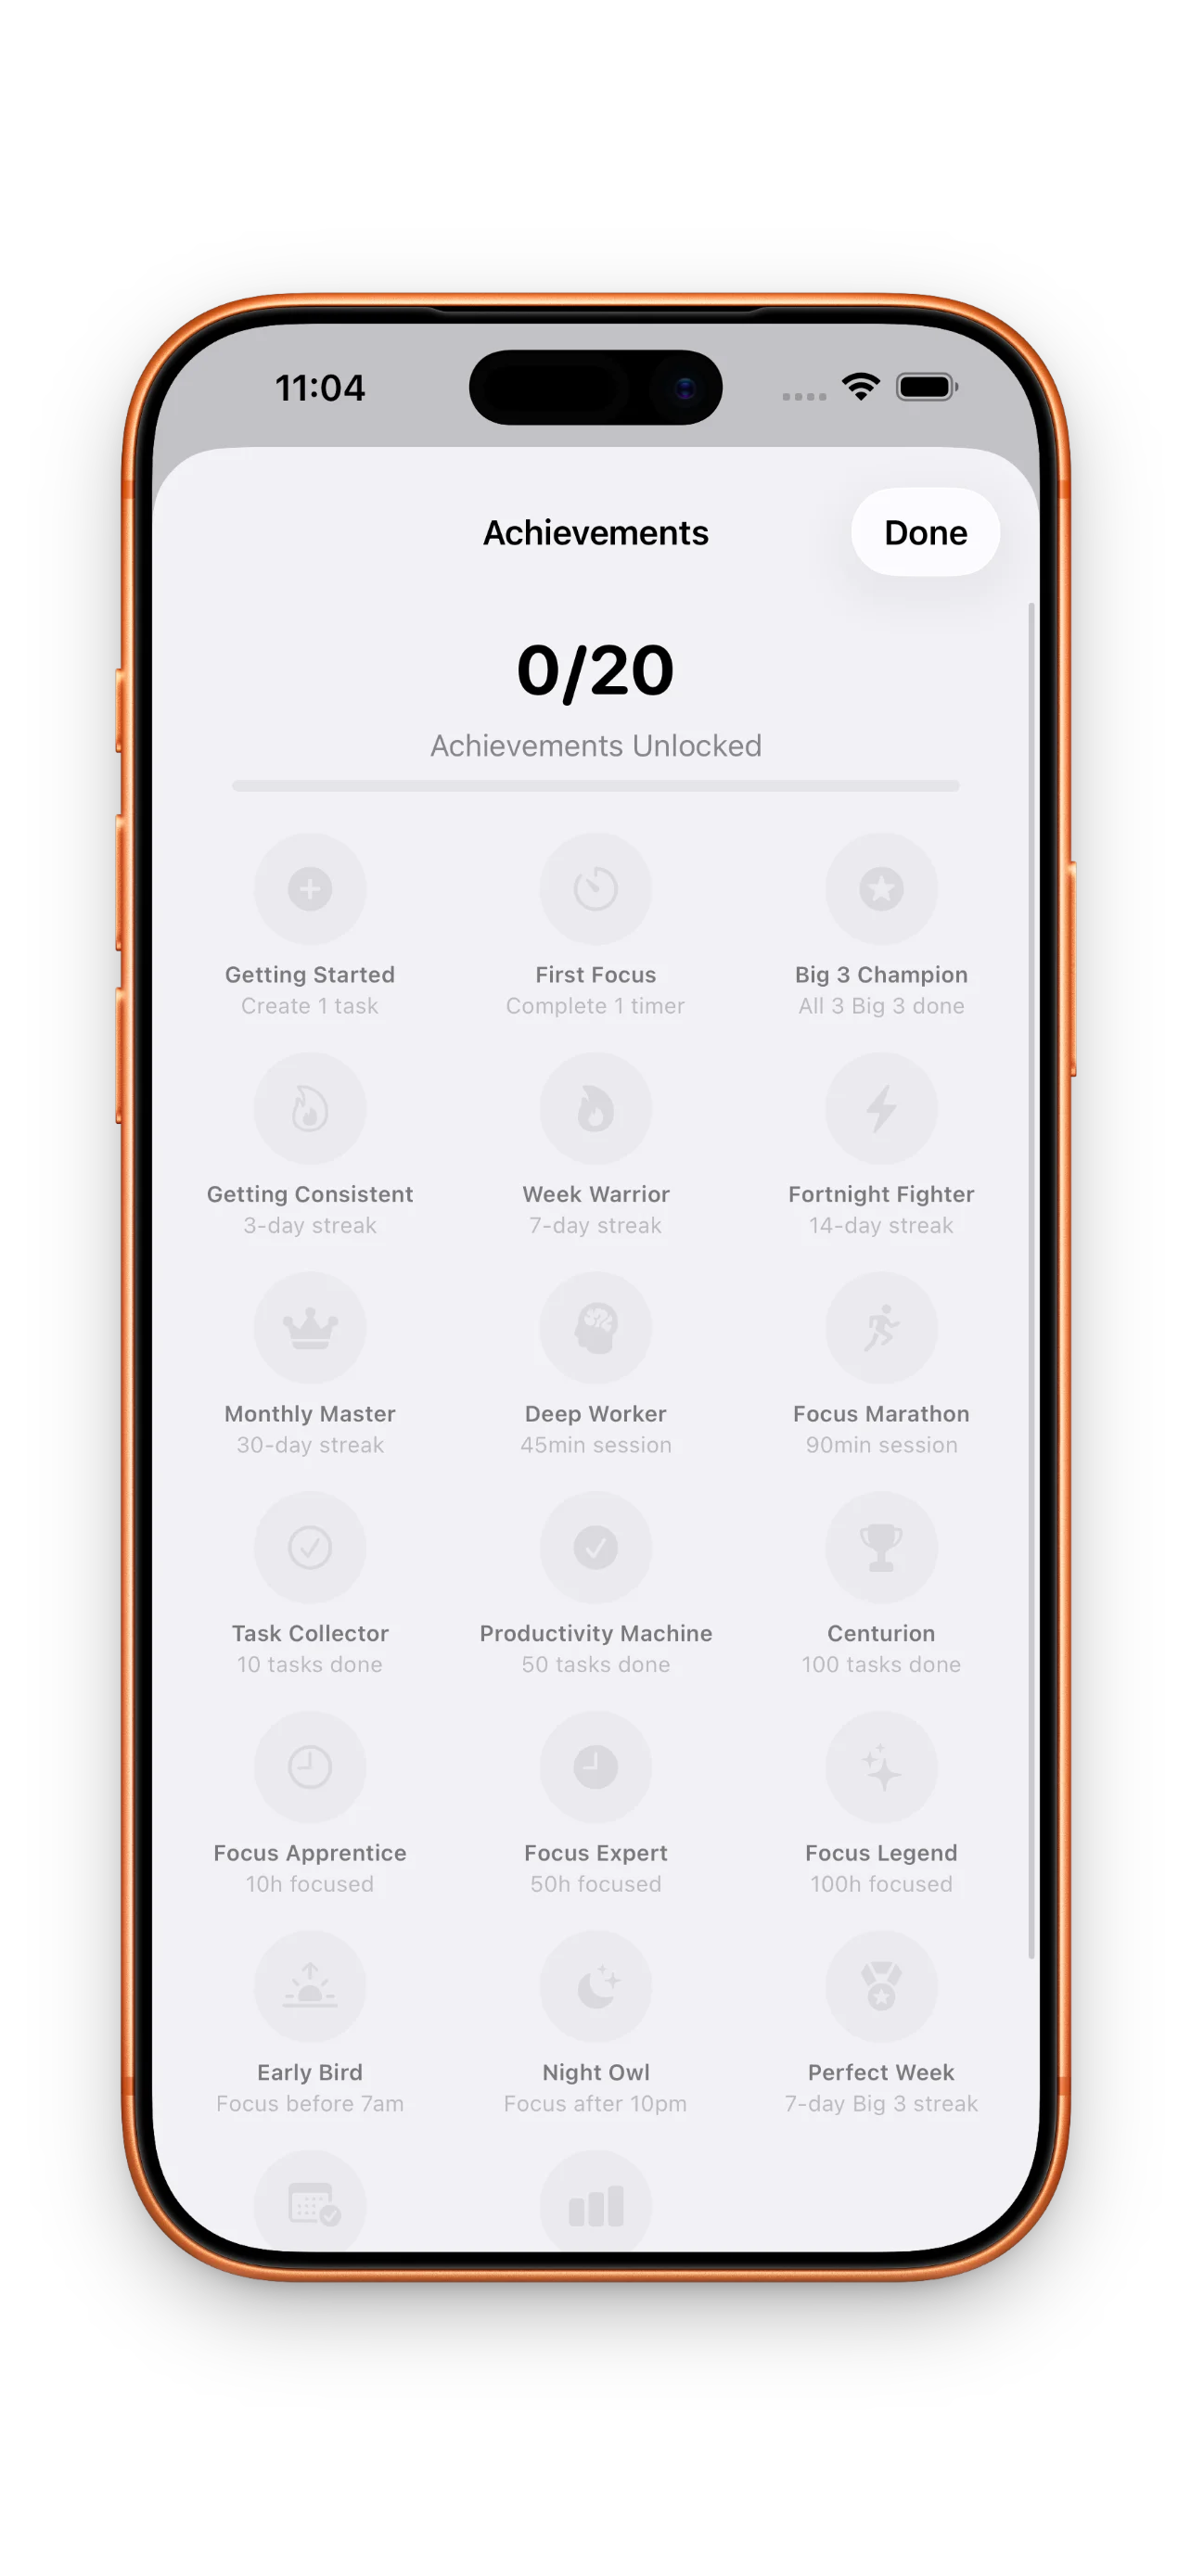
Building streaks and earning milestones
As you repeat this rhythm, you'll build streaks. Complete your Big 3 three days in a row and you're building momentum. Run five focus sessions in a week and you'll see it counted. DayBox tracks planning consistency, Big 3 completions, and focus sessions so you can see your habit compound.
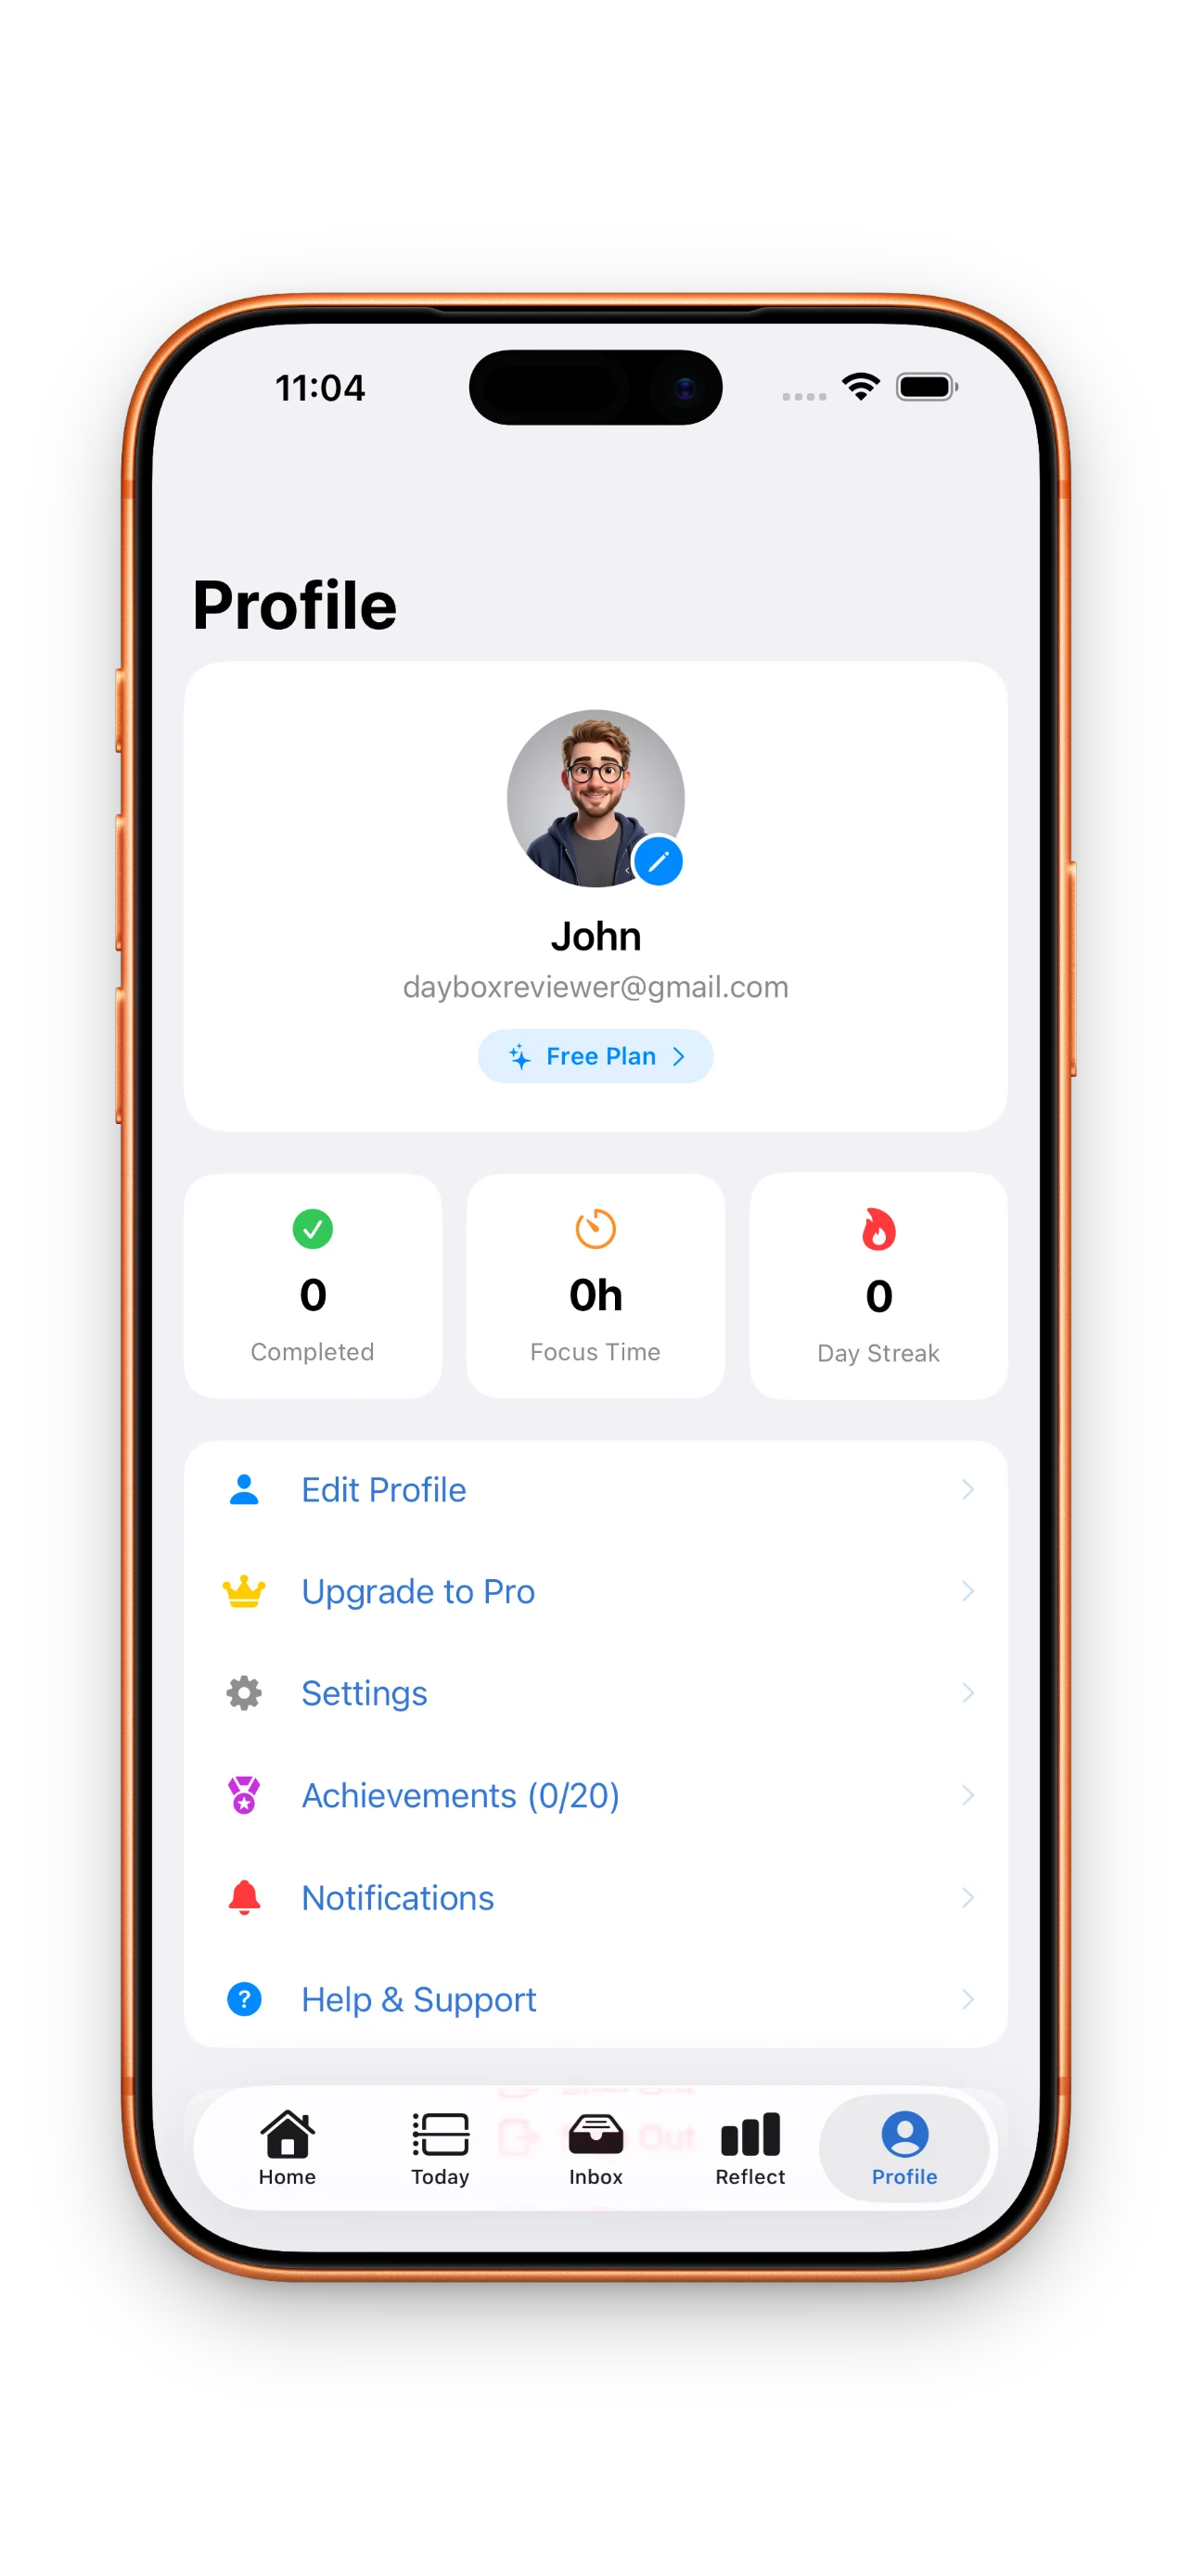
Optional: Customize and explore Pro
Once you've run a few days, visit your profile. Pick a theme, choose an accent color, and make DayBox feel like yours. If you want advanced analytics or deeper planning tools down the road, Pro unlocks those features—but you don't need them to start.
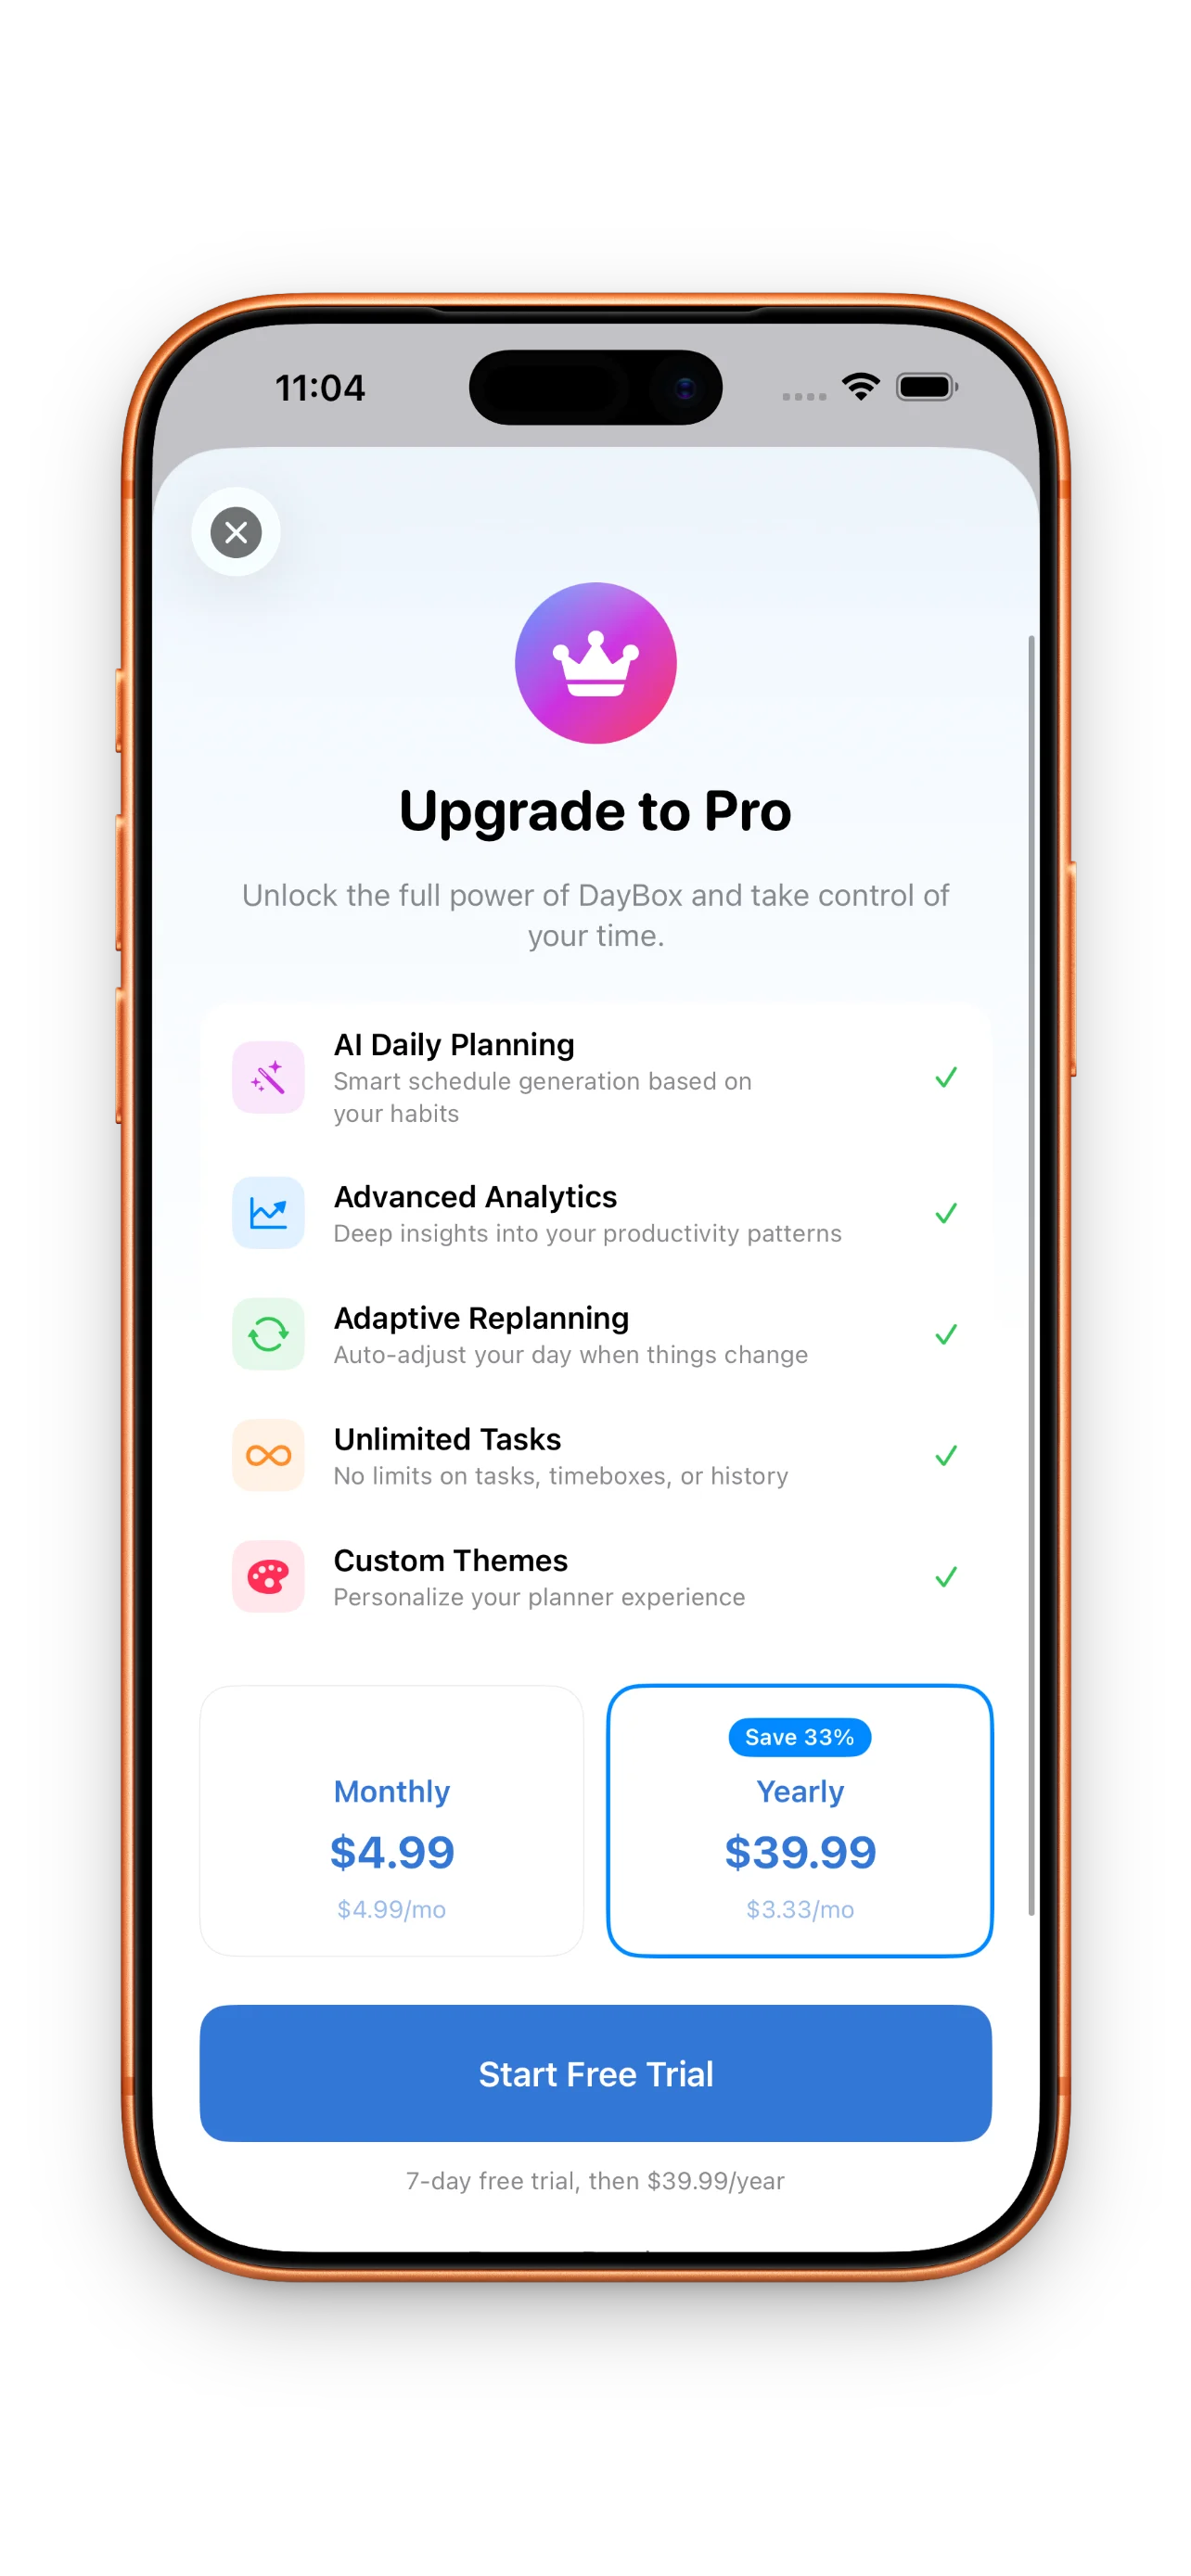
- Free tier
- Timeline, Big 3, focus timers, reflection, streaks
- Pro tier
- Everything free + advanced analytics, custom rules, export reports
This article was drafted with AI assistance and reviewed by a human editor before publishing.